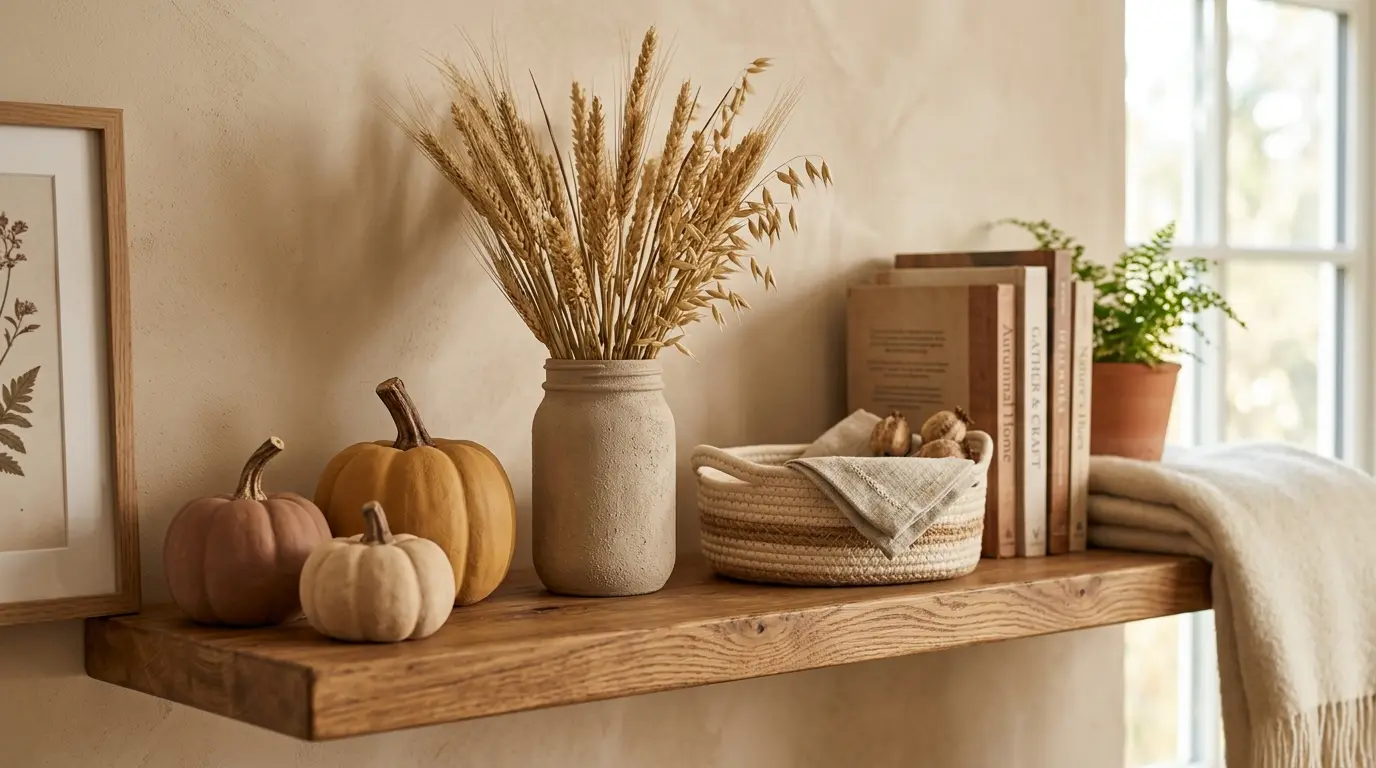
Why Does Homemade Fall Decor Look Homemade?
Most fall craft round-ups grade a project on how easy it was, not on whether the finished object earns a spot on the shelf. That is the wrong test, and it is why so much handmade autumn decor ends up in a bin by early November.
Fall decor crafts fail on finish, not on skill. Four details give a homemade piece away: shine where the real material would be flat, glue you can see, costume orange instead of the season’s real colors, and raw unfinished edges. Fix those four and a 40-minute project passes for something bought.
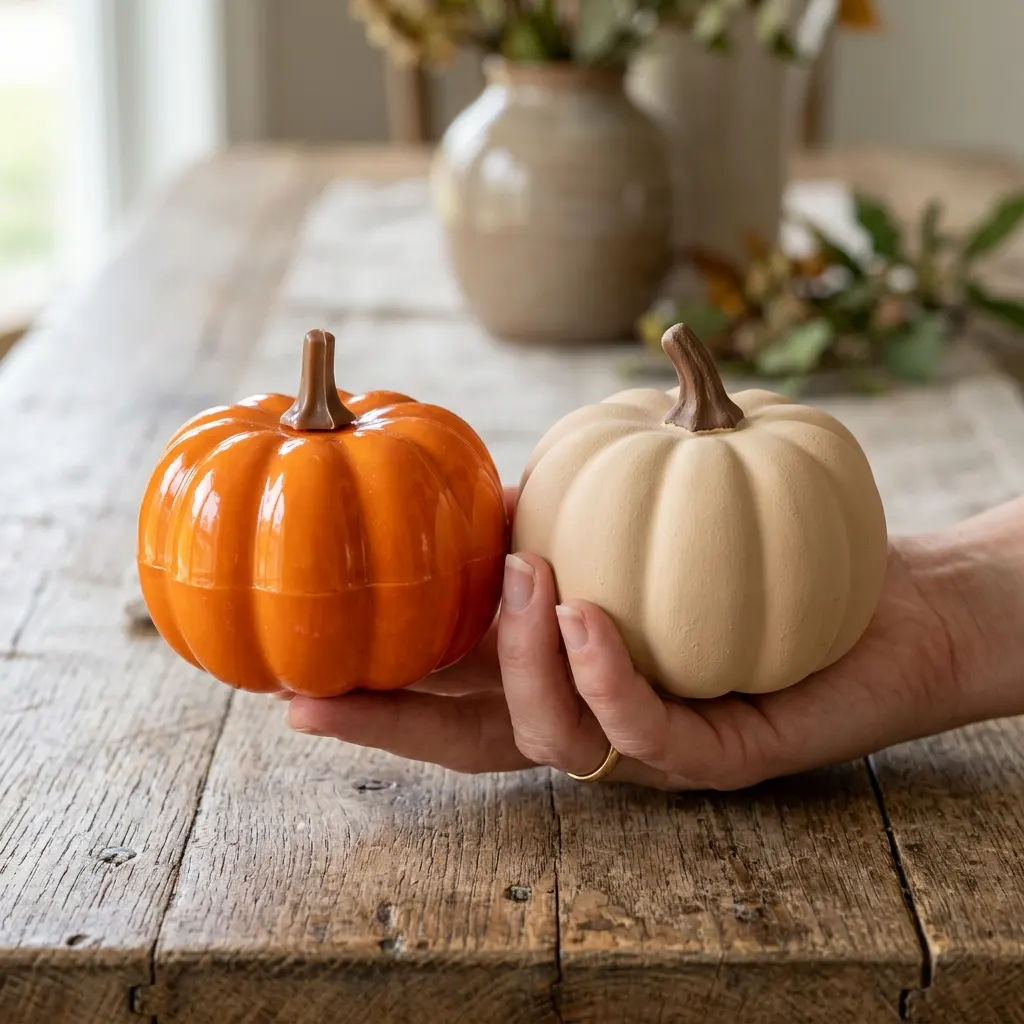
That argument changes what you make. The strongest projects are finishing work on a real object — a plain glass jar, a blank faux pumpkin, a thrifted brass dish — not construction from craft-aisle foam. A refinished object starts with weight, shape and texture already on your side, and our guide to DIY fall decor worth making shows how much of the expensive look is only surface treatment.
Editorial field note: A shelf holding six small craft-store pumpkins in bright orange looks busy and cheap from the doorway. Sand three plain faux pumpkins, prime them, and repaint them in flat clay and warm cream, and the same shelf looks bought. Nothing changed but the finish and the count.
Our complete guide to fall decor ideas for the home covers the whole-home version of this if you want the wider picture first.
✦ Free for readers
500+ Original Home Decor Images, Yours to Keep.
Curated room by room, high‑resolution and royalty‑free — created in‑house by 101HomeDecor, not stock. No attribution needed.
Free forever · about one email a month
Why Is Fall Crafting Turning Toward Fewer, Better Pieces?
Handmade autumn decor used to mean paper cut-outs, foam shapes and a hot glue gun. That version is fading. The current wave is quieter and closer to what stores sell: a stoneware-look vase, a pair of clay candle holders, three matte pumpkins in warm cream.
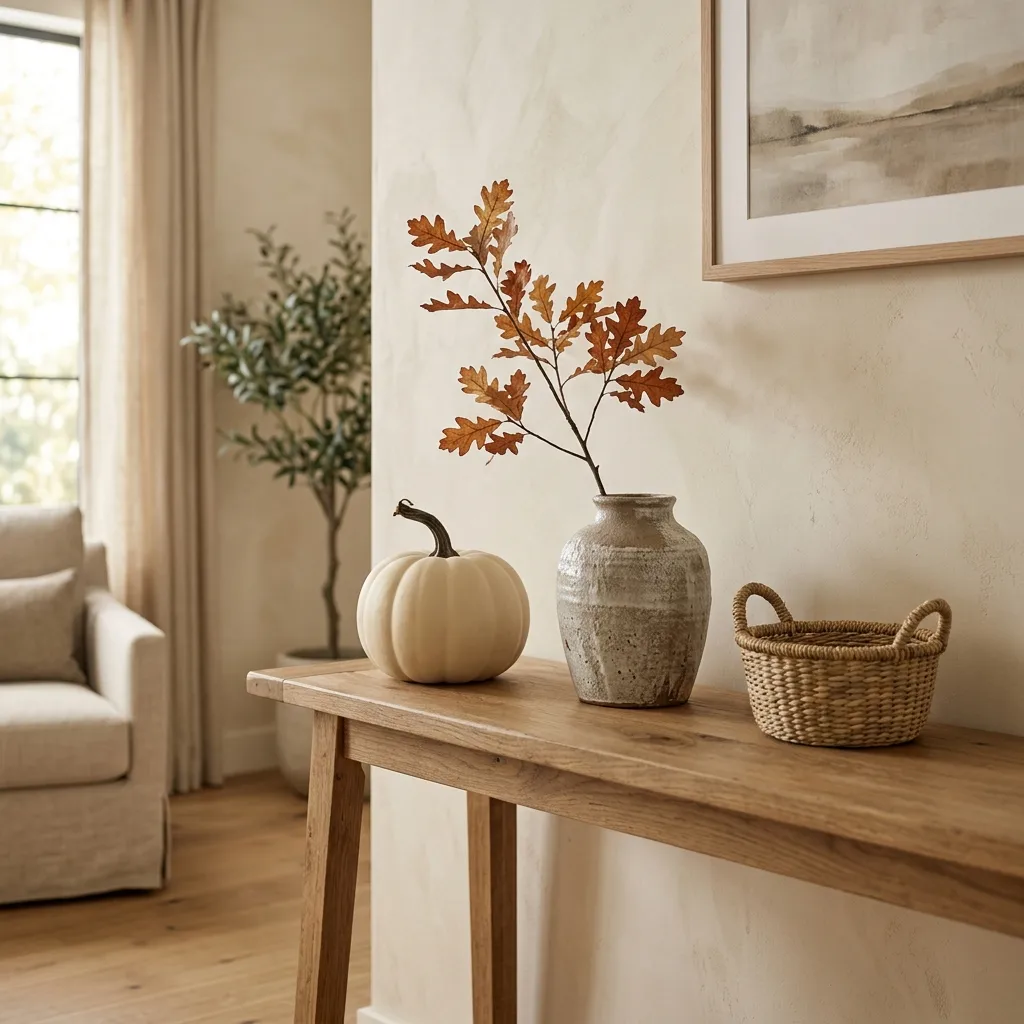
The shift makes sense once you price ready-made fall decor. A single stone-look pumpkin runs $18 to $35 in most home stores, and a set of three matte ceramic vases can pass $60. Those are finishes you can copy for a few dollars in paint.
Signs This Is Catching On:
Craft-store fall aisles now stock plain, unpainted faux pumpkins and blank ceramic shapes right beside the pre-decorated versions.
Matte, chalky and stone-look surfaces dominate the season’s store-bought decor, so a glossy handmade piece stands out for the wrong reason.
Interest in “diy fall decor” has clearly moved toward painted, dried and refinished objects rather than paper and foam cut-outs.
The DIY fall decor projects worth starting early run on the same rule — begin with a real material, and let it do the work.
What Gives a Homemade Piece Away?
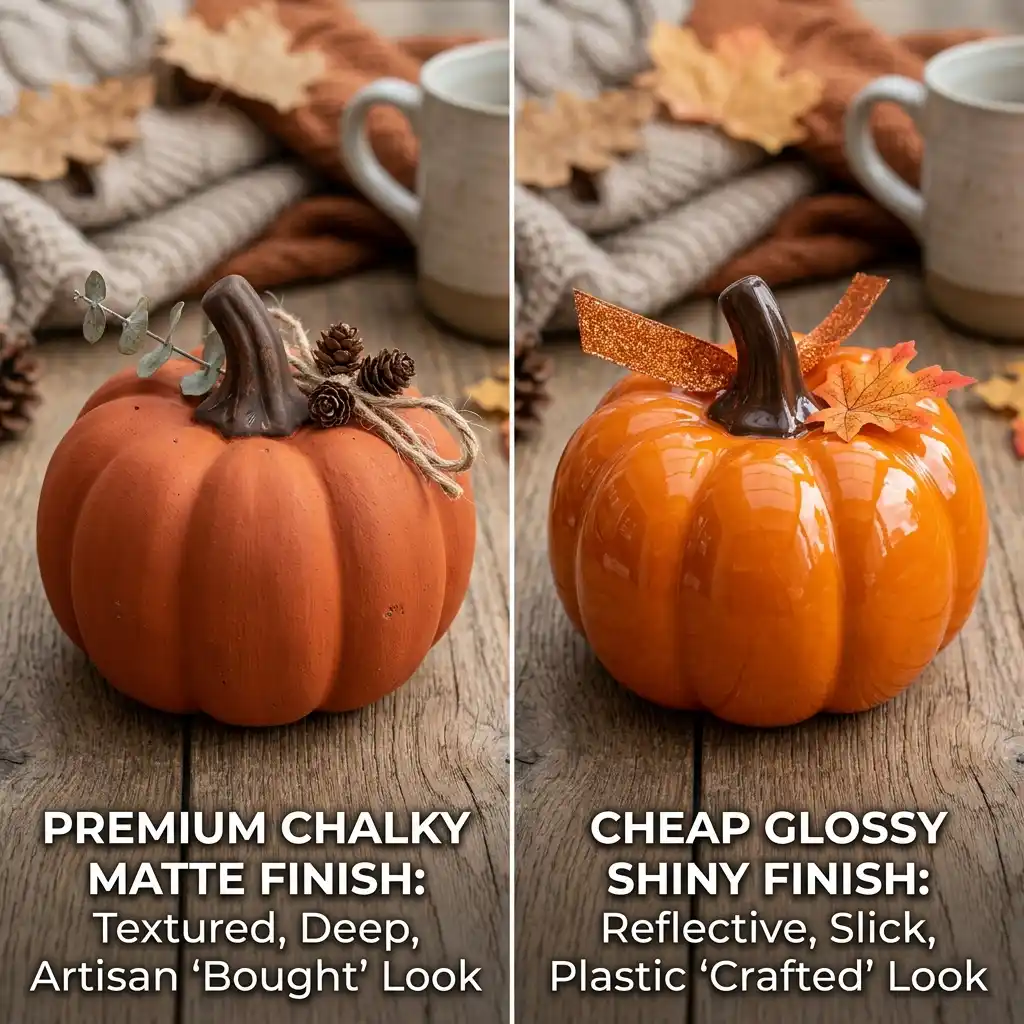
Four visible details separate a craft that looks bought from one that looks made at a kitchen table. None of them is about skill or patience. All four are decisions you make before you start, and each one takes minutes to get right.
Read these as a checklist you run on the finished object, not on the tutorial. Stand six feet back in daylight and look at the piece the way a visitor would. If it passes all four, it is done. If it fails one, that single flaw is what people see first — not the eight steps that went well. Shine and visible glue are the two that fail most often, and both are fixable in under ten minutes.
Shine Where the Real Material Would Be Flat
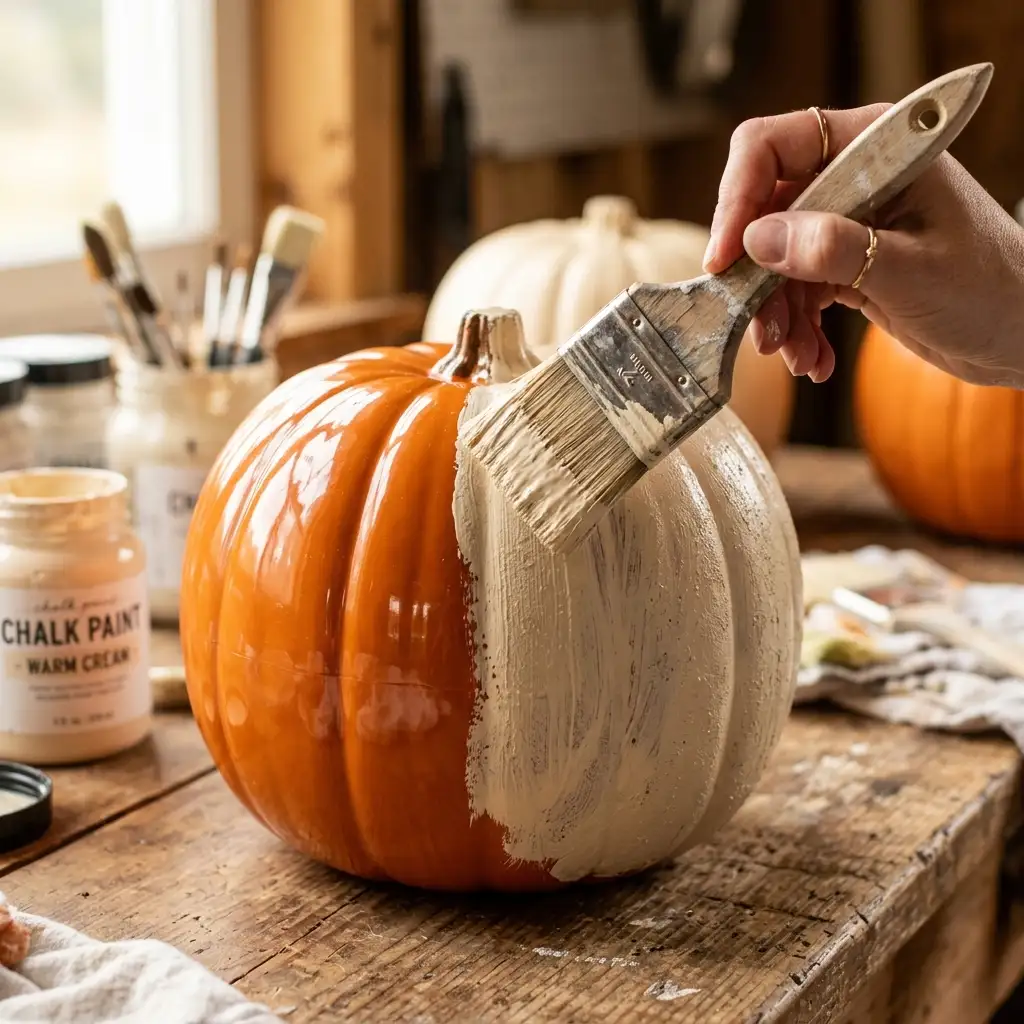
Gloss is the loudest tell. Real autumn materials — dried seed heads, unglazed terracotta, oak, linen, a field pumpkin — are matte or barely satin. A glossy finish on any of them reads as plastic instantly, because plastic is the only thing in that group that shines.
Material Note: Flat and matte paint films scatter light in many directions, so they hide small dents, brush marks and mold seams. Glossier finishes reflect light in one direction and show every one of those flaws.
The fix is a can of flat or matte paint instead of satin, and one extra thin coat rather than one thick one. Chalk-finish paint is the easiest version because it dries dead flat with no technique at all. Leave the shine for one small metal accent — brushed brass on a candle holder, for example — where a hard reflective surface is honest.
Glue You Can See
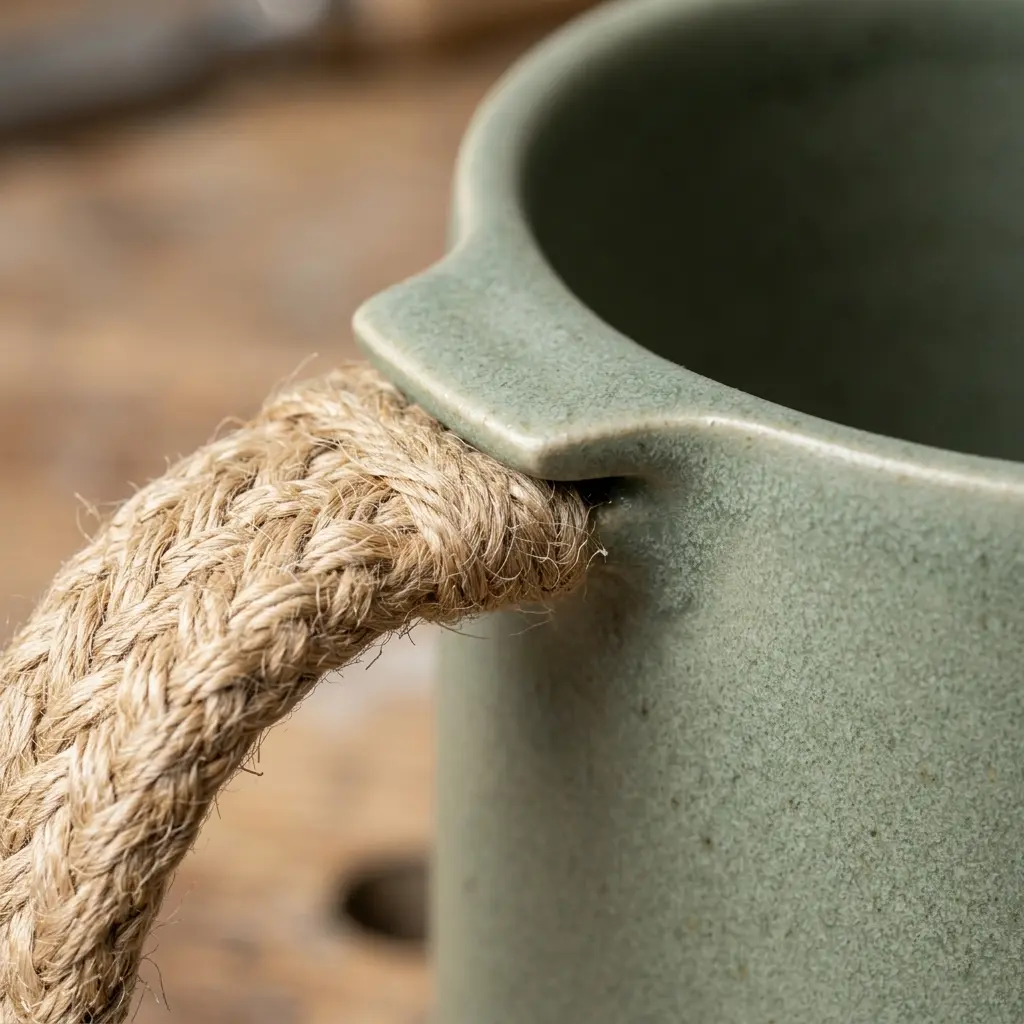
Visible adhesive is the second tell, and it is the one that ages worst. Hot glue yellows, catches dust, and leaves fine strings that only appear in daylight. A bead of it along a rim tells everyone exactly how the object was assembled.
Design the joint so the glue is hidden before you pick up the gun. Glue under a lip, behind a stem, inside a rim, or on the back of a frame — never on an edge the eye travels along. Where two visible surfaces have to meet, a tight friction fit, a wrapped jute cord or a small screw looks better than adhesive.
Let the piece cool fully, then run a fingertip around every seam. Any string or ridge you can feel is one you can see. Peel it off with tweezers while the glue is still slightly warm and flexible.
Costume Orange Instead of the Season’s Real Colors
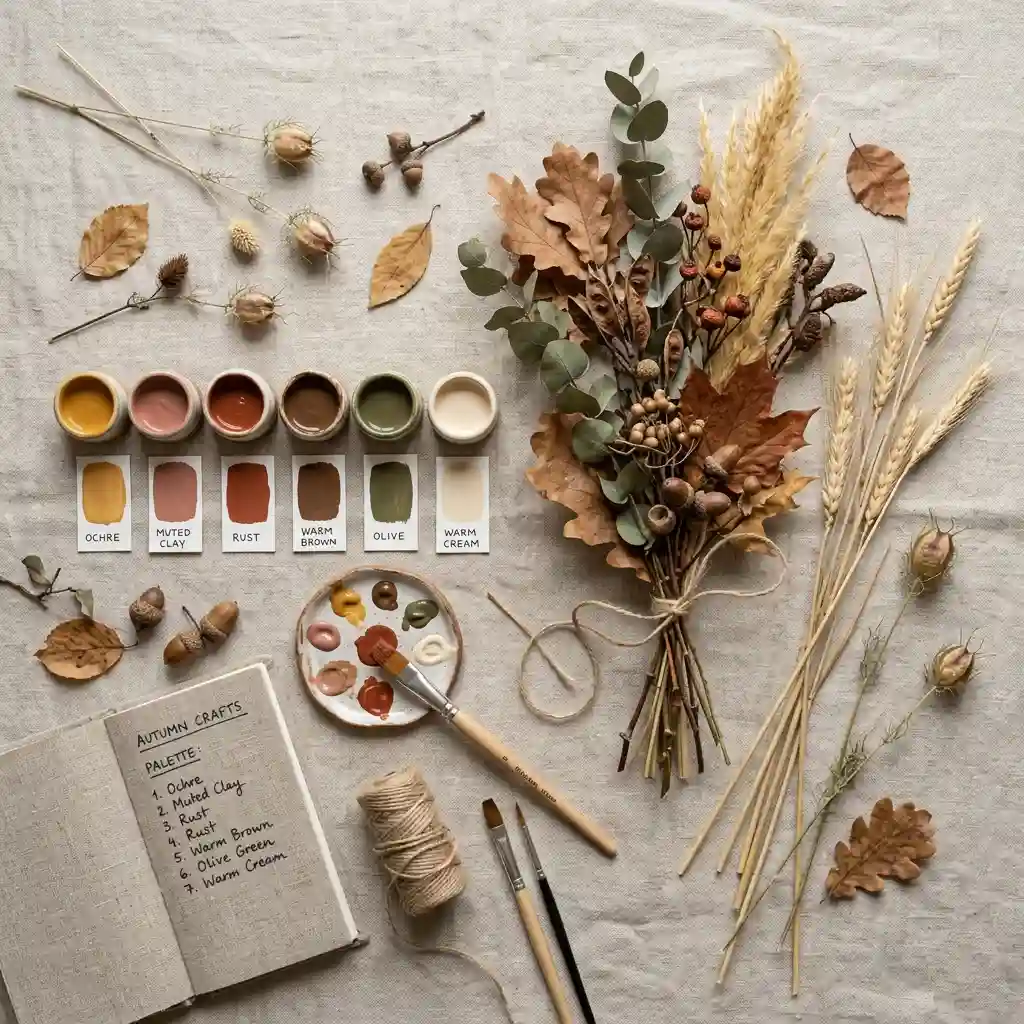
Bright pumpkin orange is a Halloween costume color, not an autumn decorating color. It appears in craft aisles because it is cheap to print and instantly readable, and it is the fastest way to make a handmade piece look like a school project.
The season’s real palette is duller and warmer: ochre, muted clay, rust, warm brown, olive, oat and cream. Pick three of those and hold every project to them. A pair of pumpkins in flat cream and clay sits comfortably with linen and oak year after year, while a bright orange one only works for about six weeks.
Handmade seasonal decor is not a fall-only habit, either. The same restraint on color is what makes handmade felt Christmas decorations look considered rather than childish in December.
Raw Edges and Unfinished Backs
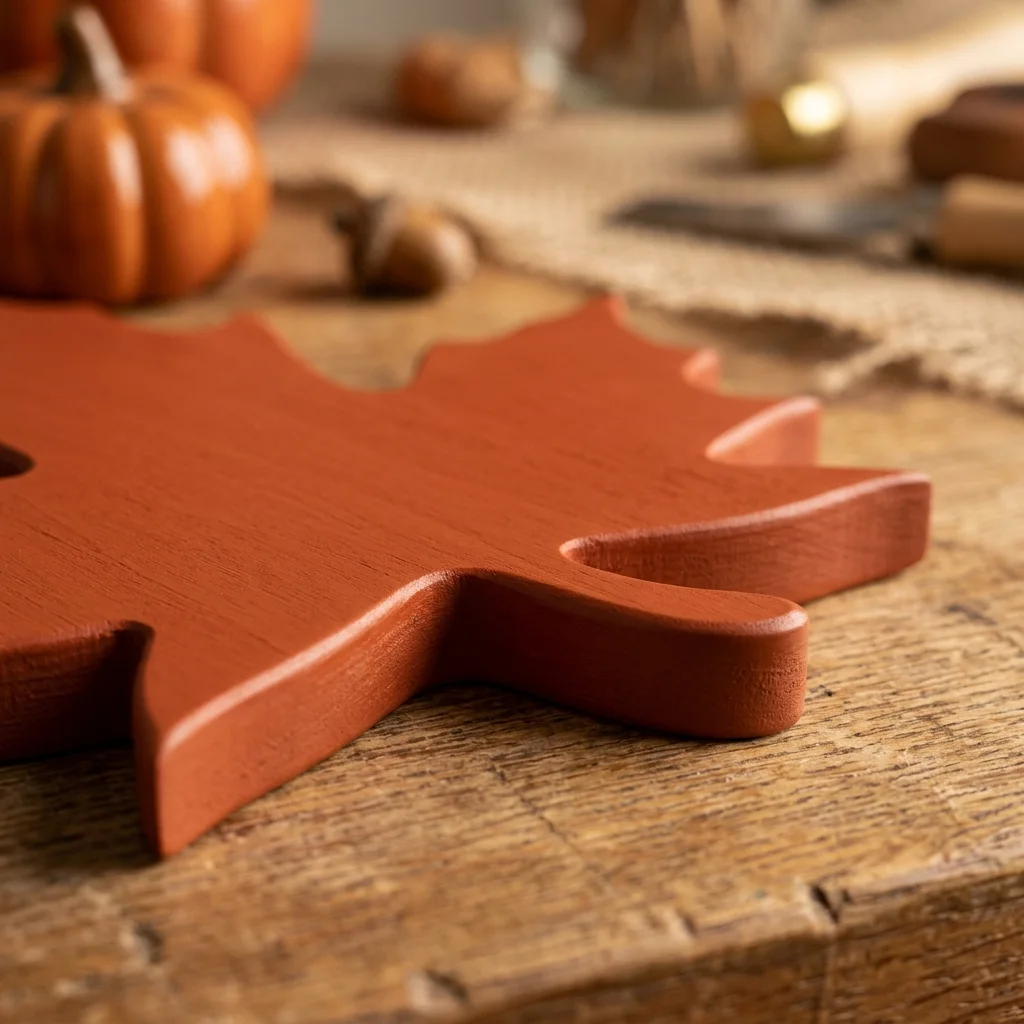
The fourth tell is an edge nobody finished. Cut felt fraying at a corner, a torn paper edge, an unpainted underside, a frame backed with visible tape — each one says the maker stopped at “good enough from the front.”
Finish every surface a person could touch or catch a glimpse of. Paint the underside of a repainted bowl. Sand a cut wood edge and paint it the same color as the face. Back a frame properly with paper and a hanging wire rather than tape, the way the better wall hanging craft ideas are finished. On fabric, a fold-and-press hem beats a raw cut edge even if you never sew a stitch.
DESIGNER TIP: Sand the printed mold seam off a faux pumpkin before you prime it. That raised seam line, not the color, is what the eye catches from across a room.
Five Fall Decor Crafts Worth an Afternoon
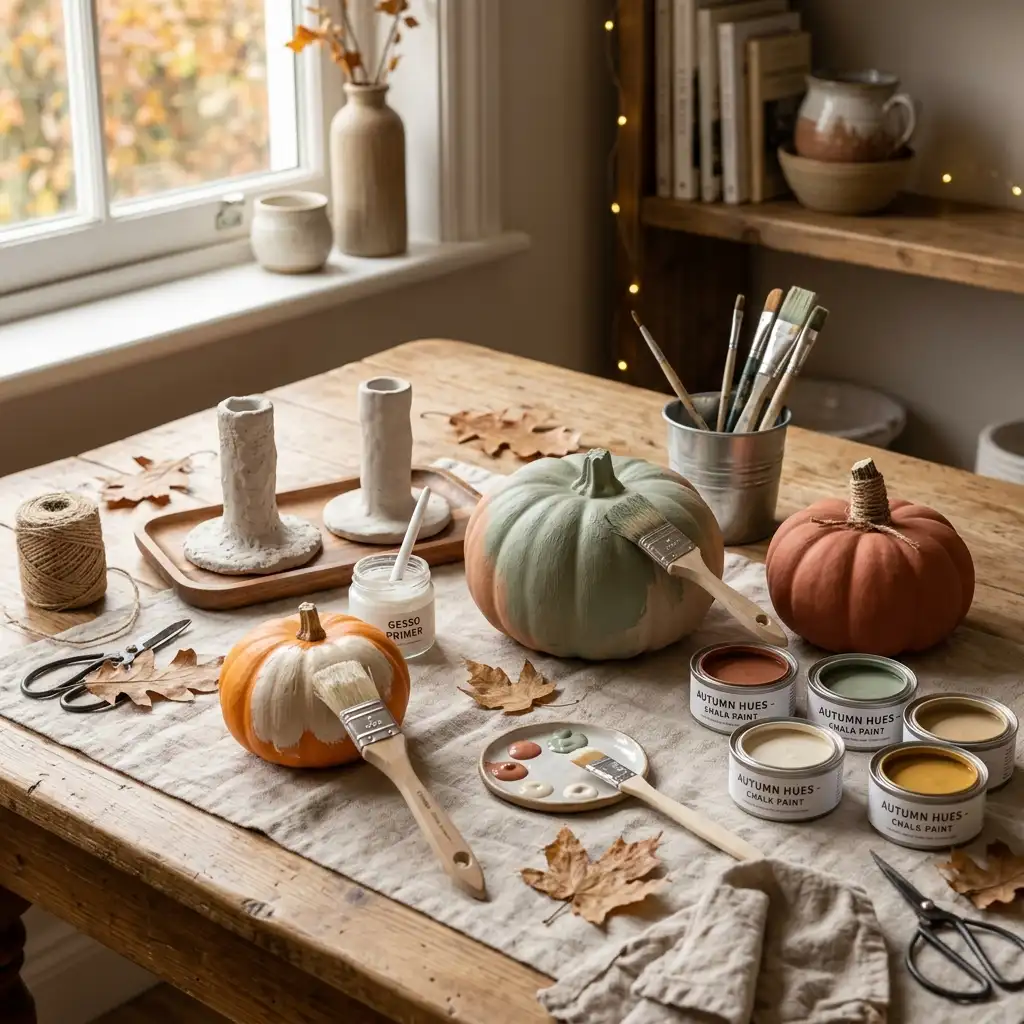
Five projects follow, and all five are finishing work rather than construction. Each one uses supplies you can buy in a single trip and produces something you would still put out next October. Wreaths are their own project with their own rules, so they are not covered here.
Pick two or three, not all five. A shelf holding three well-finished pieces looks planned. The same shelf holding a dozen small crafts looks like a table at a fair. Order matters too: start with the project that replaces the most expensive thing on your shopping list, then add smaller pieces once the palette is set. Paper projects such as our fall printables and wall art follow the same finishing rules if you want to add one later.
Refinished Faux Pumpkins
Blank faux pumpkins are the single best value in fall decor crafts. A plain one costs $4 to $9, and thirty minutes of paint turns it into the $25 stone-look version. Buy three in different sizes and treat them as one set.
The sequence matters. Scuff the whole surface with 220-grit sandpaper, sand the mold seam flat, wipe off the dust, then use a bonding or plastic primer. Paint chips at the stem within one season without that primer, because paint does not grip smooth plastic on its own. Finish with two thin coats of flat paint in cream, clay or a soft grey-brown, and paint the stem a darker shade than the body.
Material Note: A light dusting of a second, slightly darker color over a dry base gives faux pumpkins the uneven tone real ones have. Perfectly even color is what makes them look molded.
A Textured Vase From a Plain Glass Jar
A textured vase is the easiest stoneware look on this list. Start with a thrifted glass jar or a plain vase with a good shape — straight sides, a narrow neck, no printed logo. The shape does the work, so spend the two minutes choosing it well.
Mix a spoon of fine sand or baking soda into flat white or oat-colored paint until it feels gritty. Brush it on in two thin coats, letting each dry fully. The grit kills the glass shine and gives a chalky, unglazed surface that reads as ceramic from a few feet away. Leave the inside unpainted and keep it dry — use it for dried stems, not water.
One finished vase holds a shelf on its own. Our fall mantel decor guide shows how a single textured piece anchors a run of books.
A Basket With the Yellow Taken Out
New woven baskets are almost always too yellow. Fresh seagrass, water hyacinth and rattan leave the shelf with a bright golden cast that fights every muted color around them. It is the costume-orange problem again, this time in fiber.
One thinned coat of flat white or bone paint takes the yellow down without hiding the weave: brush it on in the direction of the strands, then wipe the surface back with a cloth before it sets, so pigment stays in the recesses and the raised fibers go pale. That wipe-back step is what separates a toned-down basket from a painted one.
Material Note: Woven plant fiber absorbs unevenly and darkens where the strands cross, so work in one thin pass rather than trying to correct a patch. Let the basket dry a full day before anything goes inside it.
Air-Dry Clay Taper Holders
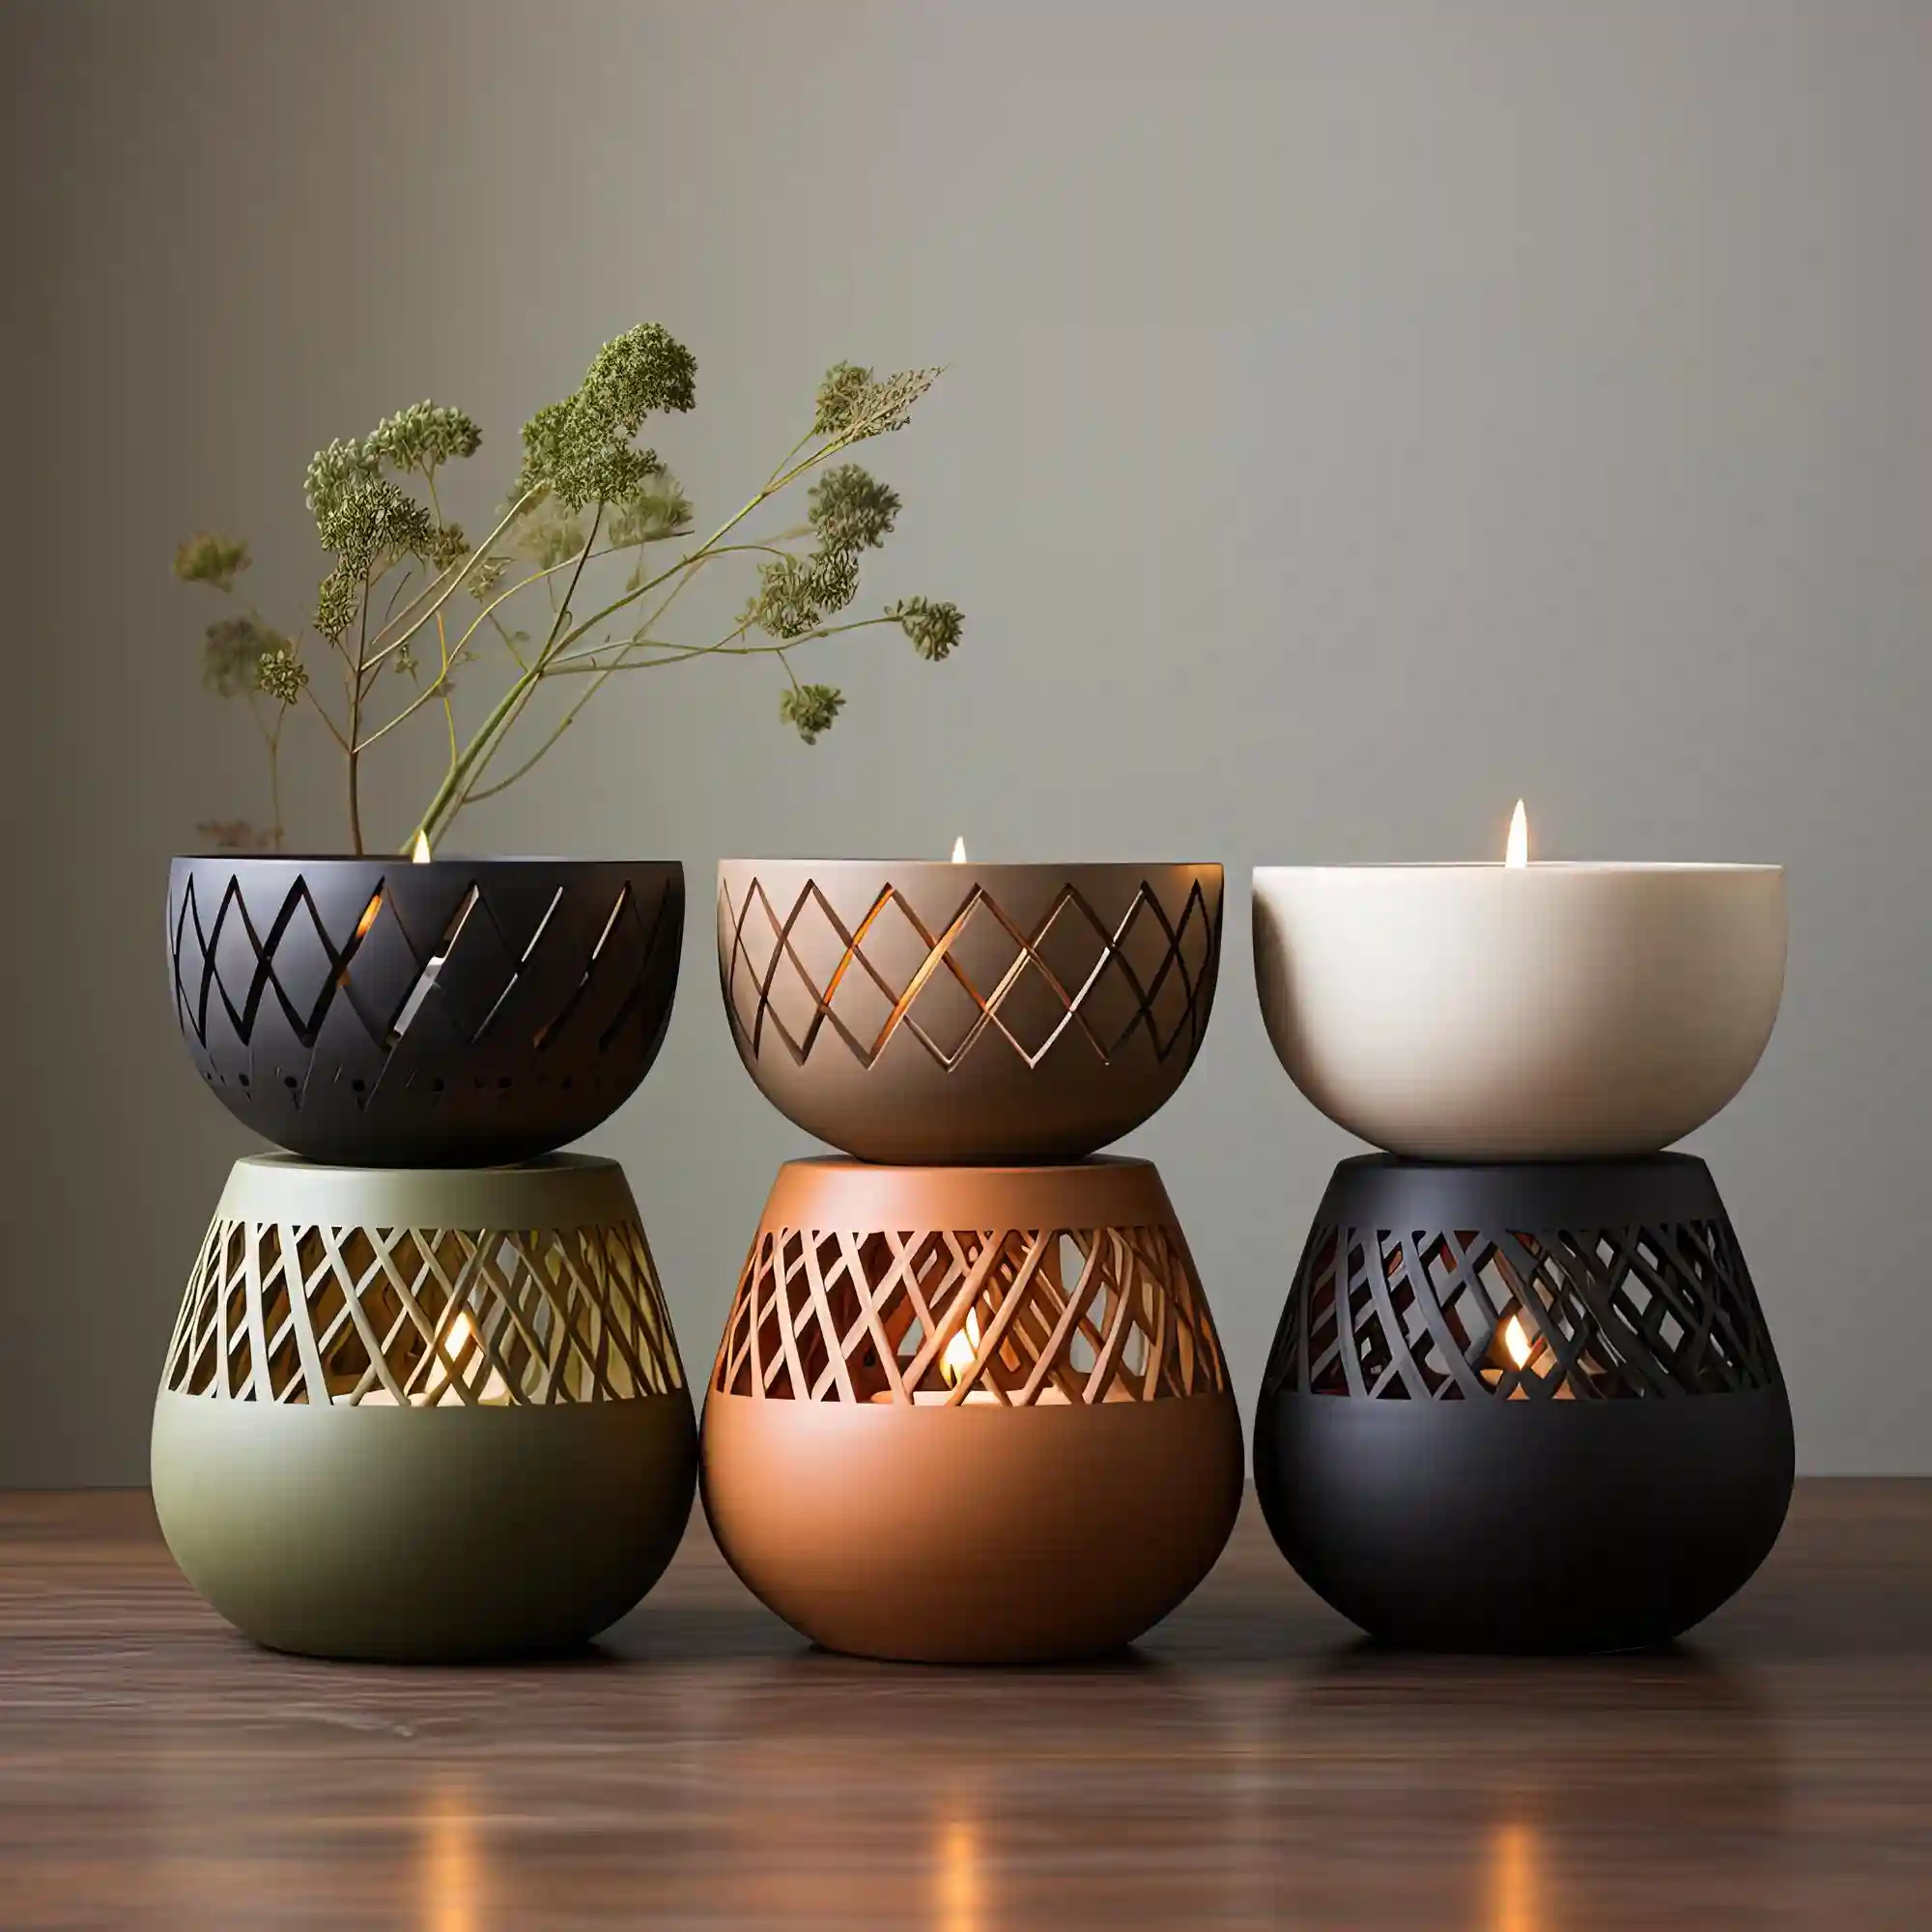
Air-dry clay taper holders take about twenty minutes of shaping and cost a few dollars a pair. Roll a ball roughly the size of a plum, flatten the base so it sits level, and press a spare taper candle into the top to form the socket. Twist it out gently and tidy the rim.
Then wait properly. Source Note: Crayola states that its air-dry clay “generally takes 24 hours to dry to the touch and 72 hours to dry completely,” and that sealed pieces are still not waterproof, so keep them indoors. Sand the dry surface smooth and seal it with a flat acrylic varnish. Leave the color raw, or paint it the cream or clay tone you used on the pumpkins so the set looks like one family. Air-dry clay is not heatproof, so fit a metal candle insert.
Safety Note: Never leave a lit candle unattended in a homemade holder, and check that the holder sits stable and level before you light it.
One Thrifted Object, One Coat of Paint
A thrifted object with one coat of paint is the fastest project here and often the best. Look for shape and weight rather than current color: a heavy ceramic bowl, a squat vase, a wooden candlestick, a small brass tray. Anything with a good silhouette and a bad finish is a candidate.
Clean it, scuff it, prime it if the surface is glossy, then brush or spray two thin flat coats in one of your three colors — outdoors or in a well-ventilated room. The result costs under $15 and looks like a careful buy, because the object underneath was one. The cheapest bases for this come from a Dollar Tree fall decor run, where the shape is right and only the finish is wrong.
How Do You Get the Finish Right?
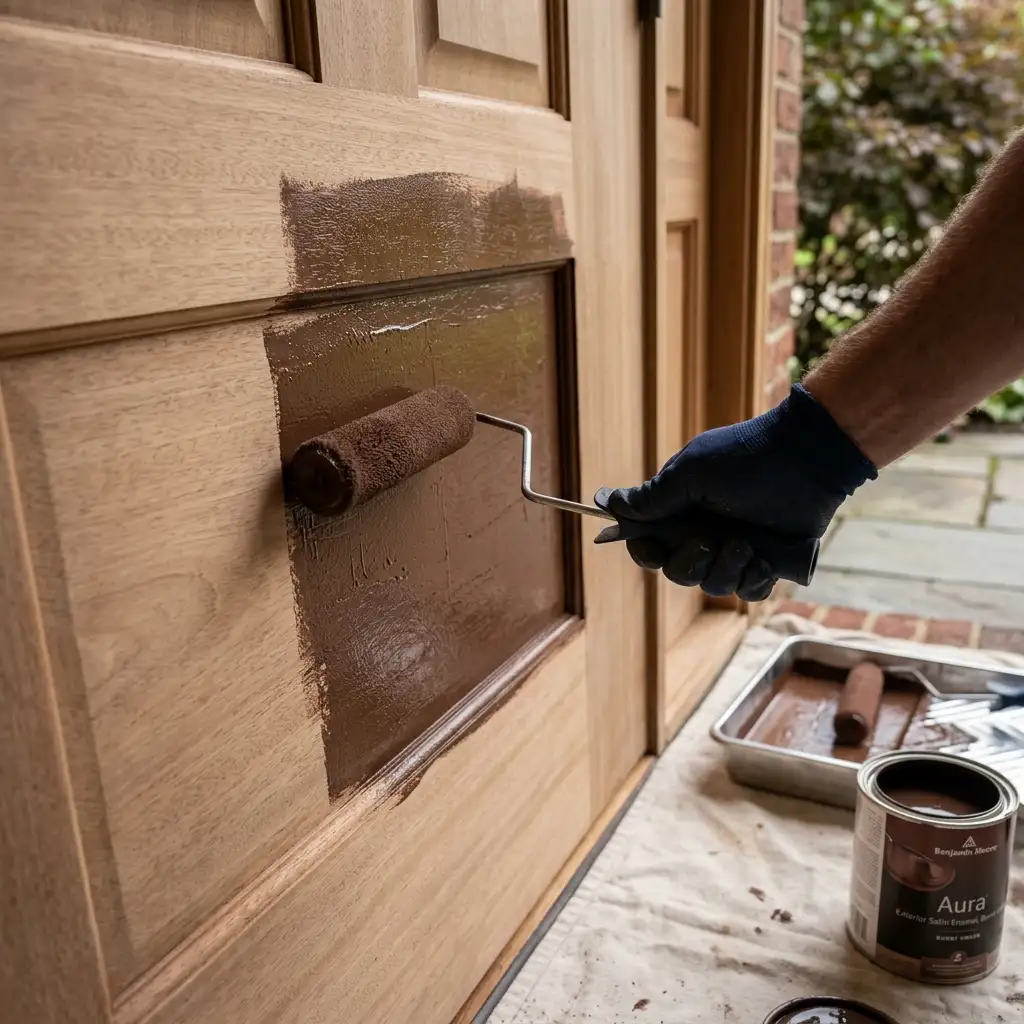
Five moves separate a passable craft from one that holds up all season, and none of them adds much time.
Choose the object first, the project second. A good shape in the wrong color is a twenty-minute fix. A bad shape is not fixable at any price.
Buy one primer, one flat paint and one sealer, then use them across every project. A shared palette is what makes separate pieces look like a set.
Work in thin coats and let each dry fully. Two thin coats look like a finish; one thick coat looks like paint sitting on top.
Finish the back and the underside of every piece. This one habit does more for the bought impression than any technique.
Place the finished pieces out of direct sun. Natural fiber, raw clay and any washed-back color fade fastest, and the Conservation Center for Art & Historic Artifacts notes that damage from light exposure “is both cumulative and irreversible.” A shelf across from the window, not on the sill, keeps color for years.
What Should You Check Before You Start?
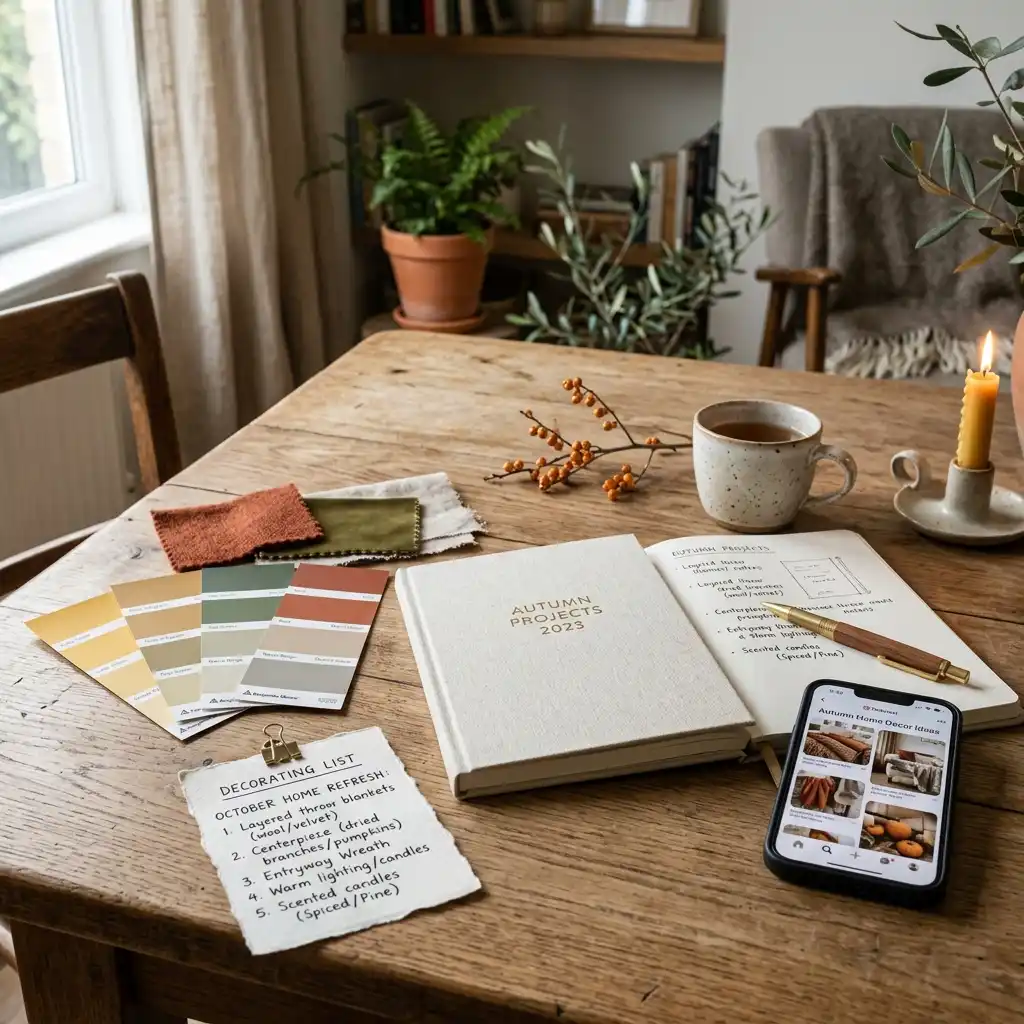
Run this list before you buy anything. It takes ten minutes and saves most wasted afternoons.
Pick your three autumn colors and write them down — ochre, muted clay and warm cream, for example.
Choose each object for its shape and weight, not its current color or price tag.
Check the surface: anything glossy or plastic needs 220-grit sanding plus a bonding primer.
Buy flat or matte paint, never satin or gloss, unless the piece should look like metal.
Plan where every glue joint will be hidden before you plug in the glue gun.
Clear one surface you can leave messy for two days while coats dry — a spare table, or a corner set up like these vintage craft room ideas. Decide your three colours first — our fall color palette guide sets the range before you open a tin.
KEY TAKEAWAY: The decisions you make before you start — color, sheen, surface prep and glue placement — matter more than any technique you use during the project.
Which Craft Habits Should You Break?
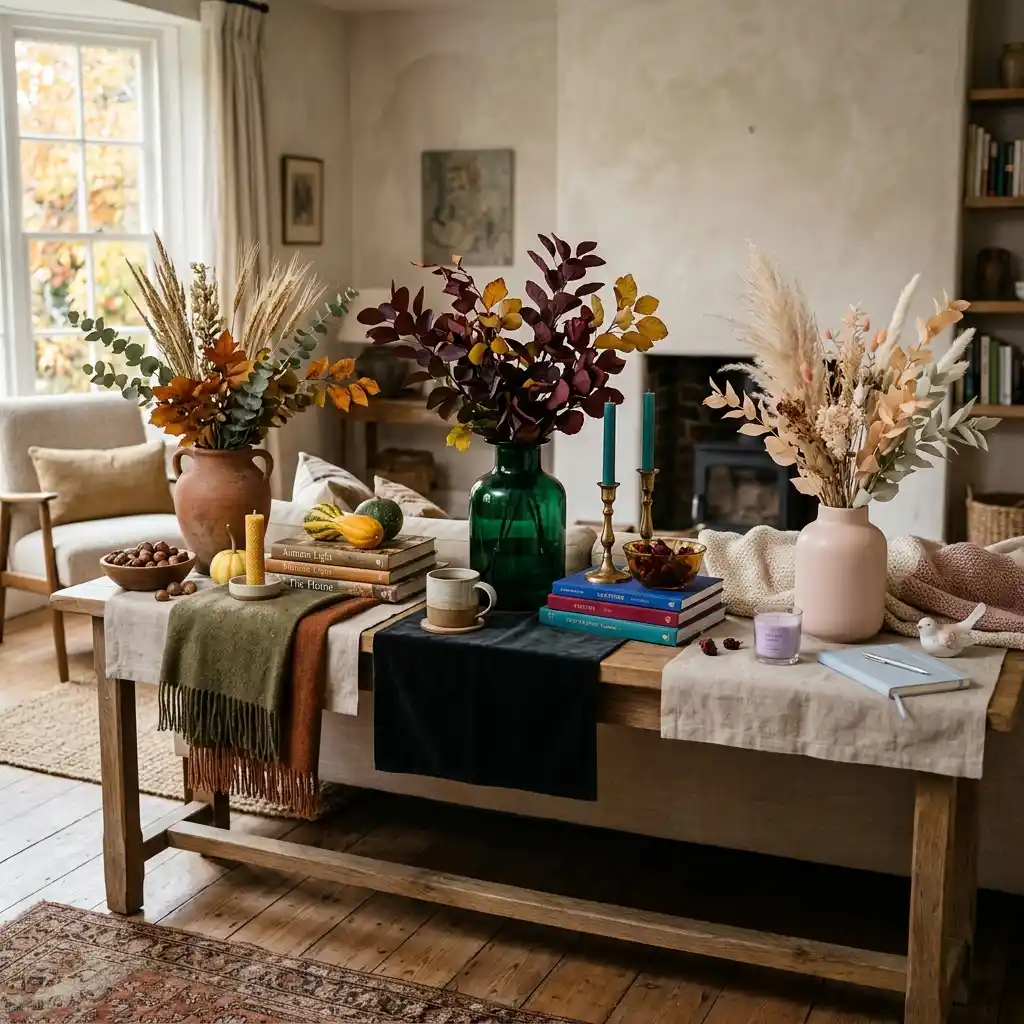
- Many people make a dozen small pieces because each one is quick, then spread them over every surface in the house. Twelve small crafts look like clutter no matter how well each is made. Make three larger pieces instead.
- Painting straight onto glossy plastic feels like a shortcut and costs you the piece. The paint lifts at the stem and along handled edges within one season. Scuff with 220-grit sandpaper and prime first, and the same paint stays put for years.
- Covering a bad edge with more decoration quietly ruins the most projects. A ribbon glued over a rough cut, or berries hiding a gap, pulls the eye straight to the problem. Fix the edge — sand it, hem it, paint it — and leave the decoration off.
- Mixing finishes inside one grouping undoes the work on every piece in it. A single glossy vessel sitting between three flat ones looks like the odd one out, not like variety. Keep one sheen across a set, and let shape and size carry the difference instead.
What an Afternoon of Crafting Actually Costs
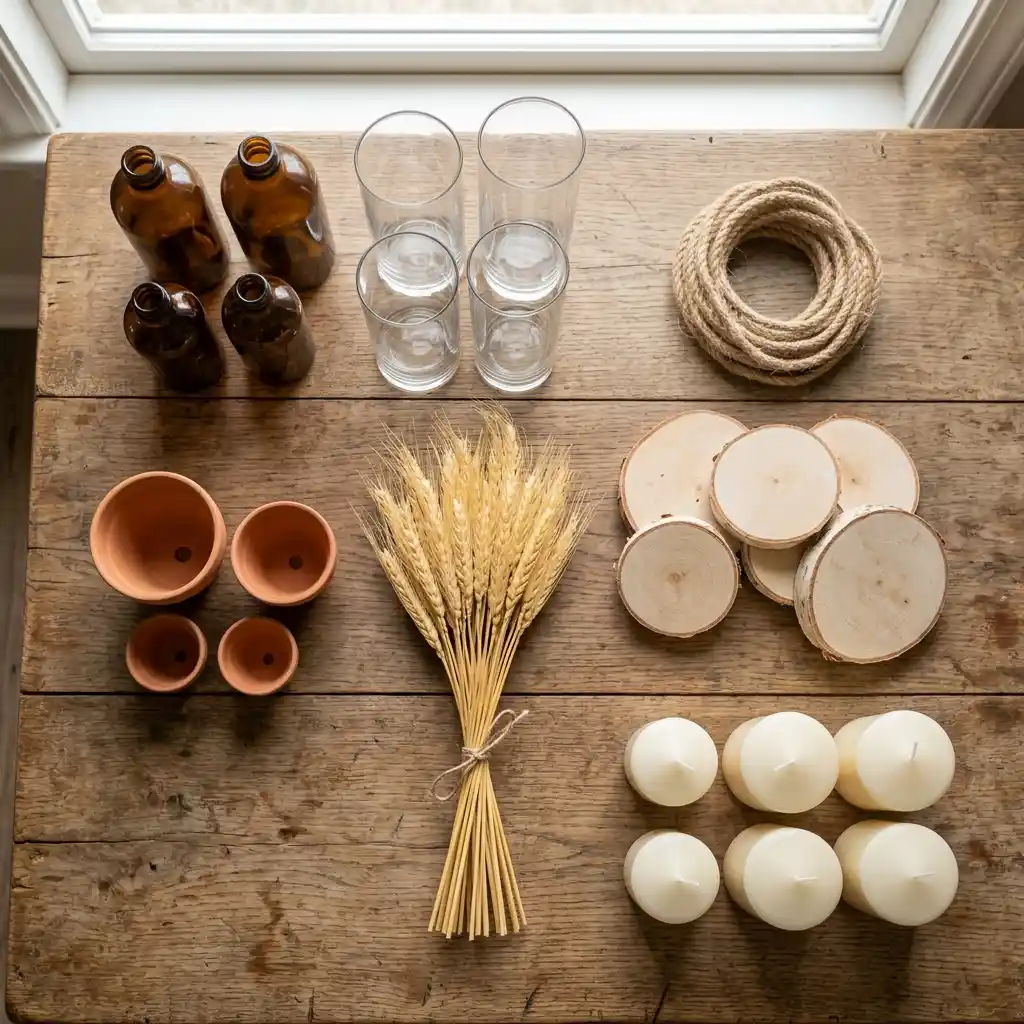
Fall decor crafts are cheap by any standard, but the spread between one small project and a full set is wider than most people expect. There is more on where the cheap half of the money should go in our budget fall decor guide if you want to keep going after this list.
| Project | Estimated Cost | Impact Level |
|---|---|---|
| Textured vase from a thrifted glass jar | $8-$15 | Medium |
| Air-dry clay taper holders (pair) | $10-$20 | Medium |
| Toned-down woven basket, basket included | $12-$28 | Medium |
| Refinished faux pumpkins (set of three) | $18-$32 | High |
| Full supply kit — primer, flat paint, clay, sealer, brushes | $60-$110 | Very High |
Best First Upgrade: A can of bonding primer and one quart of flat paint in your main autumn color, because both get used on every project you make this season and next.
Skip for Now: Specialty craft kits with pre-cut shapes and pre-printed motifs — they cost more than raw supplies and lock you into someone else’s palette.
Where I Land on Handmade Fall Decor
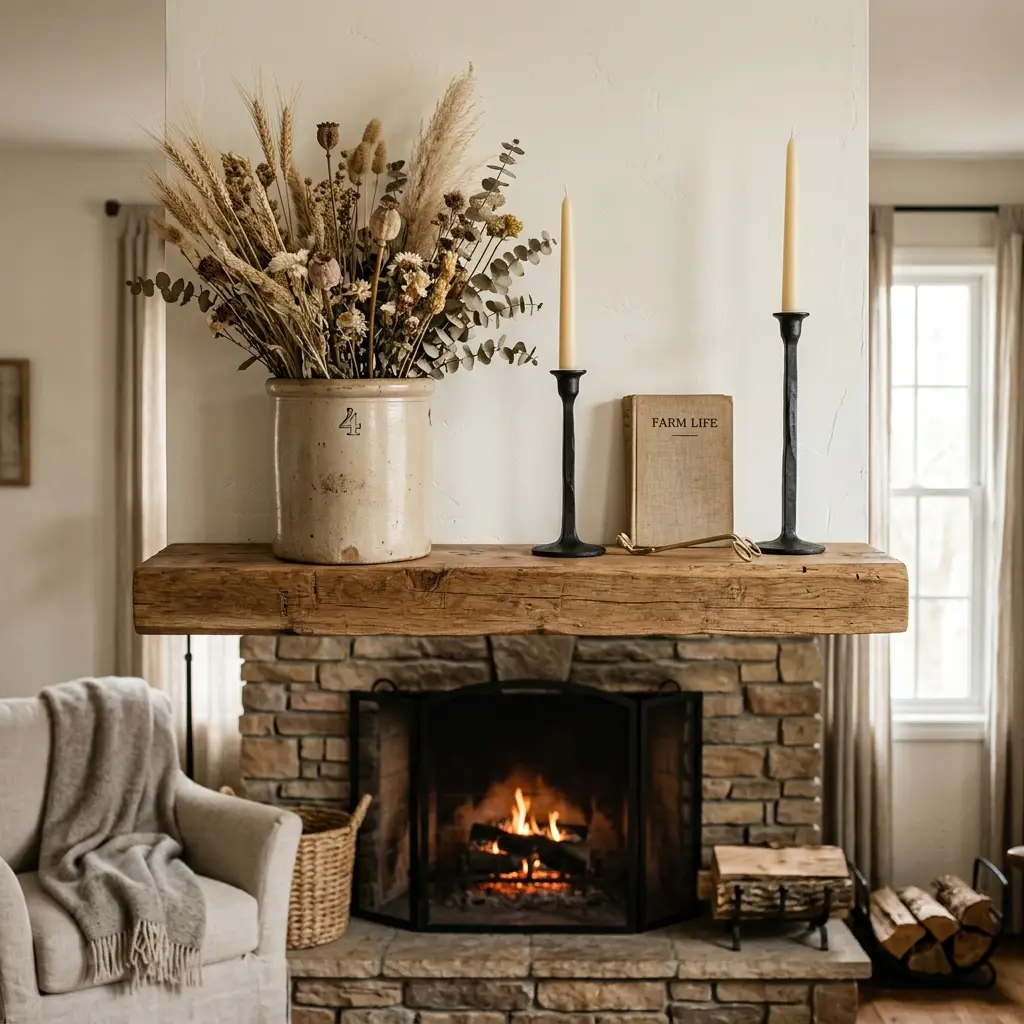
Handmade autumn decor is worth the afternoon under one condition: the project has to be finishing work on a real object. Shapes cut from foam keep producing pieces that look exactly like what they are. A sanded and repainted object sits on a shelf beside store-bought pieces without apologizing.
Designer’s Verdict: Refinished faux pumpkins win as the first project — they cost the least, take the least skill, and replace the most expensive thing on the average fall shopping list.
This style of making also lasts past the season. A cream vase and a pair of clay candle holders stay out in January beside your cozy winter decor, while anything printed with leaves goes back in the bin on November 1st.