Most DIY Fall Wreath Tutorials Skip the Part That Matters
Most DIY fall wreath tutorials show you the finished piece hanging on a sunny front door. They skip the part that happens two weeks later, when one stem slides loose and the whole cluster droops sideways — and they rarely mention that sizing the wreath to the door is a separate decision from building it. The photo never shows the gap.
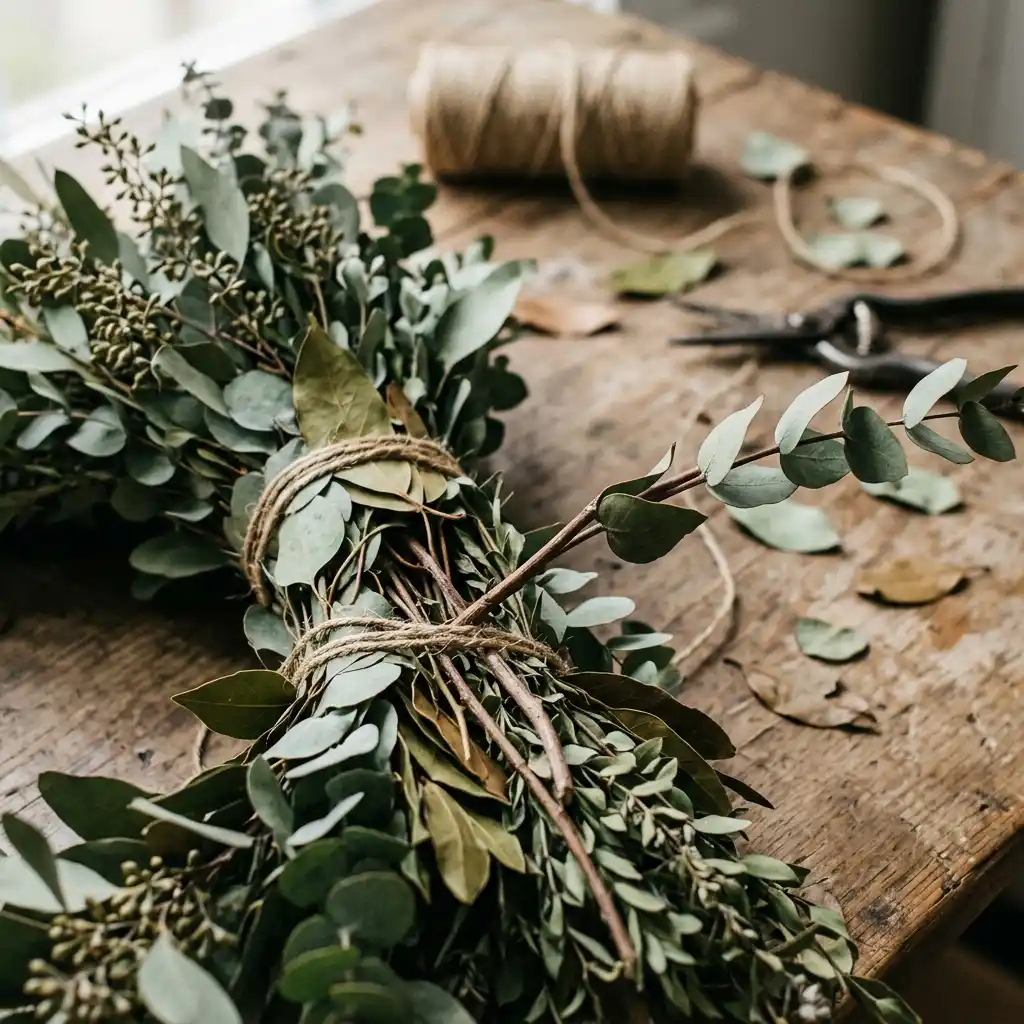
A DIY fall wreath holds together when the base, wire gauge, and bundling technique are right, not when the florals cost more. Group stems in bundles of three to five, wire each bundle to the frame with 22 to 24-gauge paddle wire pulled tight on every wrap — our fall wreath supplies list covers the gauges and tools worth buying, and overlap each new bundle’s stem ends under the last one’s greenery. Skip any of those three steps and the wreath loosens within a month, no matter how full it looked on day one.
Looking for more ideas? Explore our full guide to Fall Wreaths.
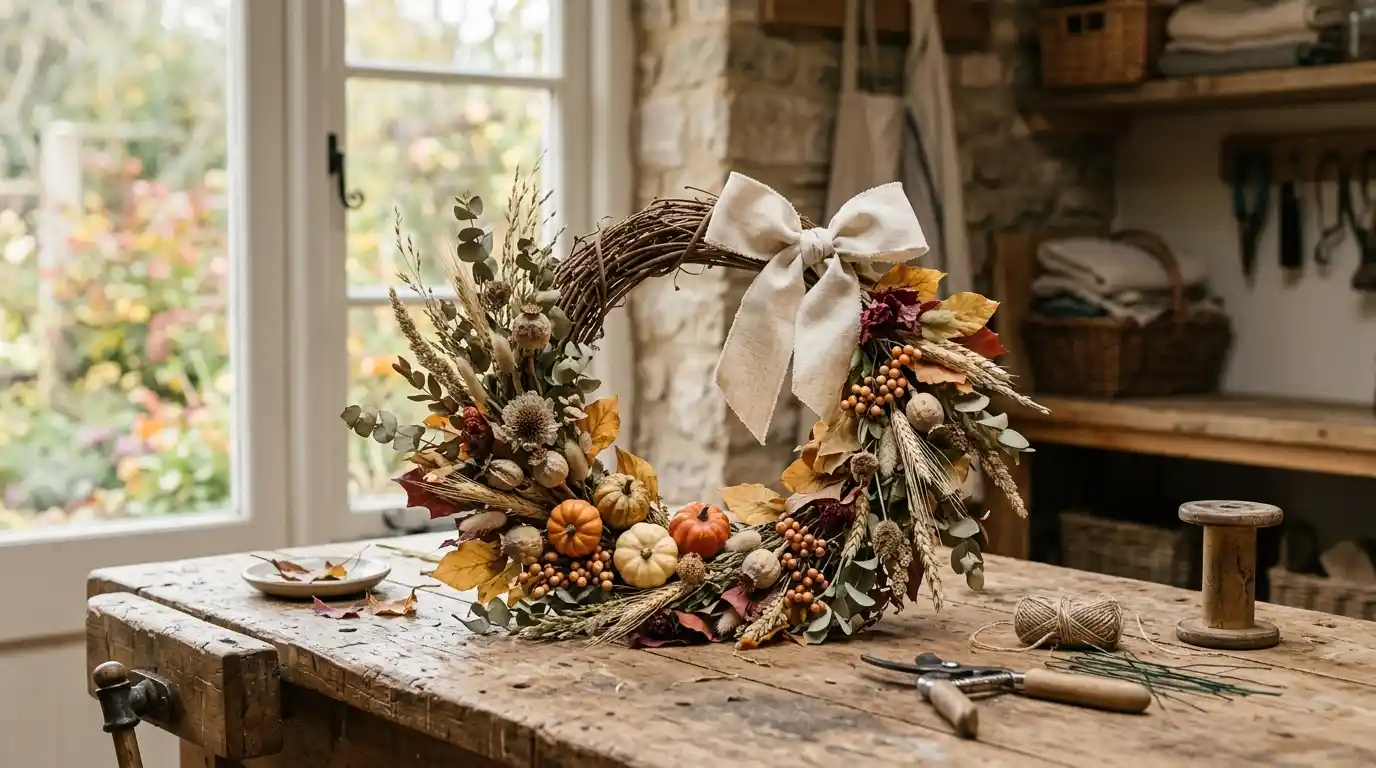
If you have ever built a wreath that looked perfect on the workbench and sad on the door a month later, you are not alone. Editorial field note: a grapevine wreath base built with three-to-five-stem bundles and 24-gauge wire holds every cluster in place through a full season outdoors. The same base with single stems pushed in loosely, no wire at all, sheds pieces within the first week of wind. A fully leaf-covered wreath behaves differently again, since the form disappears under the foliage. The difference is never the florals. It is the technique underneath them.
This guide covers what most fall wreath posts skip: the base to start with, the wiring technique that actually holds, drying times if you are working with real or preserved botanicals, and the fixes for a wreath that is already falling apart. If you want the finished styles and front-door sizing first, our fall wreath ideas roundup covers the looks worth copying before you build. For more seasonal projects like this one, browse our home decor inspiration.
DIY Fall Wreath Checklist
Run through this before you sit down to build:
- Pick a wire, grapevine, or straw base sized to where the wreath will hang.
- Buy 22 or 24-gauge paddle wire — thick enough to hold, flexible enough to bend by hand.
- Group stems in bundles of 3 to 5 before wiring, never one stem at a time.
- Set aside 2 to 7 days for silica-gel drying, or up to 3 weeks for air-drying fresh stems.
- Keep a low-temperature glue gun on hand for faux or delicate material.
- Test the wreath’s balance by holding it up before attaching the hanging loop.
- Budget $20 to $65 for a full first build, base included.
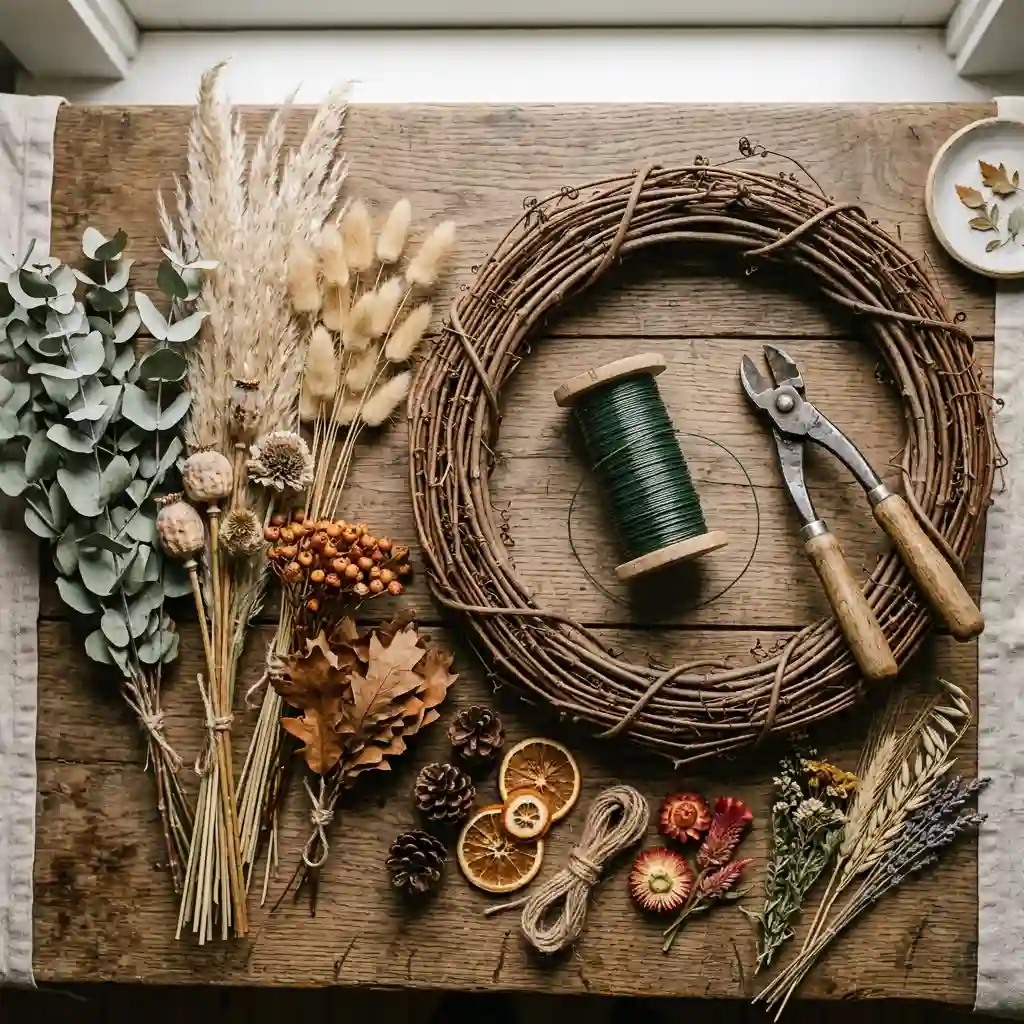
KEY TAKEAWAY: A DIY fall wreath holds together because of the wiring technique and bundle size, not the flowers you choose.
Why Are More People Building Their Own Fall Wreath This Year?
Search interest has clearly split. Shoppers searching “fall wreath” want a finished piece to buy. Shoppers searching how to make a fall wreath or wreath diy fall want the raw materials and a method, not a finished product. Craft retailers have followed the shift, selling bare wire frames, dried stem bundles, and paddle wire as their own bundled kits instead of an afterthought next to the finished wreaths.
Signs This Is Catching On:
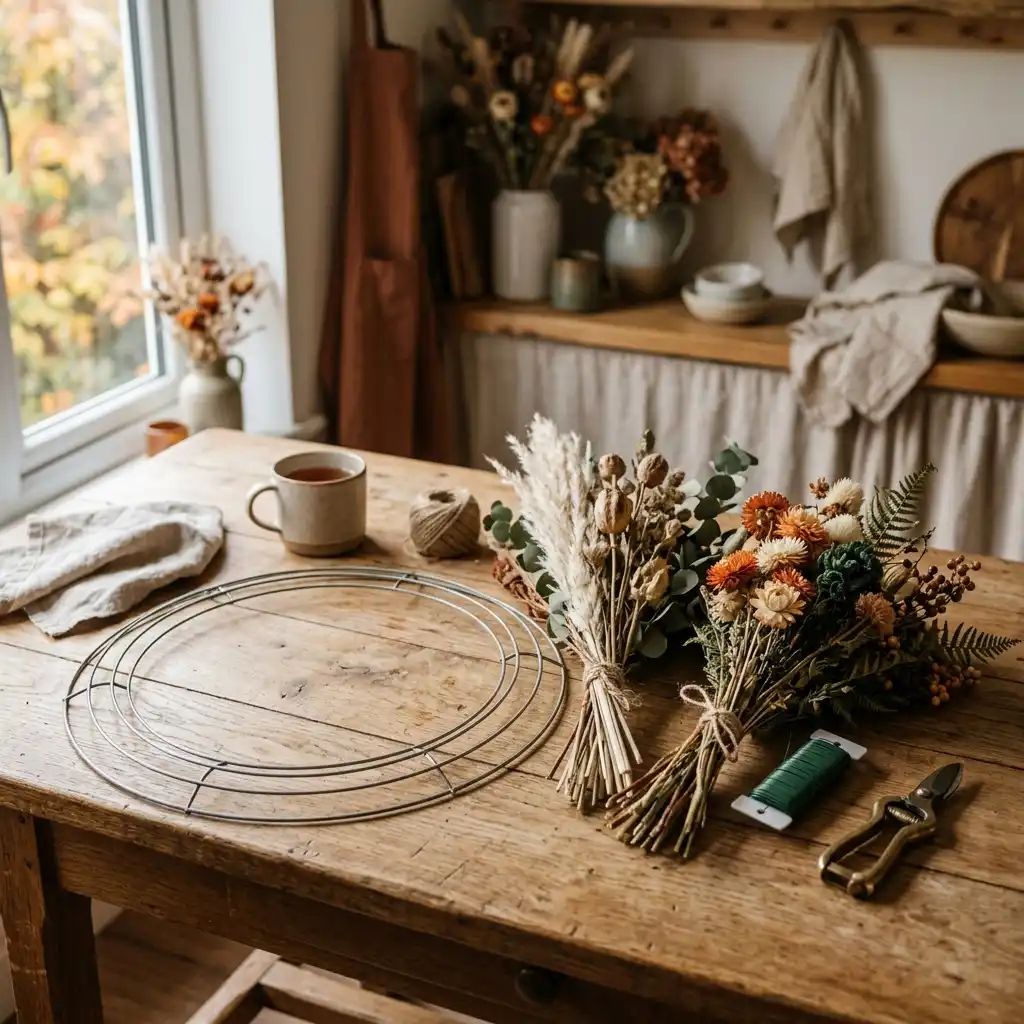
Craft stores now stock wreath-making classes as a regular fall workshop, not a one-off event. Bare grapevine and wire frames are sold beside pre-cut floral bundles specifically marketed for building, not decorating a finished piece. The color story has also shifted the same way it has across more fall decorating ideas — muted cream, umber, and sage stems now outsell saturated orange in most DIY bundle kits.
Building your own also solves the sizing problem a store-bought wreath cannot. A DIY fall wreath can be built to the exact size a door needs, rather than picked from three standard diameters. It can be pulled apart and rebuilt for spring or winter using the same frame — see modern spring wreath ideas for how the same base carries into a completely different season. That reuse is the real payoff of learning the technique once instead of buying a new finished wreath every year.
What Do You Need to Build a DIY Fall Wreath?
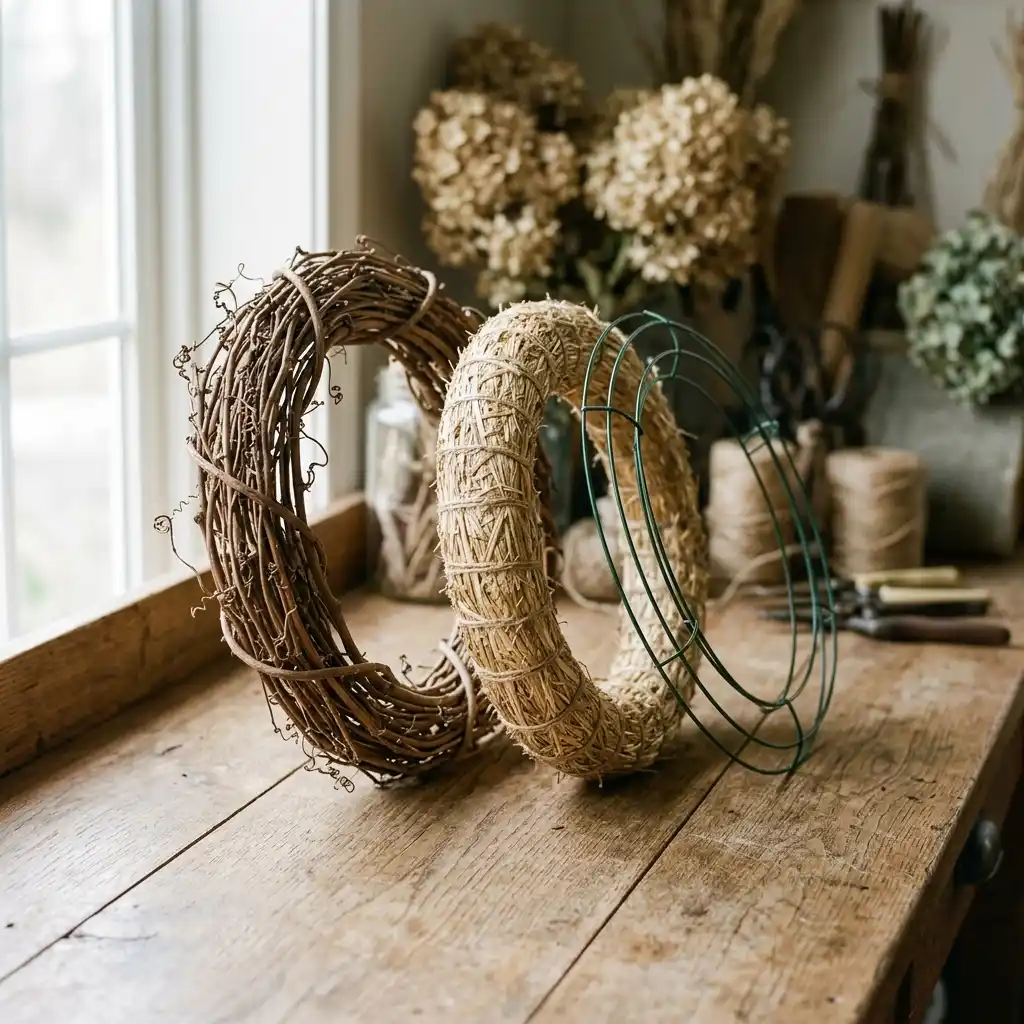
Every DIY fall wreath starts with three purchases: a base, a wire, and the material that covers it. Get these three right and the rest of the project is mostly assembly. For more budget-friendly builds like this one, browse our DIY ideas archive.
Choosing Your Wreath Base
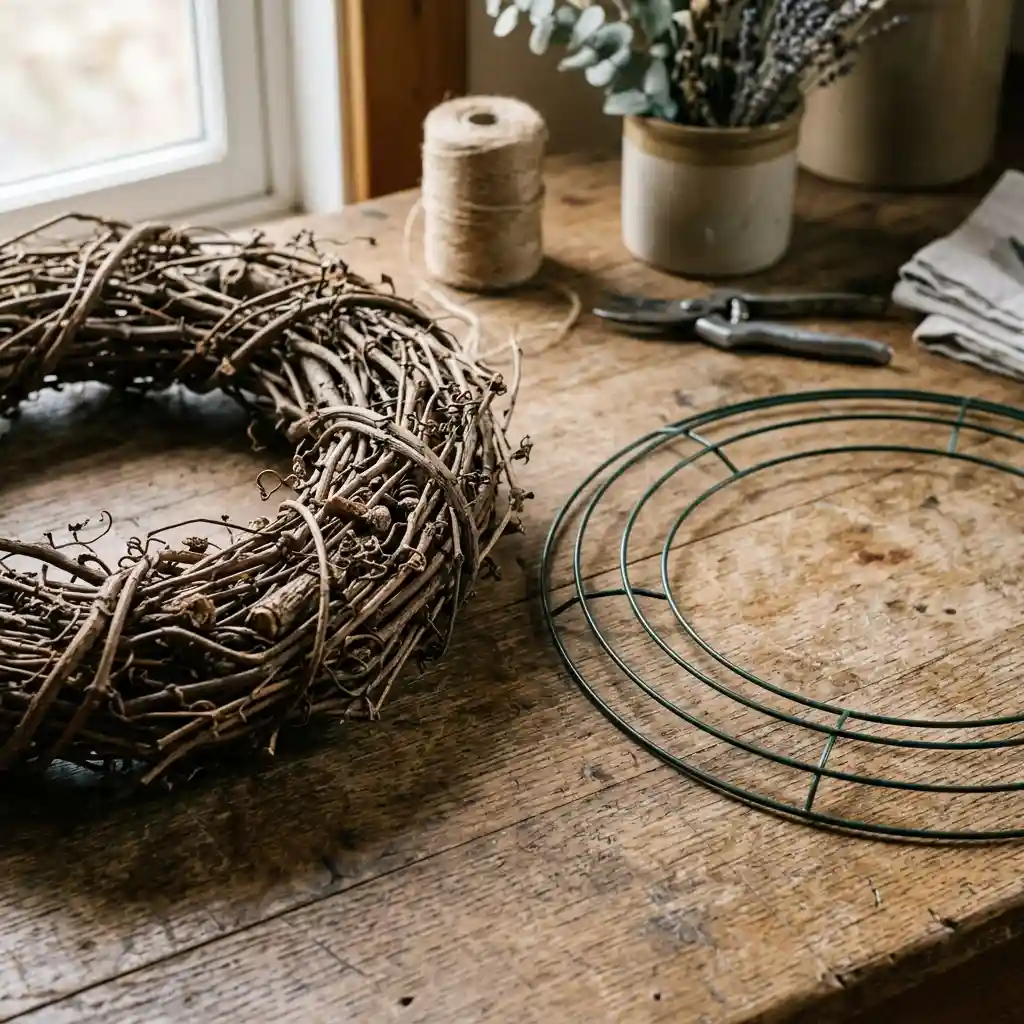
A grapevine wreath base is the easiest starting point for a first DIY fall wreath. The tangled vines grip floral stems on their own, so a beginner can tuck material in before adding any wire or glue. Grapevine bases run $8 to $18 for a 14 to 18-inch size and hold up well outdoors across a full season.
A wire frame base is the sturdiest option for a heavy build — dried pods, mini pumpkins, or a thick ribbon bow all need the structure a wire frame gives. It provides zero grip on its own, though, so every bundle must be wired on rather than tucked in. Straw bases are the cheapest option, usually $4 to $10, but they compress under dense material and shed loose straw within a season, so they suit a lighter, single-season build rather than one you plan to reuse.
Designer Rule of Thumb: match the base to the weight of your material — grapevine for a mixed dried-and-faux build, wire frame once pinecones, mini pumpkins, or a substantial bow enter the plan. If floral hand-crafting appeals to you beyond the wreath itself, DIY floral wall hangings uses many of the same wiring and bundling skills in a different format.
The Wire, Glue, and Tools You’ll Actually Use
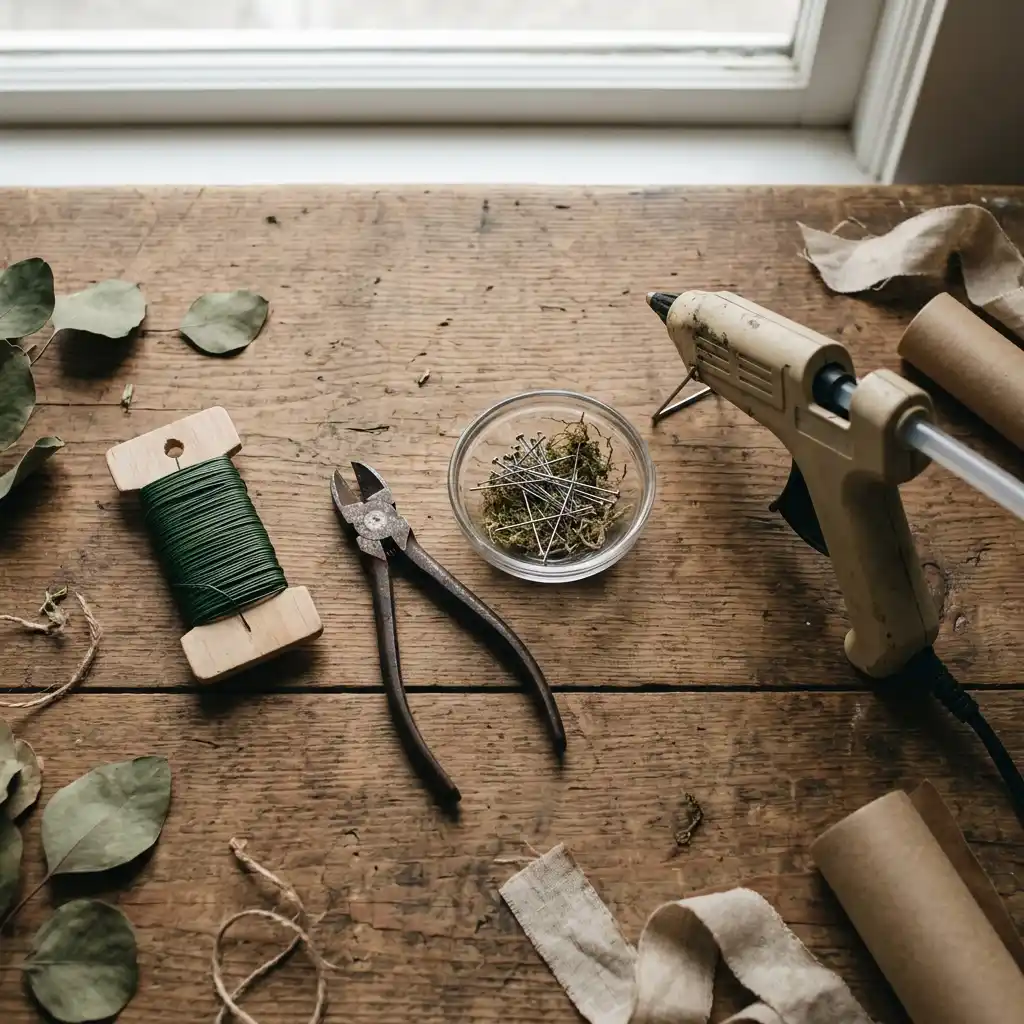
Paddle wire in 22 or 24-gauge is the standard choice for wiring stem bundles to a frame. The 22-gauge wire is thicker and easier to grip for anyone with larger hands or arthritis, while 24-gauge is thinner and bends more easily around delicate stems. Both hold a bundle of dried or faux material without cutting into it.
A glue gun rounds out most builds, mainly to lock a bundle’s stem ends flat against the frame after wiring, or to attach a bow. Safety Note: standard high-temperature glue guns run 380 to 450 degrees Fahrenheit and can cause a real burn on contact, according to Bond Products’ glue gun safety guidance — a low-temperature gun, which runs closer to 250 degrees, is the safer choice for faux florals, foam, and thin ribbon. Wire cutters, floral shears, and a handful of floral pins for securing bows finish the tool list.
DESIGNER TIP: Wire every bundle in the same rotational direction around the frame. Reversing direction even once creates a visible seam where the stems point opposite ways instead of flowing around the circle. The same wire-and-glue tool kit works for wall hanging craft ideas beyond wreaths, so it is worth building once and reusing across projects.
How to Build a DIY Fall Wreath Step by Step
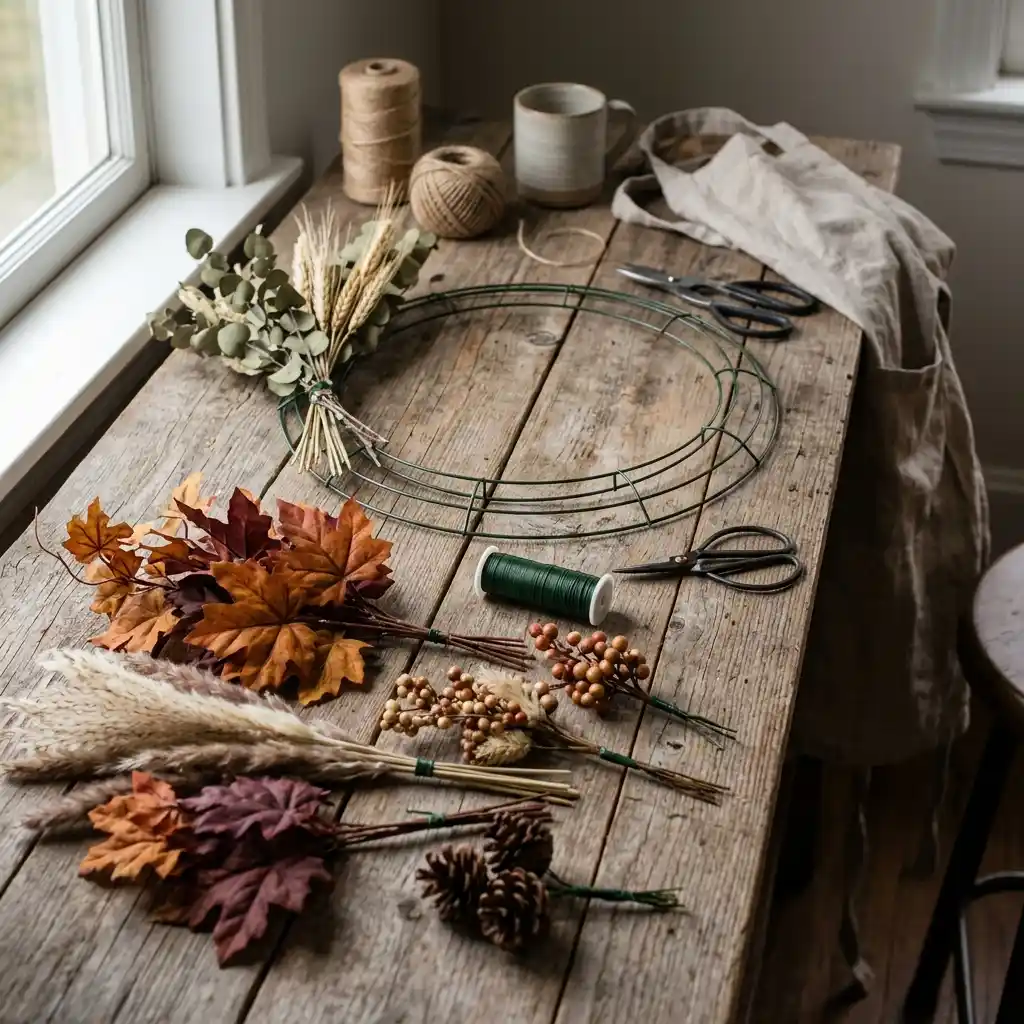
Building a DIY fall wreath comes down to five steps: prep the base, bundle your stems, attach the bundles around the frame, layer and check the shape, then finish the hanging loop. Each step below explains what to do and why skipping it causes problems later.
Step 1 — Prep the Base and Mark the Hanging Point
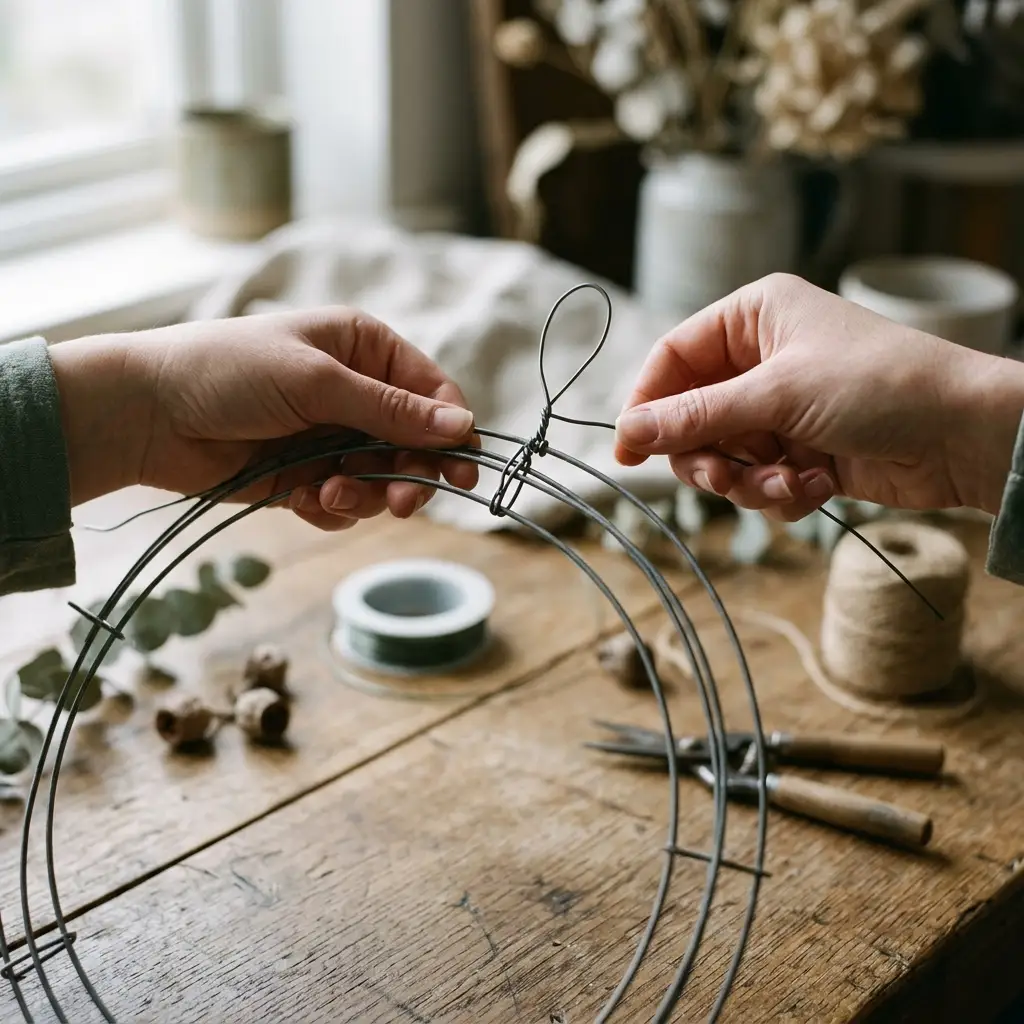
Start by tying a short loop of wire or twine to the top of the frame before adding any material — trying to find the top after the wreath is full wastes time and risks damaging finished work. If you are using a grapevine base, give it a quick wipe to remove loose bark and debris; a wire frame needs no prep beyond checking that the rings are tight where they overlap. Lay the base flat on your workbench so you can see the whole circle at once instead of working blind around the back.
Step 2 — Bundle and Wire Your Stems

Group your florals, grasses, or leaf stems into small bundles of three to five pieces each — this is the single most important habit in the whole build. A bundle this size wires securely and lies flat against the frame; a single stem slips loose within days, and a bundle of eight or more creates a lumpy, uneven section that will not sit flush.
Lay each bundle against the frame, then wrap paddle wire around both the bundle and the frame three to five times, pulling firmly on every pass. Do not cut the wire between bundles. Instead, lay the next bundle so its stem ends sit under the greenery of the one before it, then continue wrapping your way around the circle in one continuous piece.
Step 3 — Attach Bundles Around the Frame
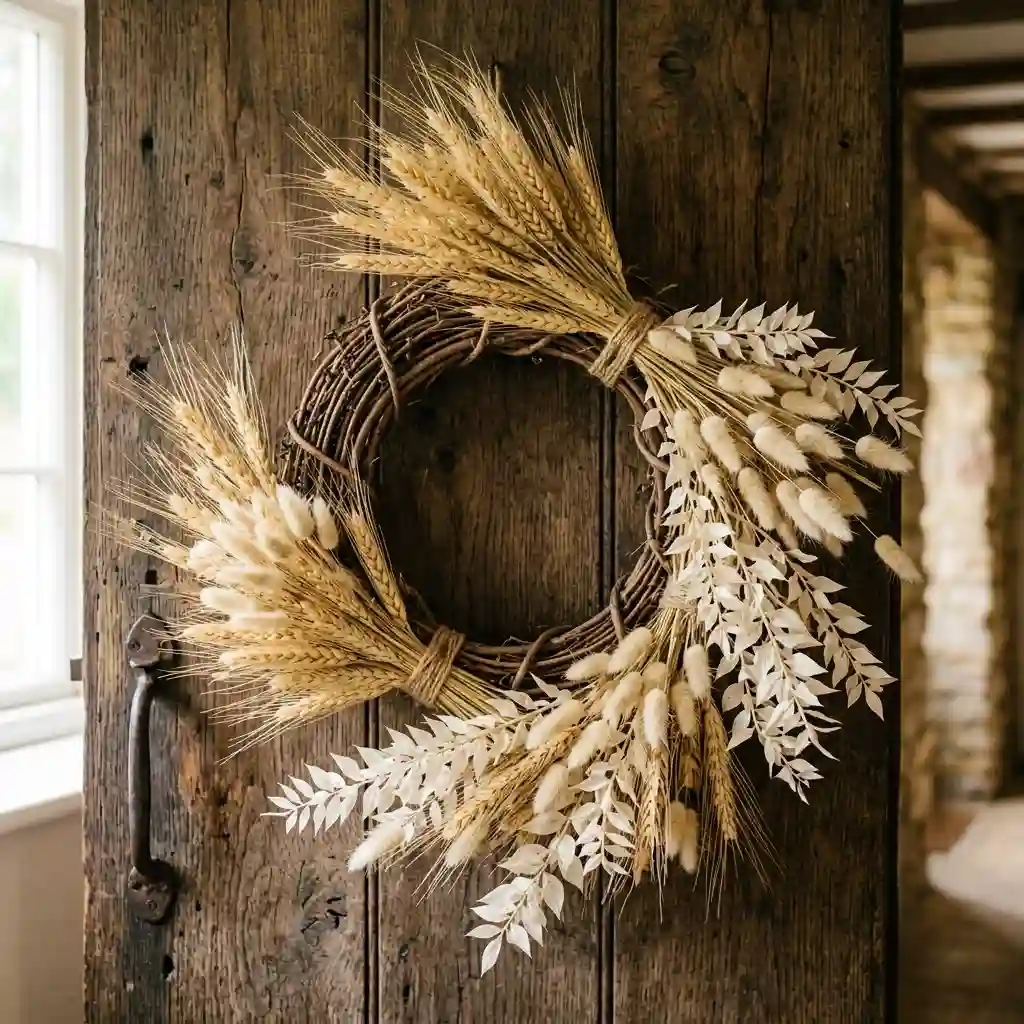
Work in one direction around the frame, checking every third or fourth bundle from an arm’s length away rather than up close. Up close, small gaps and overlaps are hard to spot; from a few feet back, an uneven section becomes obvious immediately. Add a small dot of hot glue under each wired bundle’s stem end, not on top of the visible material — this reinforces the wire joint without gluing the botanical pieces into a stiff, flattened clump.
When you reach the final bundle, tuck its stem ends under the very first bundle you placed, then wire it down the same way. This closes the circle so no bare frame or exposed wire shows anywhere around the wreath.
Step 4 — Layer, Fill, and Check the Shape
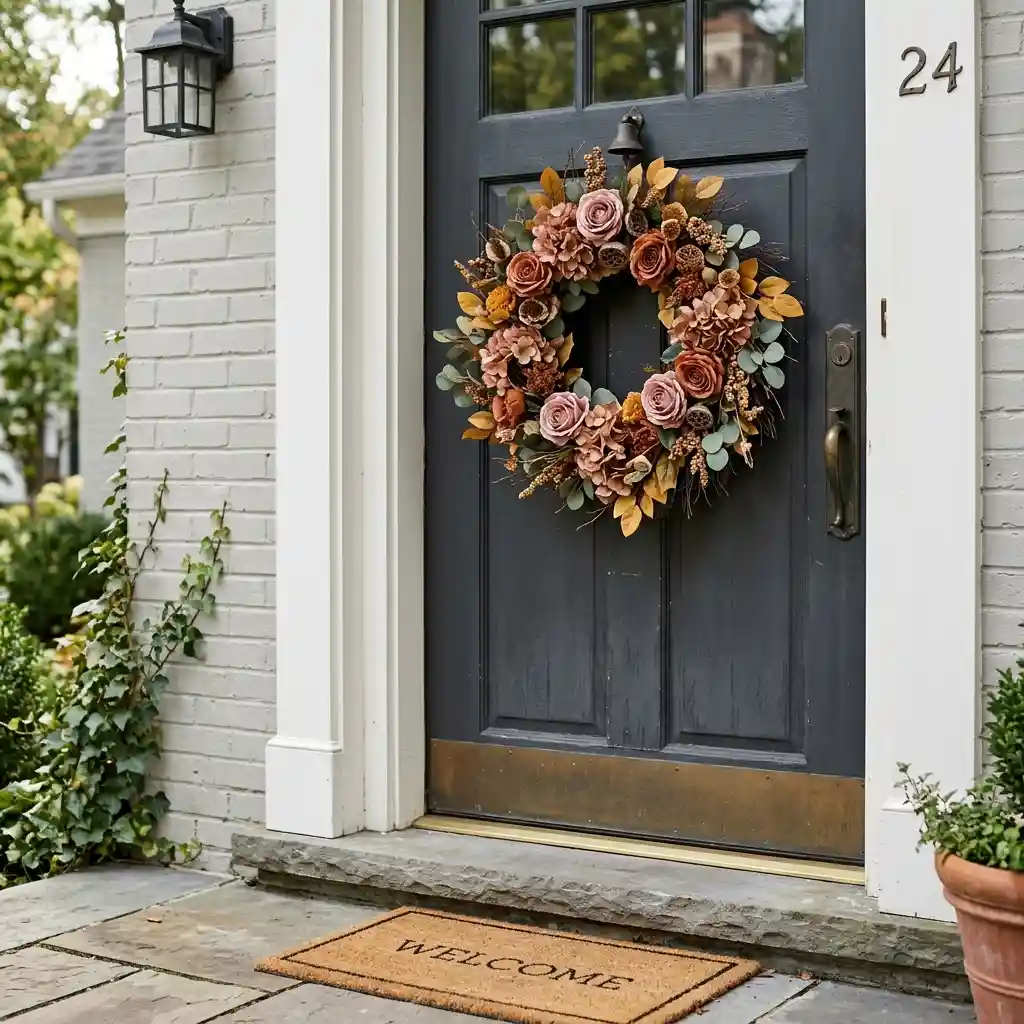
Once the base layer of bundles covers the frame, go back around a second time to fill any thin spots and add depth. Tuck smaller accent stems, like dried wheat, mini pods, or a few faux berries, directly into the gaps between bundles rather than wiring on a whole new layer. This step is where a flat, one-dimensional wreath becomes a full, layered one.
Hang the wreath on a hook or a doorknob and step back to check its shape before calling it finished. Heavier material tends to pull one side down, so shift a few stems from the fuller side to the thinner one until the circle looks even from a few feet away. If you want fully handmade accents instead of buying faux stems, felt flower craft ideas shows how to make your own for the gaps.
Step 5 — Finish the Hanging Loop and Bow
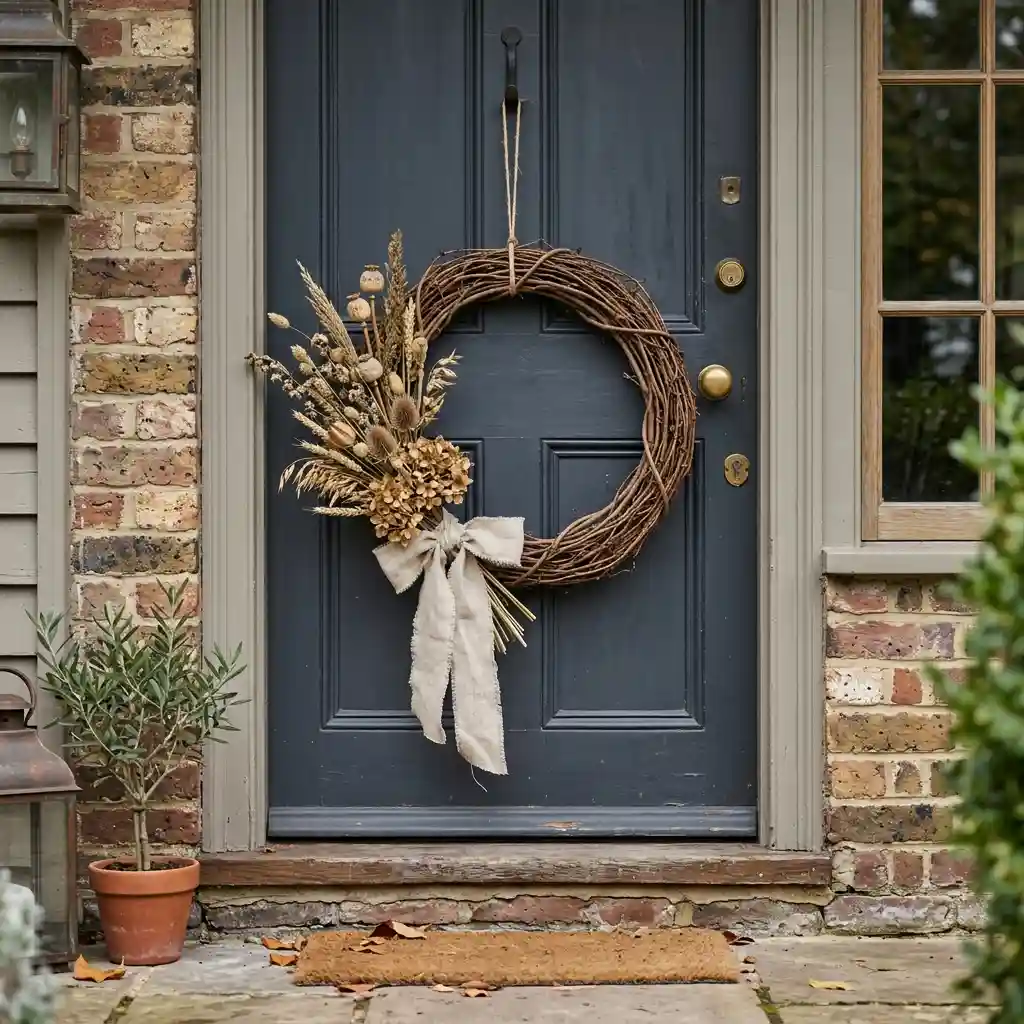
Check that the wire loop you tied in Step 1 is still secure, and reinforce it with a second wrap of wire if it feels loose under the wreath’s full weight. If you are adding a bow or ribbon, wire it on rather than gluing it alone — glue can release in cold or damp weather, but a wired bow stays put through the whole season. Trim any wire ends flush against the frame so nothing pokes through the front. Once it’s built, size the finished piece the same way our spring wreath for front door ideas guide recommends — the door-width math holds regardless of season.
How Long Does Dried or Fresh Material Take to Cure?

Timing matters if your DIY fall wreath uses real botanicals instead of faux stems. Silica gel is the fastest method: most flowers dry in 2 to 7 days depending on thickness, according to Proven Winners’ guide to silica-gel drying, with delicate blooms finishing sooner than dense ones like roses. Air-drying by hanging stems upside down in a dark, dry space is slower and typically takes one to three weeks, depending on humidity and stem thickness.
Material Note: fresh-cut greenery shrinks noticeably as it dries, even after it is wired into a wreath. A wreath built with fresh material often looks slightly gappy within two to three weeks as stems lose volume, so either overfill fresh sections by about 20 percent or plan to add a second, faux layer later in the season. A covered or enclosed porch extends a real-botanical wreath’s life by shielding it from direct rain and sun.
If you do not want to wait, faux or preserved stems skip the drying step entirely and hold their shape all season. Mixing a faux base layer with a few real dried accents gives you the drying wait on only a small portion of the wreath instead of the whole build.
Why Does My DIY Wreath Keep Falling Apart?
A DIY fall wreath usually fails in one of five predictable ways, and each one traces back to a step in the build rather than bad luck with materials.
Stems sliding loose happens when a bundle was wired too loosely or the bundle itself was too large for the wire gauge to grip properly. Rewire with smaller three-to-five-stem bundles and pull each wrap tight — a loose wrap that looks fine on the workbench will not hold once wind or a closing door moves the wreath.
An uneven or lopsided shape usually means the bundles varied too much in size while you worked, or you never stepped back to check the whole circle until the end. Keep bundles a consistent size and check the shape from a few feet away every third or fourth bundle, not just once at the finish.
Sagging over time is almost always a weight-distribution problem. Heavy accents like pinecones or dried pods clustered on one section pull that side down within days, no matter how well the wire was wrapped. Spread heavy pieces evenly around the circle before adding lighter filler material on top.
Visible gaps after a few weeks point to fresh material that shrank as it dried, or a section that was underfilled during the second layering pass. Go back and tuck in a few extra accent stems rather than starting over — this is a five-minute fix, not a rebuild.
A bent or warped frame comes from pairing a heavy build with wire that is too thin, or a wreath frame gauge that was never meant to hold that much weight. Match a wire-frame base to embellishment weight before you start, and reinforce the frame’s back with an extra wire wrap if you are building something dense.
What Does a DIY Fall Wreath Cost to Build?
A DIY fall wreath costs less than most store-bought versions once you already own basic craft tools, and the price scales with the base and material you choose. For more ways to stretch a decorating budget, our budget decor ideas archive covers other low-cost seasonal projects.
| Project | Estimated Cost | Impact Level |
|---|---|---|
| Grapevine base plus faux or dried stem bundles, supplies only | $20-$40 | High |
| Wire frame base, paddle wire, and a mixed faux/dried stem kit | $35-$65 | High |
| Full first-time build including glue gun, wire cutters, and floral pins | $60-$120 | Medium |
Best First Upgrade: A grapevine base with a mixed dried-and-faux stem bundle is the most forgiving first build and costs the least if the shape does not come out perfectly the first time.
Skip for Now: A full premium tool kit before you have tested the wiring technique once on a cheap base — most of that spend is wasted if the bundling habit is not solid yet.
Which Wreath Base Wins for Most DIY Beginners?
A grapevine base with three-to-five-stem bundles and 24-gauge paddle wire wins for most first-time builders. It forgives an uneven first attempt, holds a season of mixed faux and dried material without sagging, and costs under $40 in full. Save the wire frame for a second build once the bundling technique feels automatic, and reach for it specifically when heavier pinecones, pods, or a substantial bow are part of the plan.
Once the wreath is built, front porch decor ideas covers the rest of the entry — the doormat, planters, and seating that round out the look around it.
Frequently Asked Questions
Conclusion
A DIY fall wreath holds together because of the base, the wire gauge, and the bundling habit — get those three right before worrying about which florals to buy. Editorial field note: a wire-frame base loaded with heavy dried pods on one side will sag within days no matter how carefully it was wired; the fix is distributing that weight before the final layer goes on, not more glue. Build the technique first, and the same skills carry into more seasonal decor ideas for every season after this one.
Next Steps
- Pick a wire, grapevine, or straw base sized to the space where the wreath will hang.
- Buy 22 to 24-gauge paddle wire and trim stems to a workable length before you start.
- Bundle stems in groups of three to five and wire each bundle to the frame, pulling tight on every wrap.
- Set aside drying time for fresh material — 2 to 7 days with silica gel, up to 3 weeks air-dried.
- Hold the finished wreath up to check its balance before attaching the hanging loop.