TL;DR
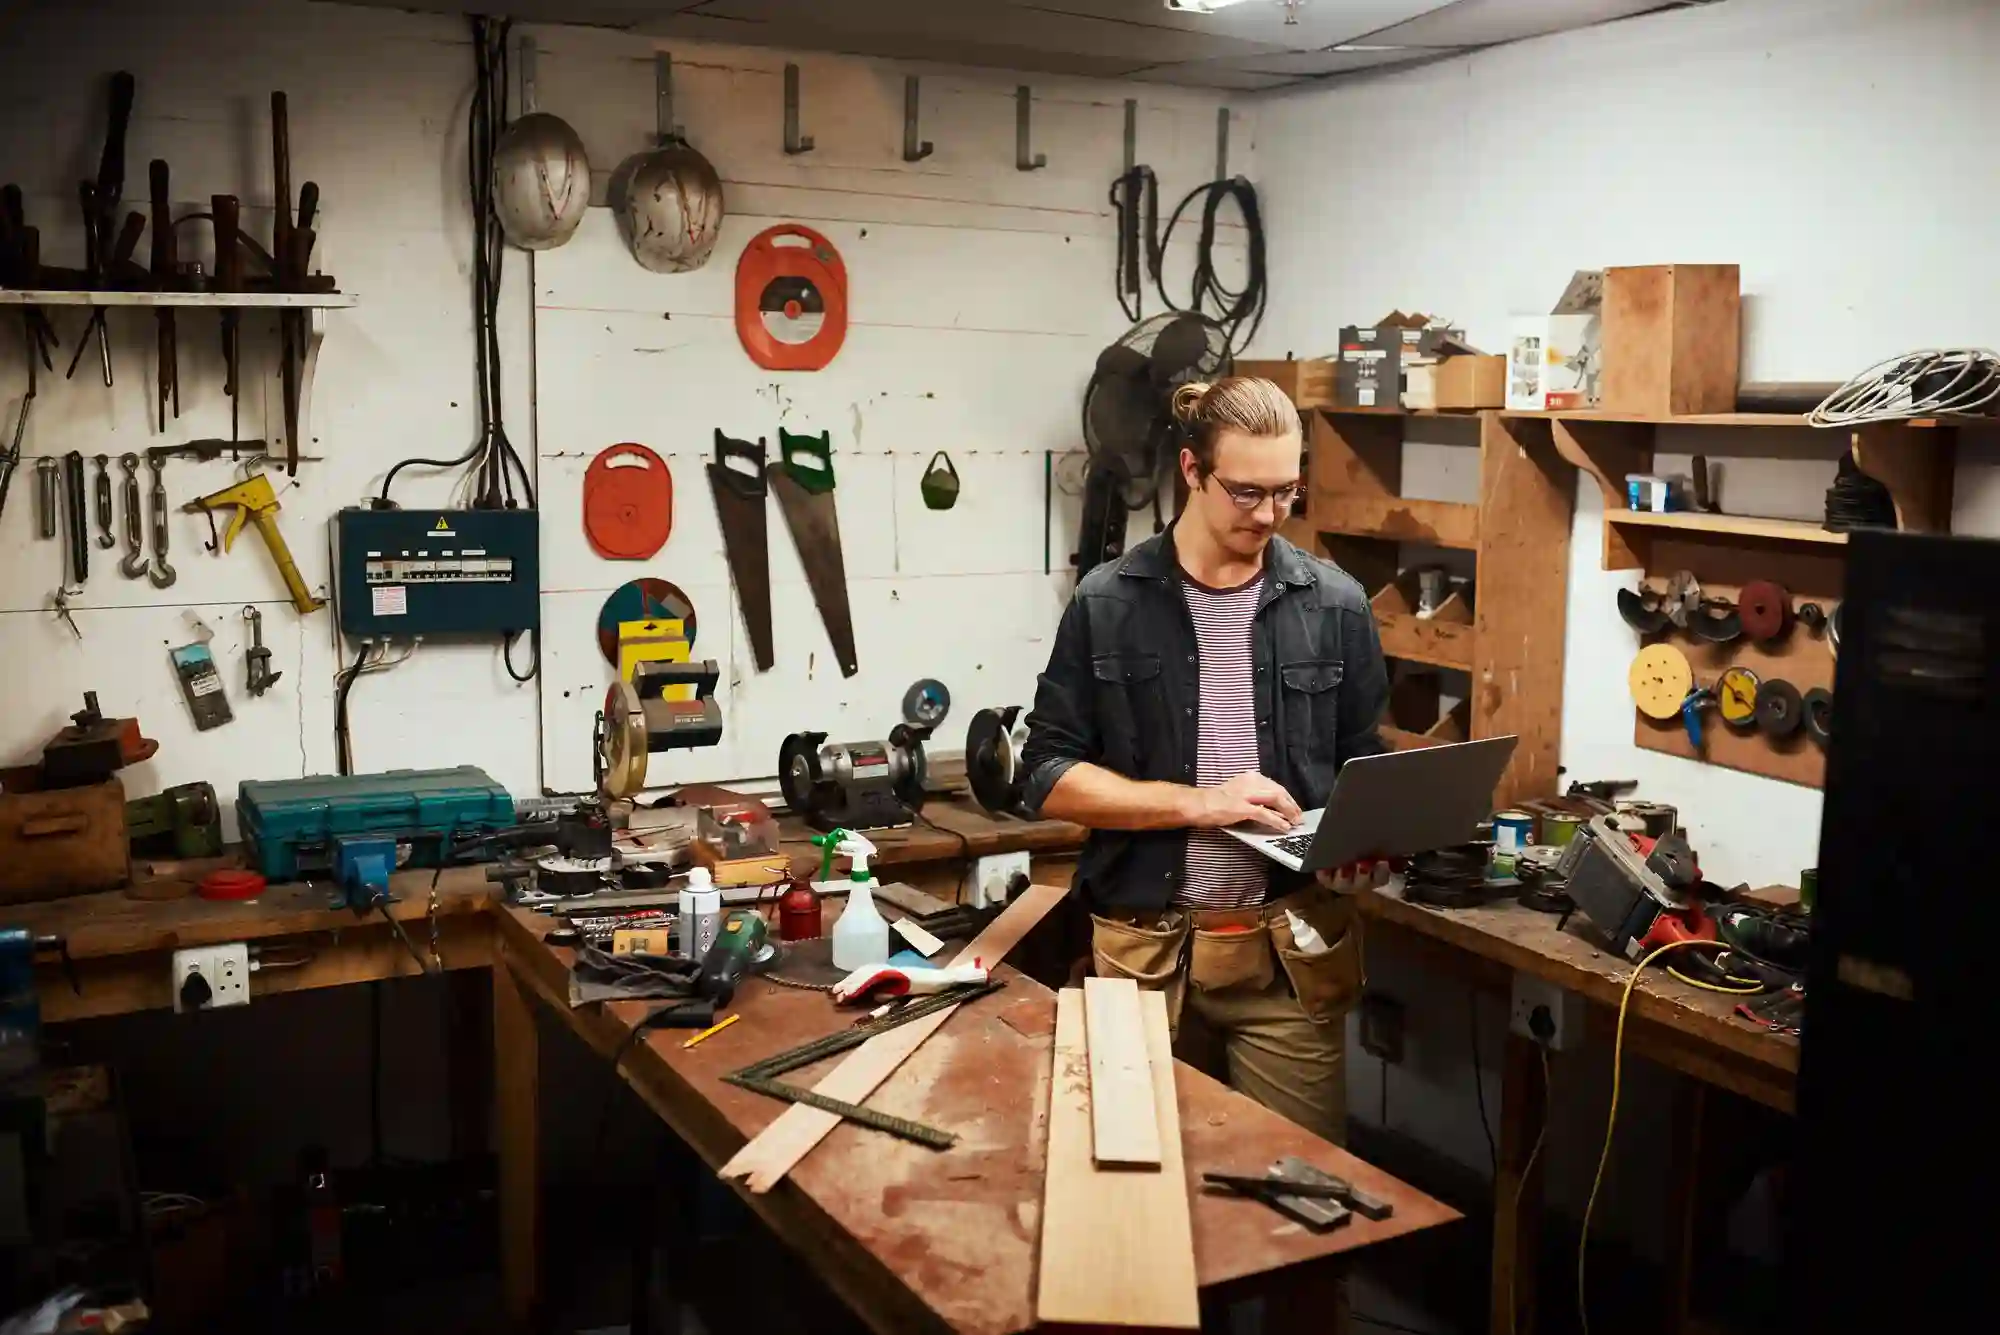
This 12-idea guide covers a measured workbench zone, a rolling second station, pegboard and French cleat storage, layered shop lighting, and a lounge corner that keeps the room a hangout, not just a shop.
- Anchor the room with an L-shaped workbench set at 34 to 38 inches high.
- Add a rolling tool cart and a separate staging table for messier builds.
- Install a pegboard on the standard 1-inch grid, backed by French cleats and clear bins.
- Layer shop lighting across ambient, task, and accent levels.
- Upgrade to non-slip, oil-resistant flooring before spending on decor.
- Carve out one small lounge corner so the room still feels personal.
Why Do Most Workshop Man Caves Still Feel Like Storage, Not a Room?
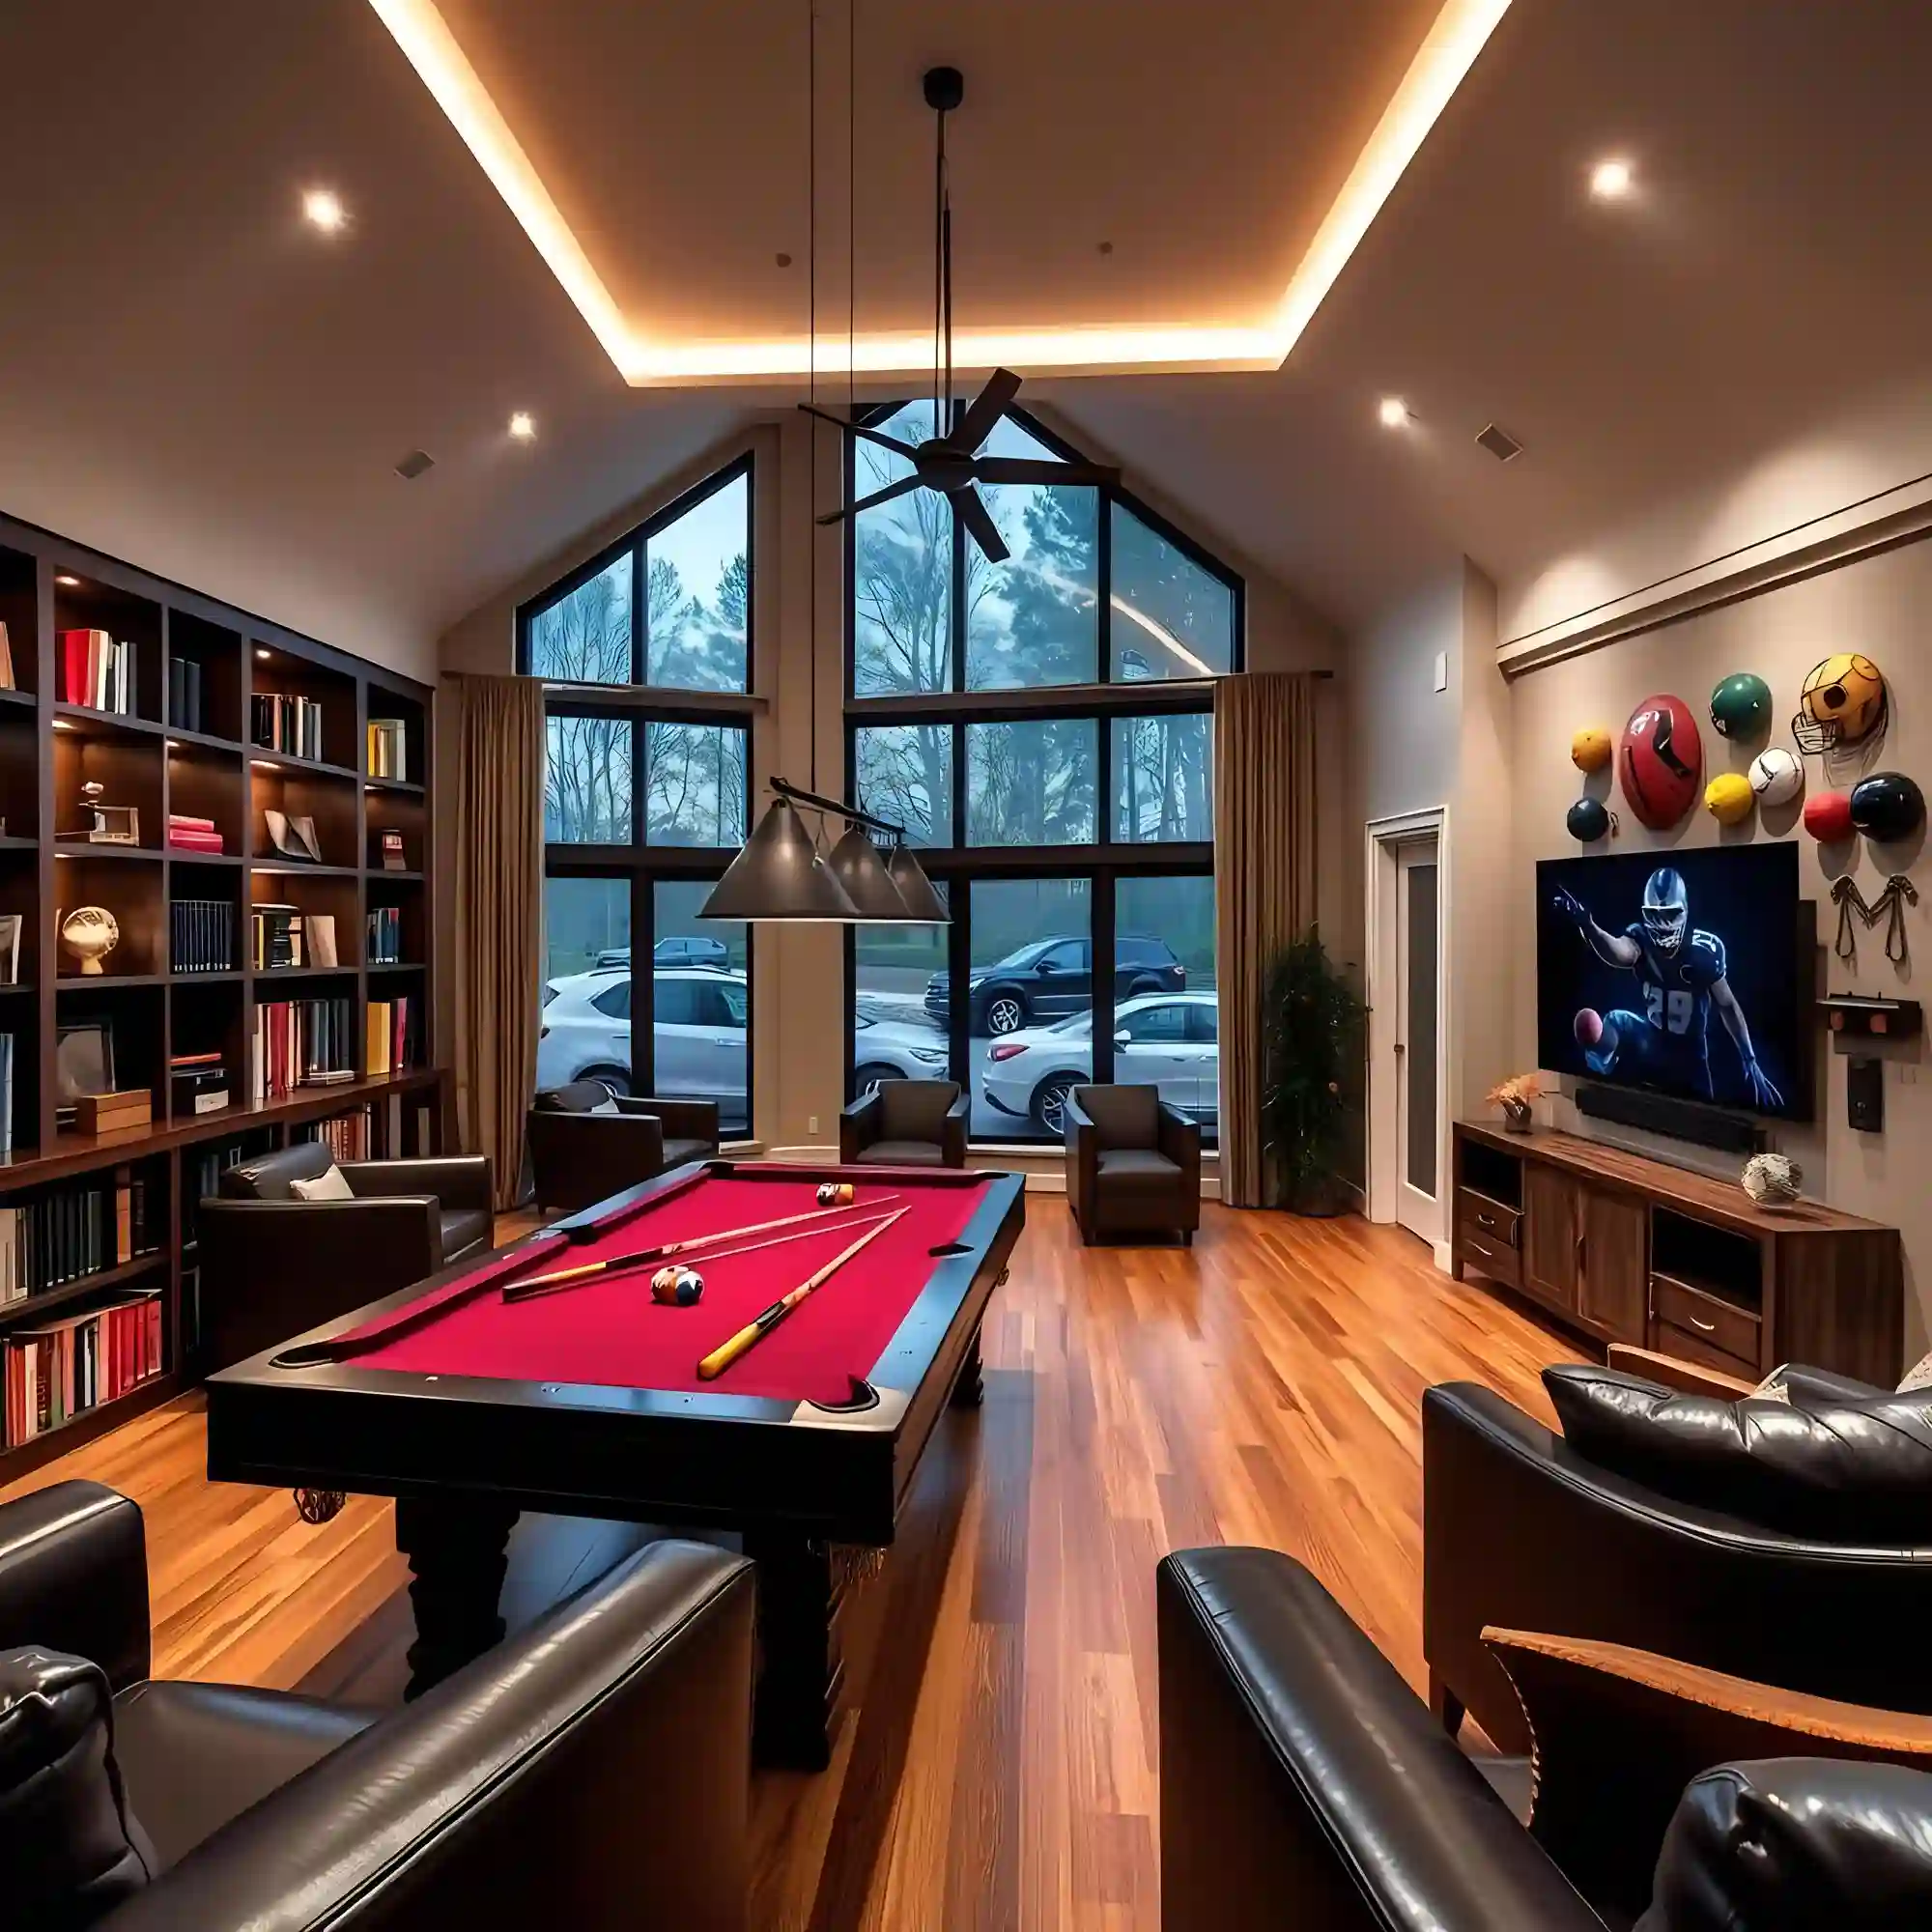
A comfortable workbench sits two to four inches above your elbow height, following general ergonomic guidance for standing shop work. Most home workshops skip that measurement entirely, so they end up with a scavenged door on sawhorses and one bare bulb overhead.
Workshop man cave ideas usually start the same way: a folding table pushed into a garage corner, a pegboard bought on sale, and good intentions. Then the tools pile up, the cords tangle, and the room slides back into a space you avoid instead of one you enjoy.
If you have ever finished a project and lost the same wrench for a week straight, you are not alone.
Editorial field note: A workshop corner with a mismatched bench height, one harsh overhead bulb, and tools scattered across three surfaces usually reads like a storage closet with the door propped open. Setting the bench at a measured height, adding a pegboard on a real layout, and swapping the bulb for layered lighting turns that same corner into a room worth spending a Saturday in.
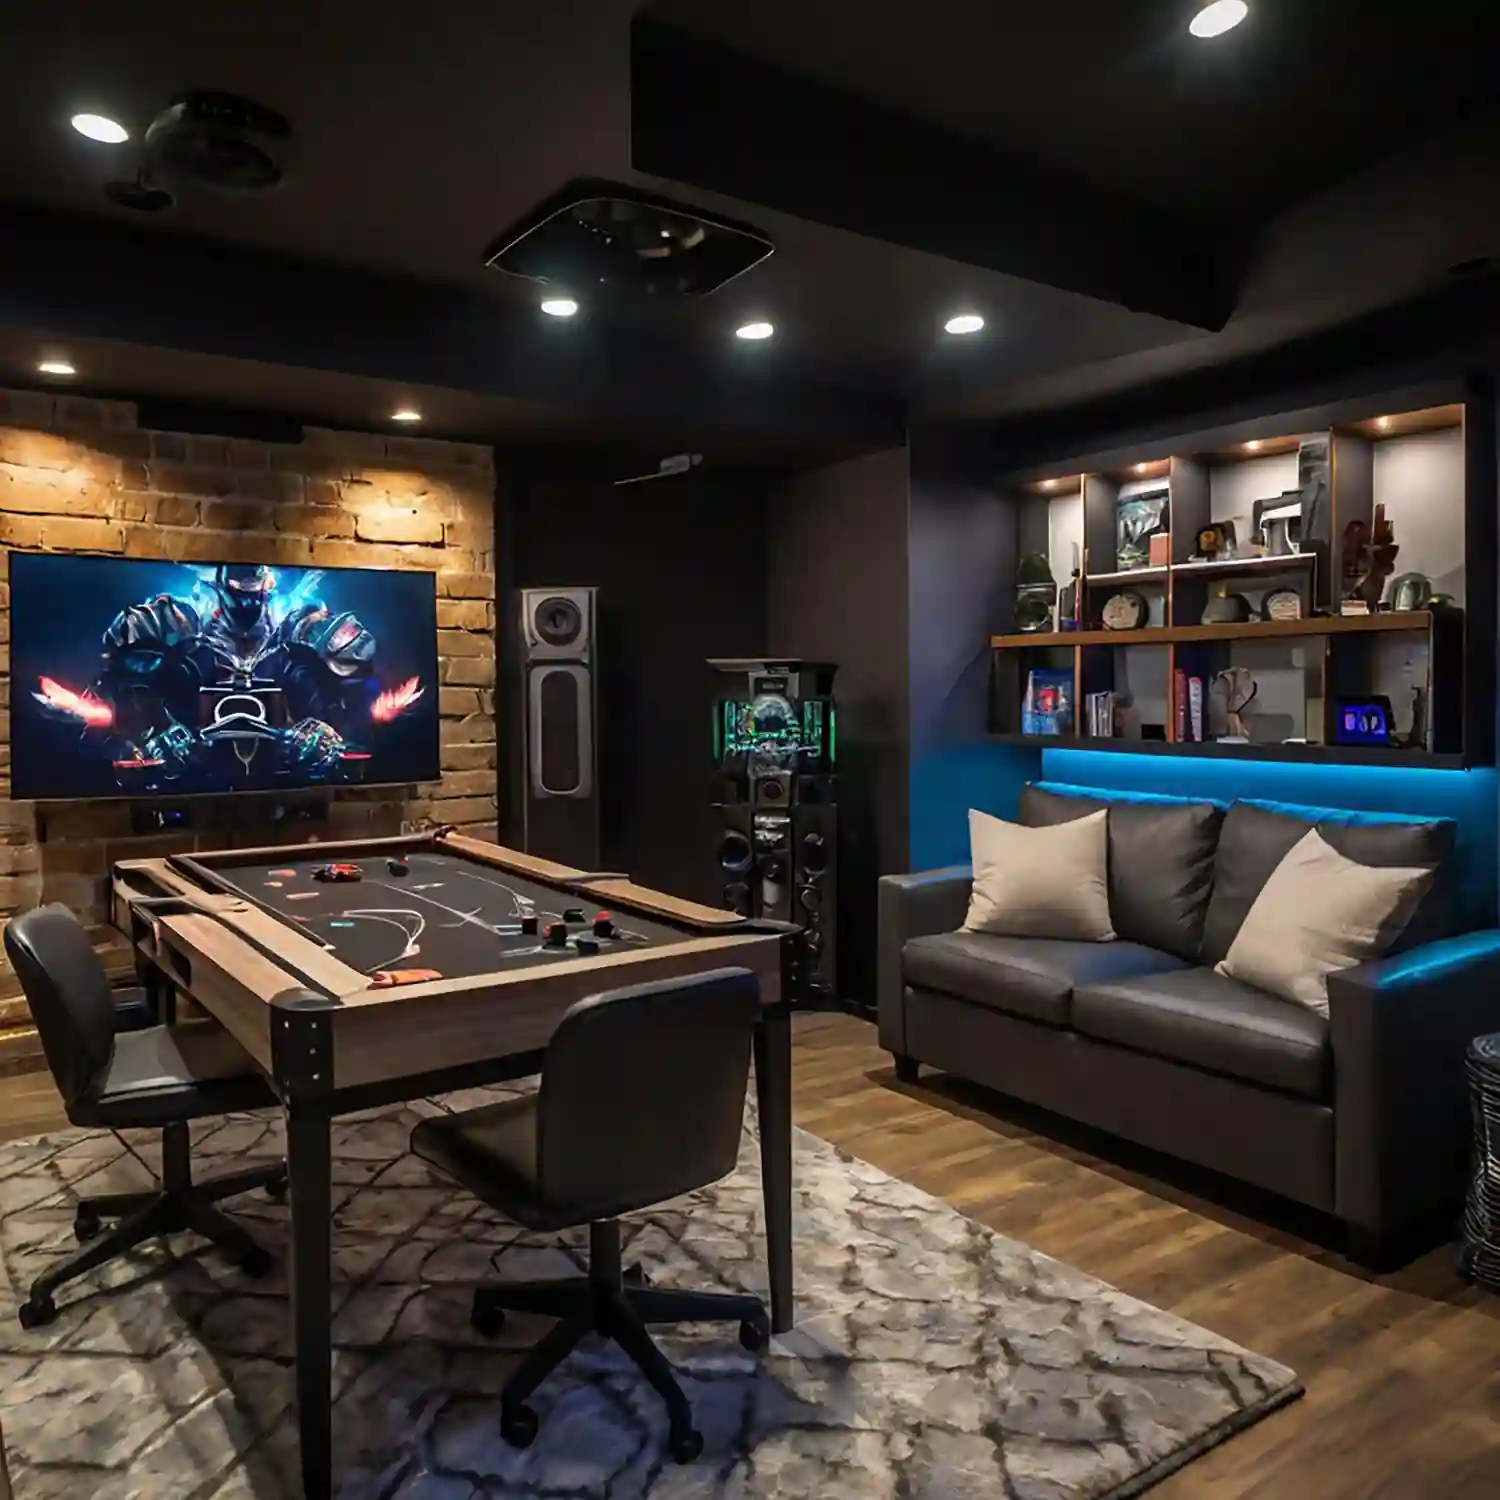
This guide walks through 12 workshop man cave ideas — from an anchored workbench zone to a personality wall with vintage signage — so the room works as hard as you do. For more whole-house inspiration, visit 101 Home Decor, or pair this guide with the full lineup in the man cave theme guide if you are still deciding on a direction.
If a workshop isn’t exactly your speed, these golf simulator room man cave ideas use a similar dedicated footprint for a different kind of hobby. For more starting points, browse 25 man cave ideas for the whole house.
Bookmark this guide for quick reference.
Workshop man cave ideas work best when the room splits into three zones: a measured workbench for real projects, a pegboard or cleat wall for tools, and one small lounge corner for downtime. The most common mistake is skipping the lounge corner entirely and treating the whole room as pure storage. Start with the workbench height and the pegboard layout, then add seating once the work zone already functions.
| Quick Takeaways | |
|---|---|
| Workbench | Set bench height at 34 to 38 inches, matched to your own elbow height. |
| Storage | Pegboard holes sit on a standard 1-inch grid, so hooks from any brand fit. |
| Lighting | Layer ambient, task, and accent lighting instead of one overhead bulb. |
| Flooring | Anti-fatigue, oil-resistant mats cut fatigue and slip risk near the bench. |
| Lounge | One small seating corner keeps the room a hangout, not just a shop. |
| Budget | Build storage and lighting first, then add personality touches. |
Workbench Zone and Layout Ideas
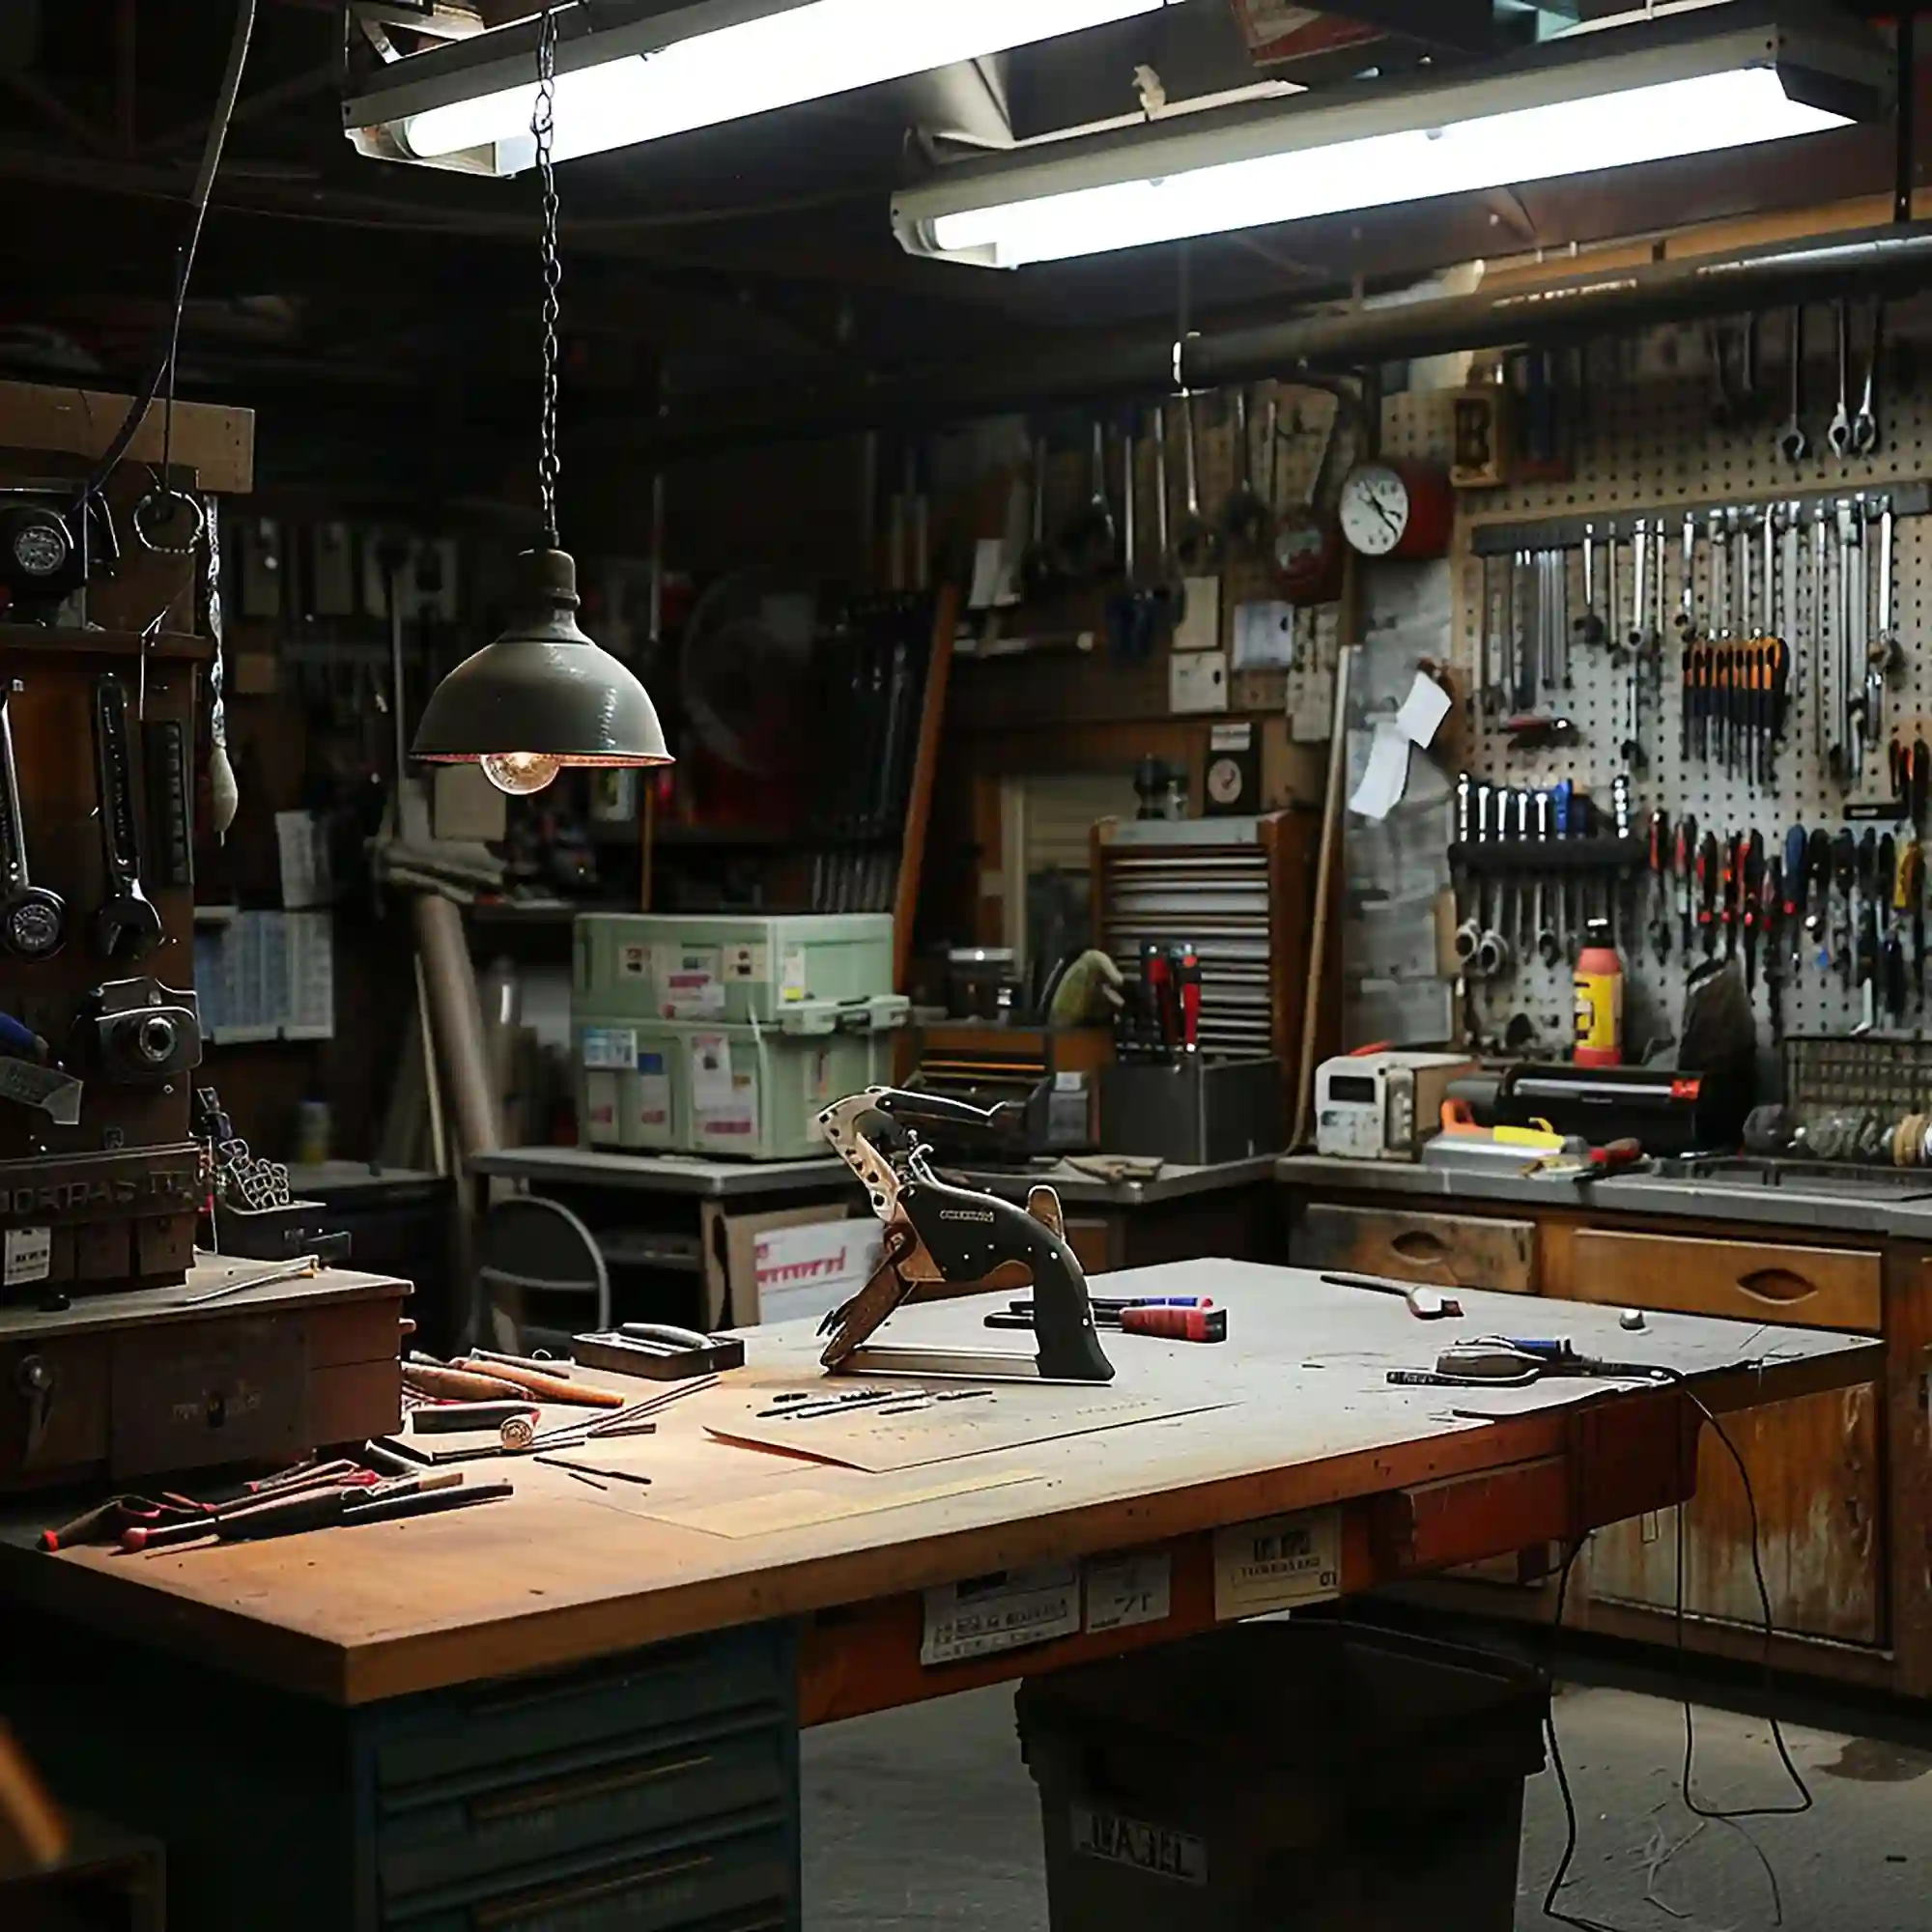
These four ideas build the zone where the actual work happens. Get the bench, a second station, and one lounge corner working together before adding storage or decor.
1. Anchor the Room With an L-Shaped Workbench Zone
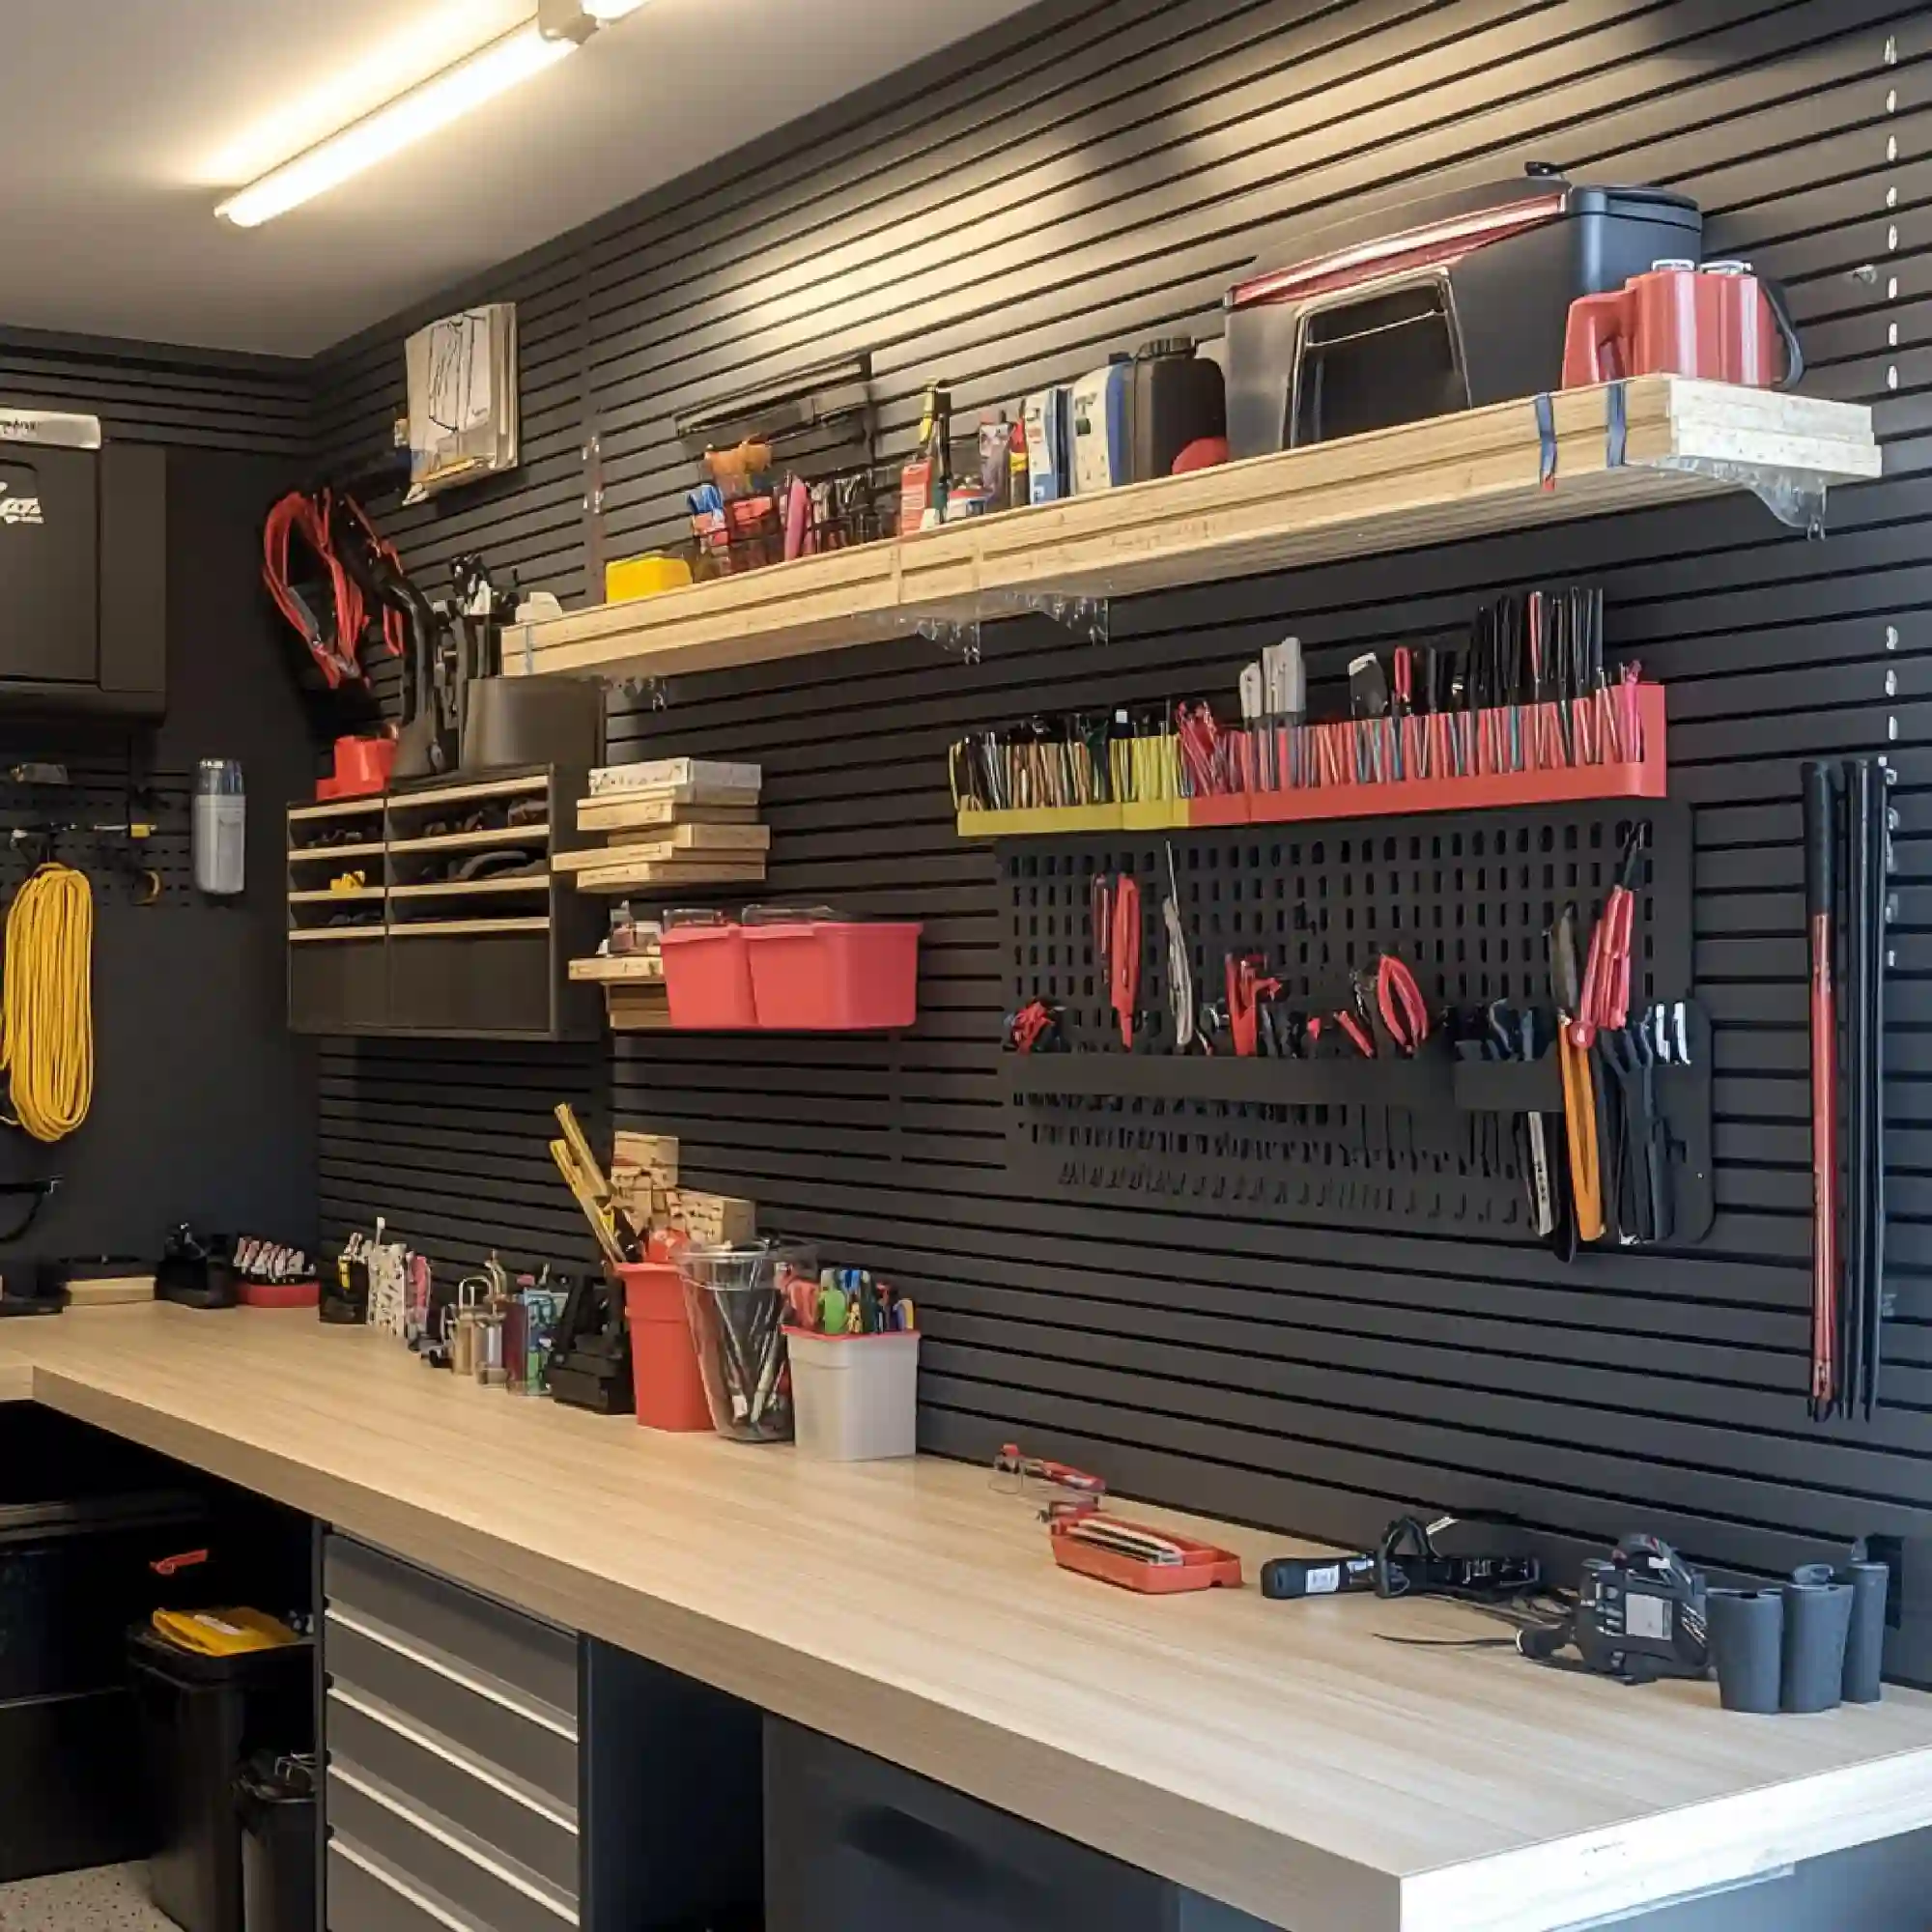
An L-shaped workbench zone anchors a workshop man cave the same way a sectional anchors a living room. Set the main run at 34 to 38 inches high, roughly 2 to 4 inches above your own elbow height, following general ergonomic guidance for standing work. Build the L from a solid-core butcher block or a steel-frame bench with a heavy-duty top, positioned near an outlet and a window for natural light. Leave at least 36 inches of clear walkway on the open side, so a rolling cart or a second person can pass without squeezing past a stool. A dark matte base with a warm wood top keeps the bench from reading like pure utility.
2. Add a Rolling Tool Cart for a Second Station

A rolling tool cart gives a workshop man cave a second station without a second permanent bench. Choose a cart with locking casters and a work surface height close to your main bench, so a project can move between stations without a height mismatch. Drawers under the surface hold measuring tools and fasteners, while an open shelf below fits a portable vacuum or a small trash bin. Steel-frame carts in matte black or gunmetal grey match most workbench finishes without looking like an afterthought. Wheel the cart to the garage door for outdoor cuts, then park it back against the wall when the project wraps.
3. Carve Out a Separate Project Staging Table
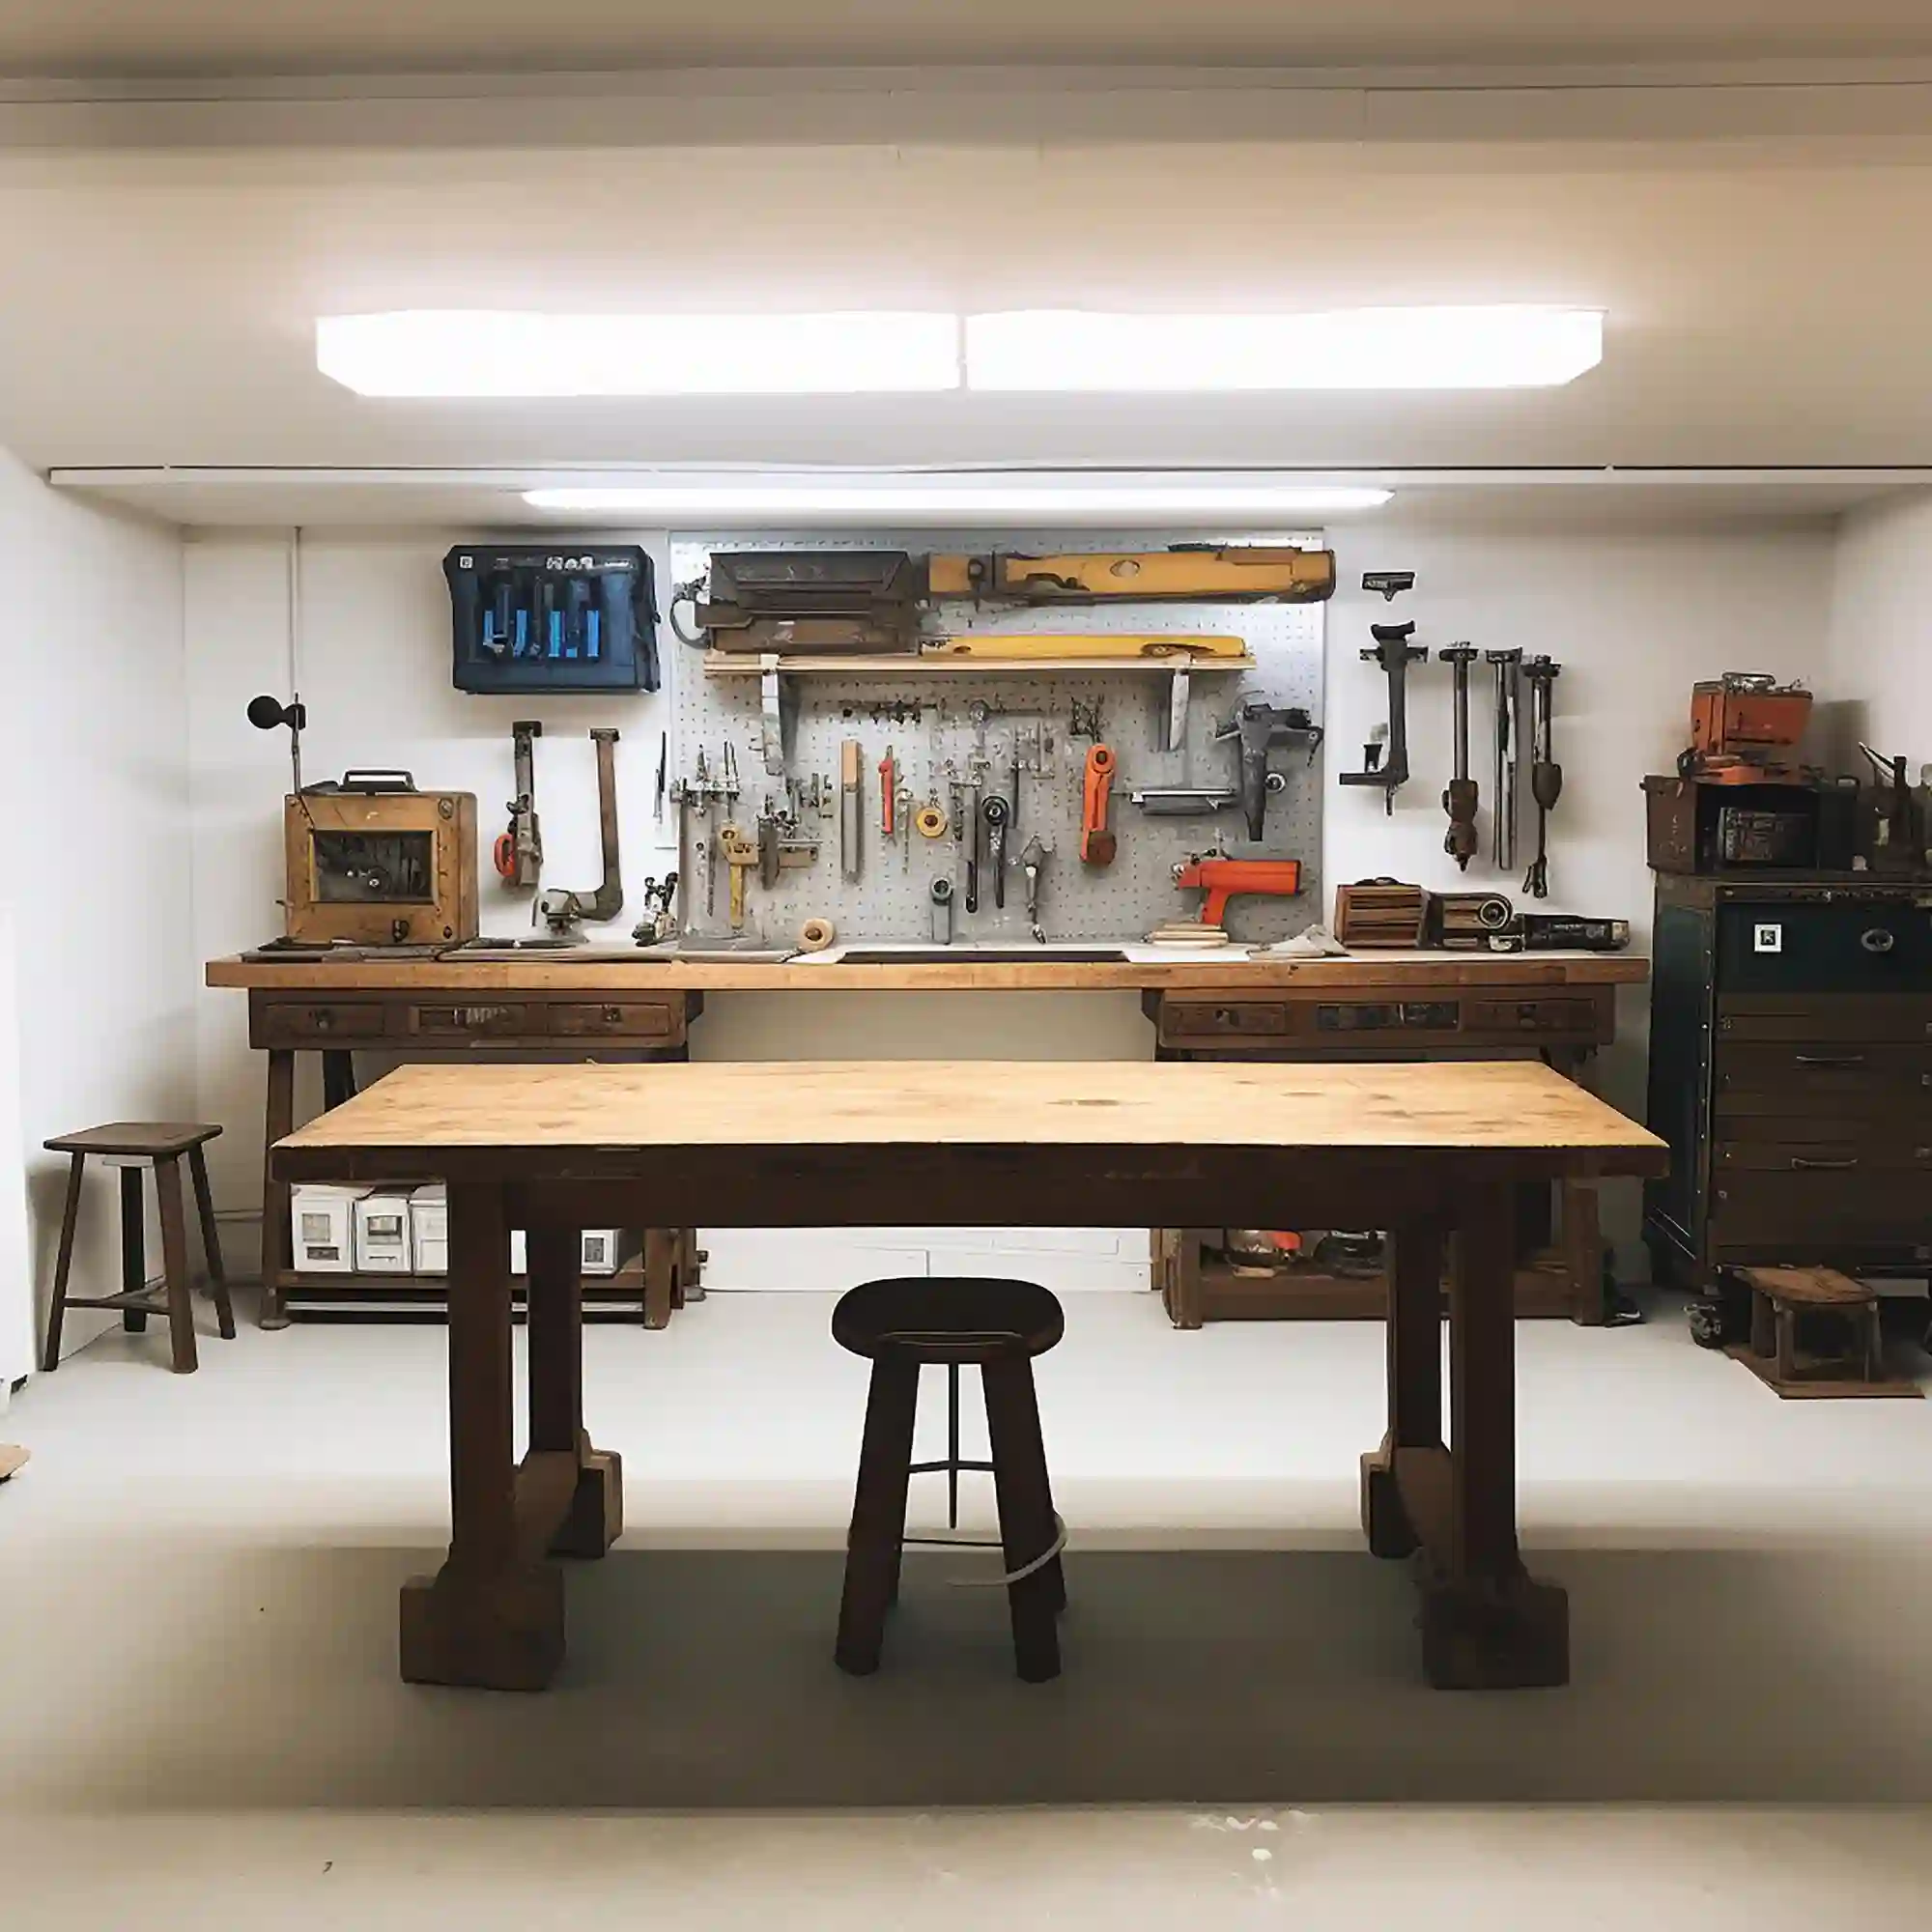
A project staging table keeps glue-ups, paint jobs, and half-finished builds off the main workbench entirely. A drop-leaf or folding table works well in a smaller garage, since it folds flat against the wall when a project is not in progress. Cover the surface with a rubber cutting mat or a canvas drop cloth to protect it from spills and stray screws. If this table also doubles as a planning desk between builds, these man cave office ideas cover how to keep a dual-purpose surface organized. Keeping this table lower than the main bench, closer to 30 inches, makes it easier to lean over during layout work.
4. Build a Lounge Corner Into the Work Zone
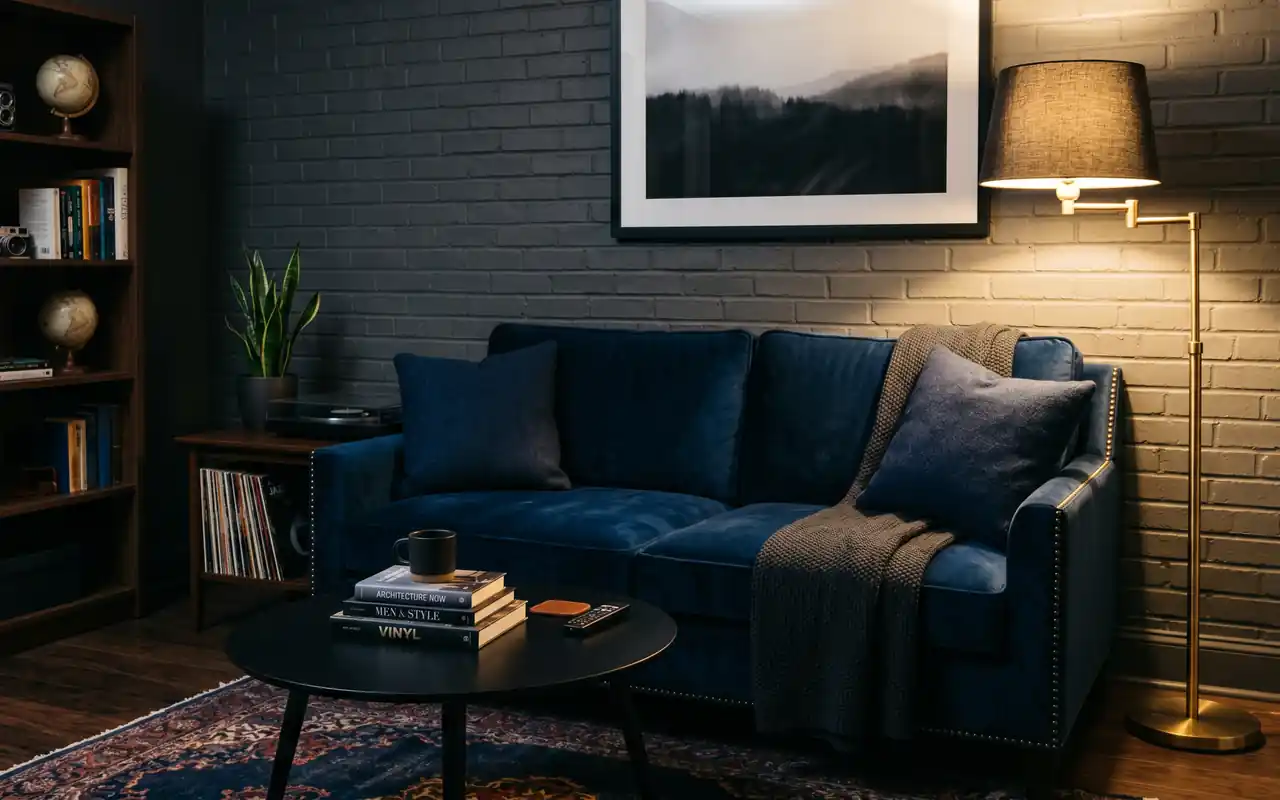
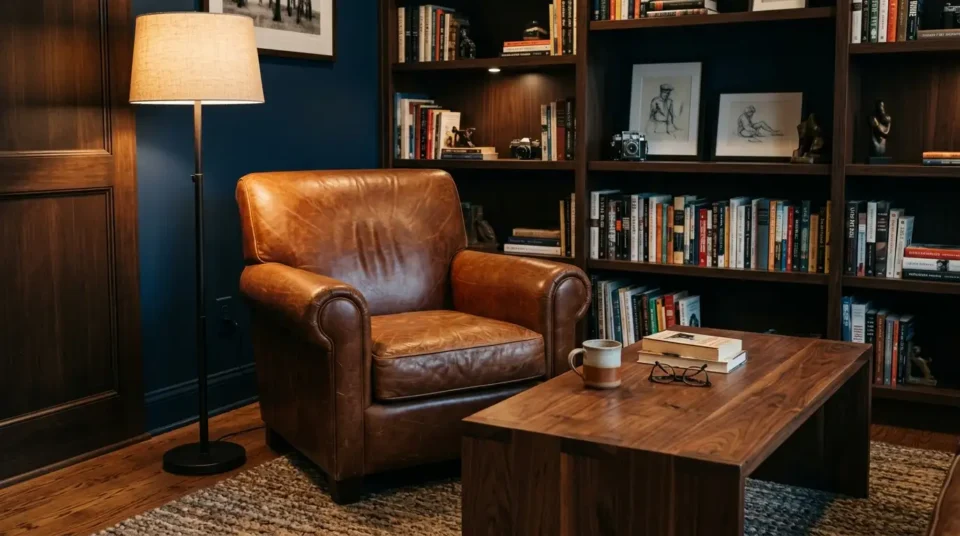
A lounge corner is what turns a workshop into an actual workshop man cave, instead of a garage full of tools. Two low chairs, a small side table, and a low-pile rug set apart from the sawdust zone give you somewhere to sit between projects or wait out glue drying time. Position the corner near the garage door or a window, away from the dustiest cutting area, and keep the palette warm — cognac leather, waxed canvas, or a wool throw over a folding chair. A small radio or speaker shelf nearby ties the corner to the rest of the room without crowding the bench.
Tool Storage and Pegboard Organization
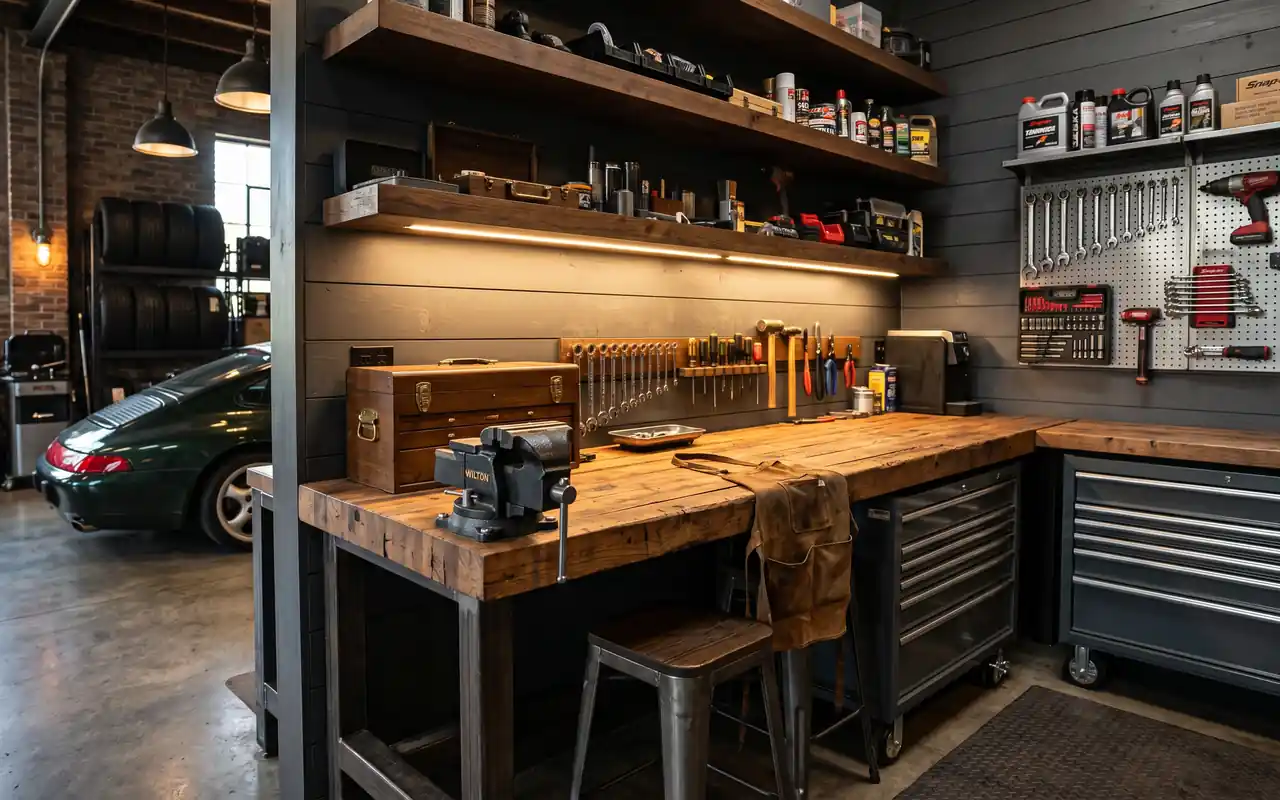
These four ideas keep tools visible and off the workbench, so the surface stays clear for actual projects.
5. Install a Pegboard Wall With Standard Hole Spacing
A pegboard wall is still the fastest way to get hand tools off the bench and onto a visible surface. Standard pegboard is drilled on a 1-inch on-center grid regardless of thickness, which is why hooks from different brands still fit the same board. Mount 1/4-inch tempered pegboard with spacers behind it, so hooks have room to seat fully, and paint the board a dark charcoal or matte black to make silhouetted tools pop against it. Trace each tool’s outline in white paint or marker so a return spot is obvious at a glance, and group tools by task rather than by size.
DESIGNER TIP: Mount pegboard hooks in a double row instead of a single line — it doubles storage capacity without adding a single extra inch of wall.
6. Add a French Cleat System for Modular Cabinets
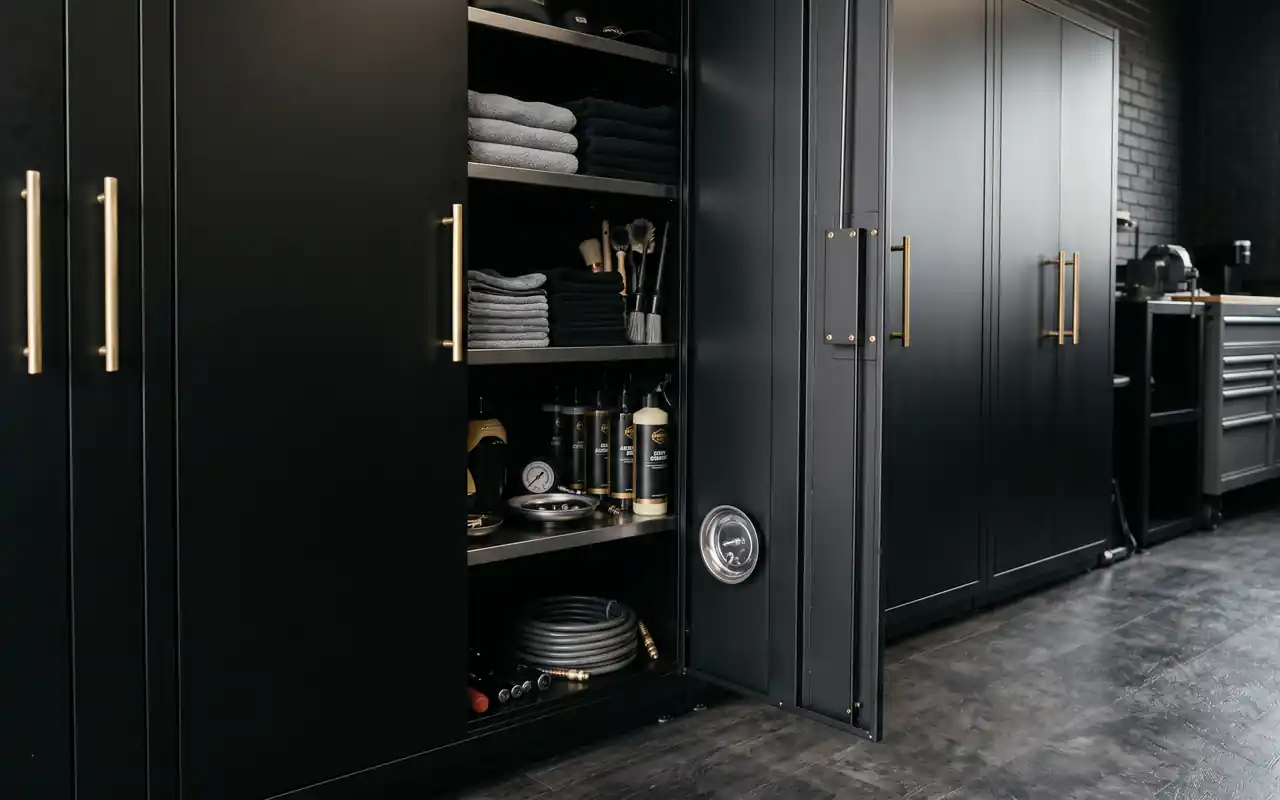
A French cleat system solves the one problem pegboard cannot: heavy modular storage. Two mating strips, cut at a 45-degree angle and mounted level across a wall, let you hang cabinets, bins, and shelves that lift off and rearrange in seconds. Designer Rule of Thumb: mount the wall-side cleat with the angled edge facing up and out, so gravity locks the load in rather than letting it slide down. Build or buy modular boxes sized to the cleat spacing, and label each one before it goes on the wall. This system works especially well in a rented space, since the cleats leave far fewer holes than a full cabinet run.
7. Use Clear Stackable Bins for Hardware Organization
Clear stackable bins turn a drawer full of loose screws into an organized wall or shelf display. Sort hardware by type and size first — wood screws, machine screws, anchors, washers — then label each bin’s lid with a printed tag instead of handwriting that fades. Stack bins no more than four high on a shelf rated for the combined weight, since a tipped stack is one of the most common small injuries in a home workshop. Clear polypropylene holds up better than thin plastic over years of workshop dust and seasonal temperature swings.
8. Mount Magnetic Strips and a Slat Wall for Hand Tools
A magnetic strip and a slat wall cover the tools a pegboard handles poorly. Mount a steel magnetic strip at eye level for chisels, wrenches, and small metal hand tools, so they stay visible and grab-and-go. A slat wall panel nearby holds bulkier items — clamps, cords, or a broom — on hooks that slide to new positions without new holes. Keep the magnetic strip’s finish matte black or brushed steel to match the pegboard hardware, so the storage wall reads like one system instead of three unrelated purchases.
Lighting, Flooring, and Personality Touches
These four ideas finish the room — the details that make a workshop man cave safe to work in and worth showing off.
9. Layer Shop Lighting Across Three Levels

Shop lighting works best in three layers, not one bright fixture. Workshop and hobby areas generally call for 75 to 100 lumens per square foot of ambient light, with task lighting closer to 150 to 200 lumens per square foot at the bench, well above the roughly 50 lumens per square foot suited to plain storage. Choose 4000K to 5000K daylight-toned LED fixtures for the ambient and task layers, since cooler light shows true material color better than warm bulbs. Add one warmer accent light, closer to 2700K, near the lounge corner or personality wall to soften the room once the tools go quiet.
10. Upgrade to Non-Slip, Durable Flooring
Flooring changes both safety and comfort in a workshop man cave. Material Note: anti-fatigue mats made from nitrile rubber typically run 3/8 to 1 inch thick and resist oil, grease, and solvents better than standard foam mats, which matters directly in front of a workbench. Place a mat at the bench and at the staging table, and choose interlocking rubber or PVC tiles for the rest of the floor if the existing concrete is bare. Epoxy coating is another common upgrade for the wider floor, since it seals concrete dust and makes spills easier to wipe up than raw slab.
11. Add a Personality Wall With Vintage Signage
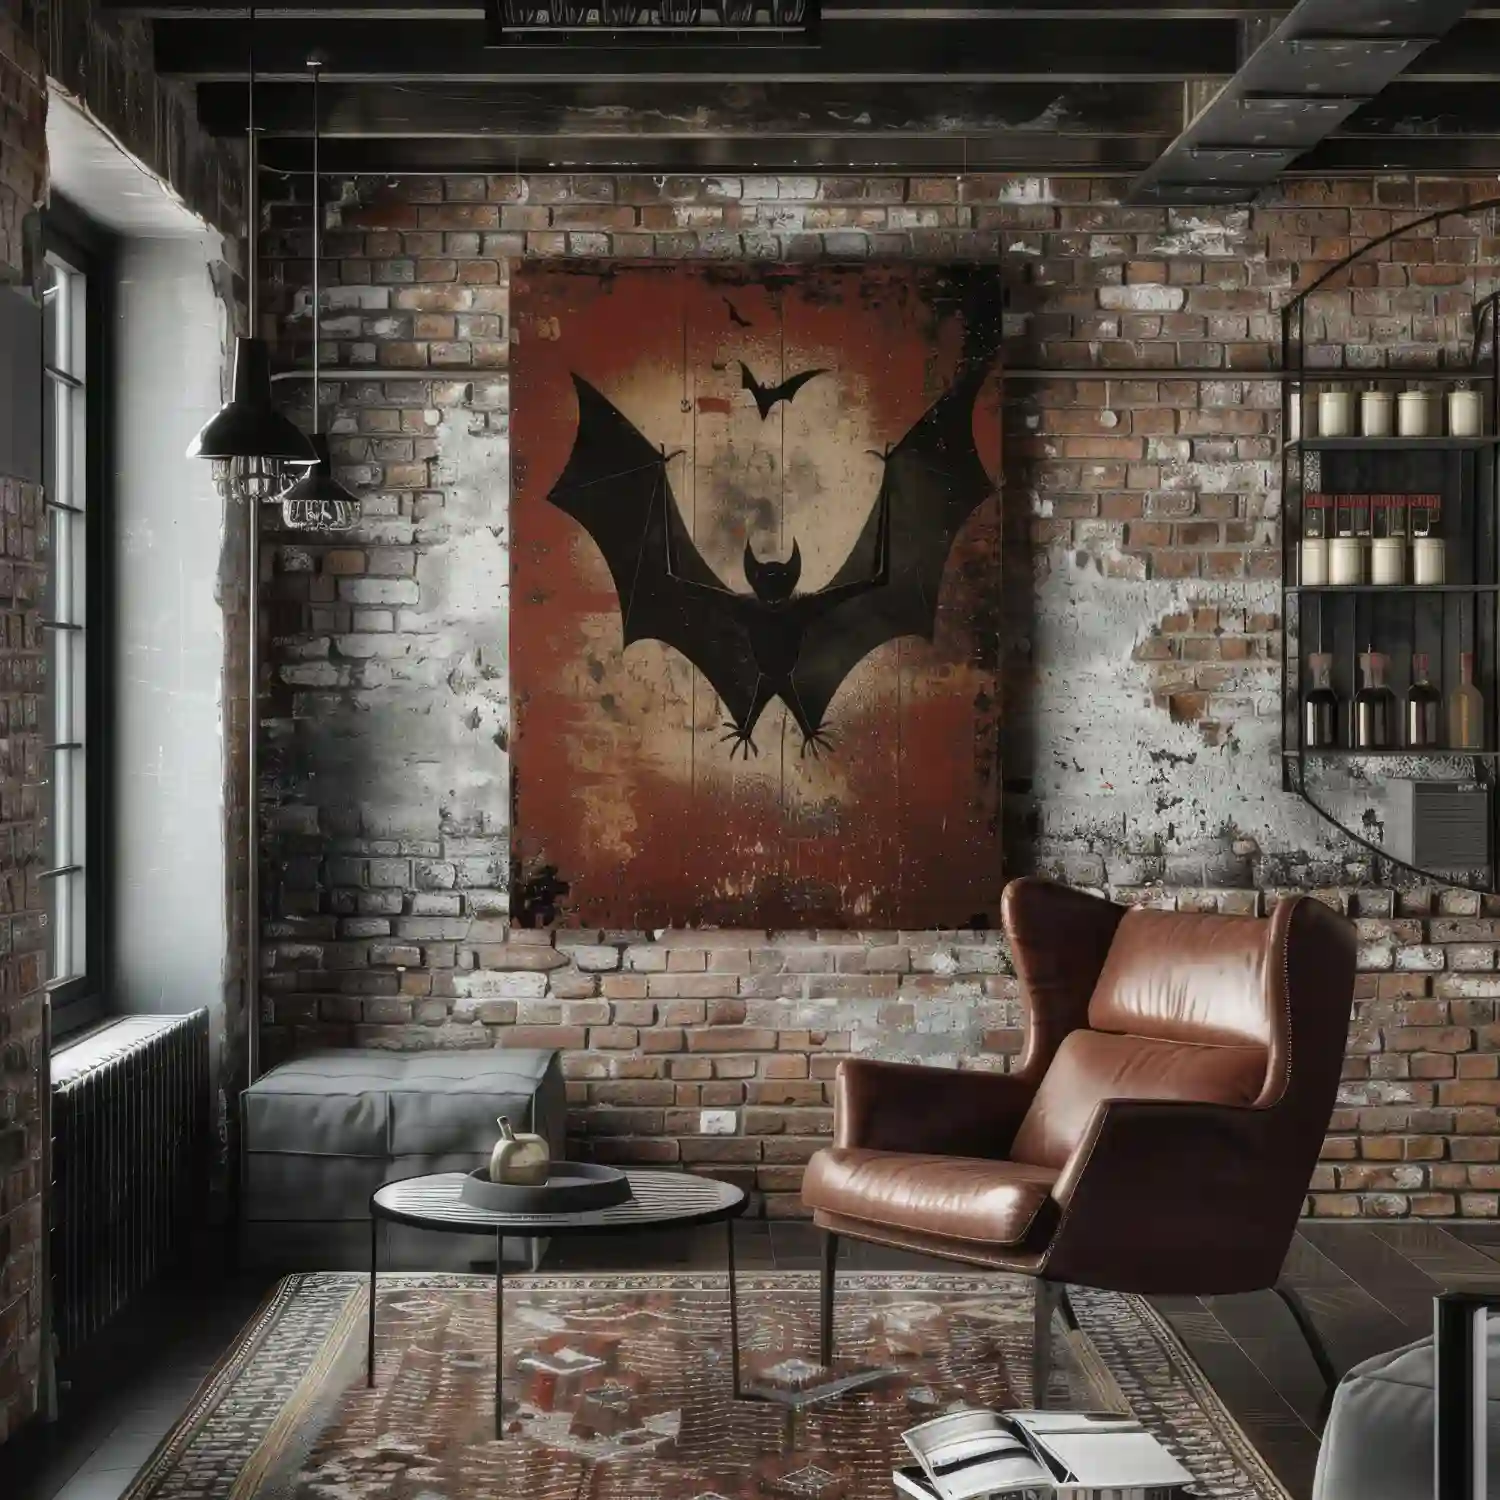
A personality wall gives a workshop man cave the identity a pegboard and a workbench cannot. Reclaimed metal signs, a lit vintage gas-station sign, or a run of automotive badges work well above the lounge corner, away from the dustiest cutting zone where debris could dull the finish. Pick one accent color from the signage and repeat it on a stool cushion or a shelf edge, so the wall feels planned instead of random. If the industrial look feels too utilitarian for your taste, these classy man cave ideas show a more refined take on the same idea — swapping tin signs for framed prints and brass hardware.
12. Create a Sound Corner With a Speaker Shelf
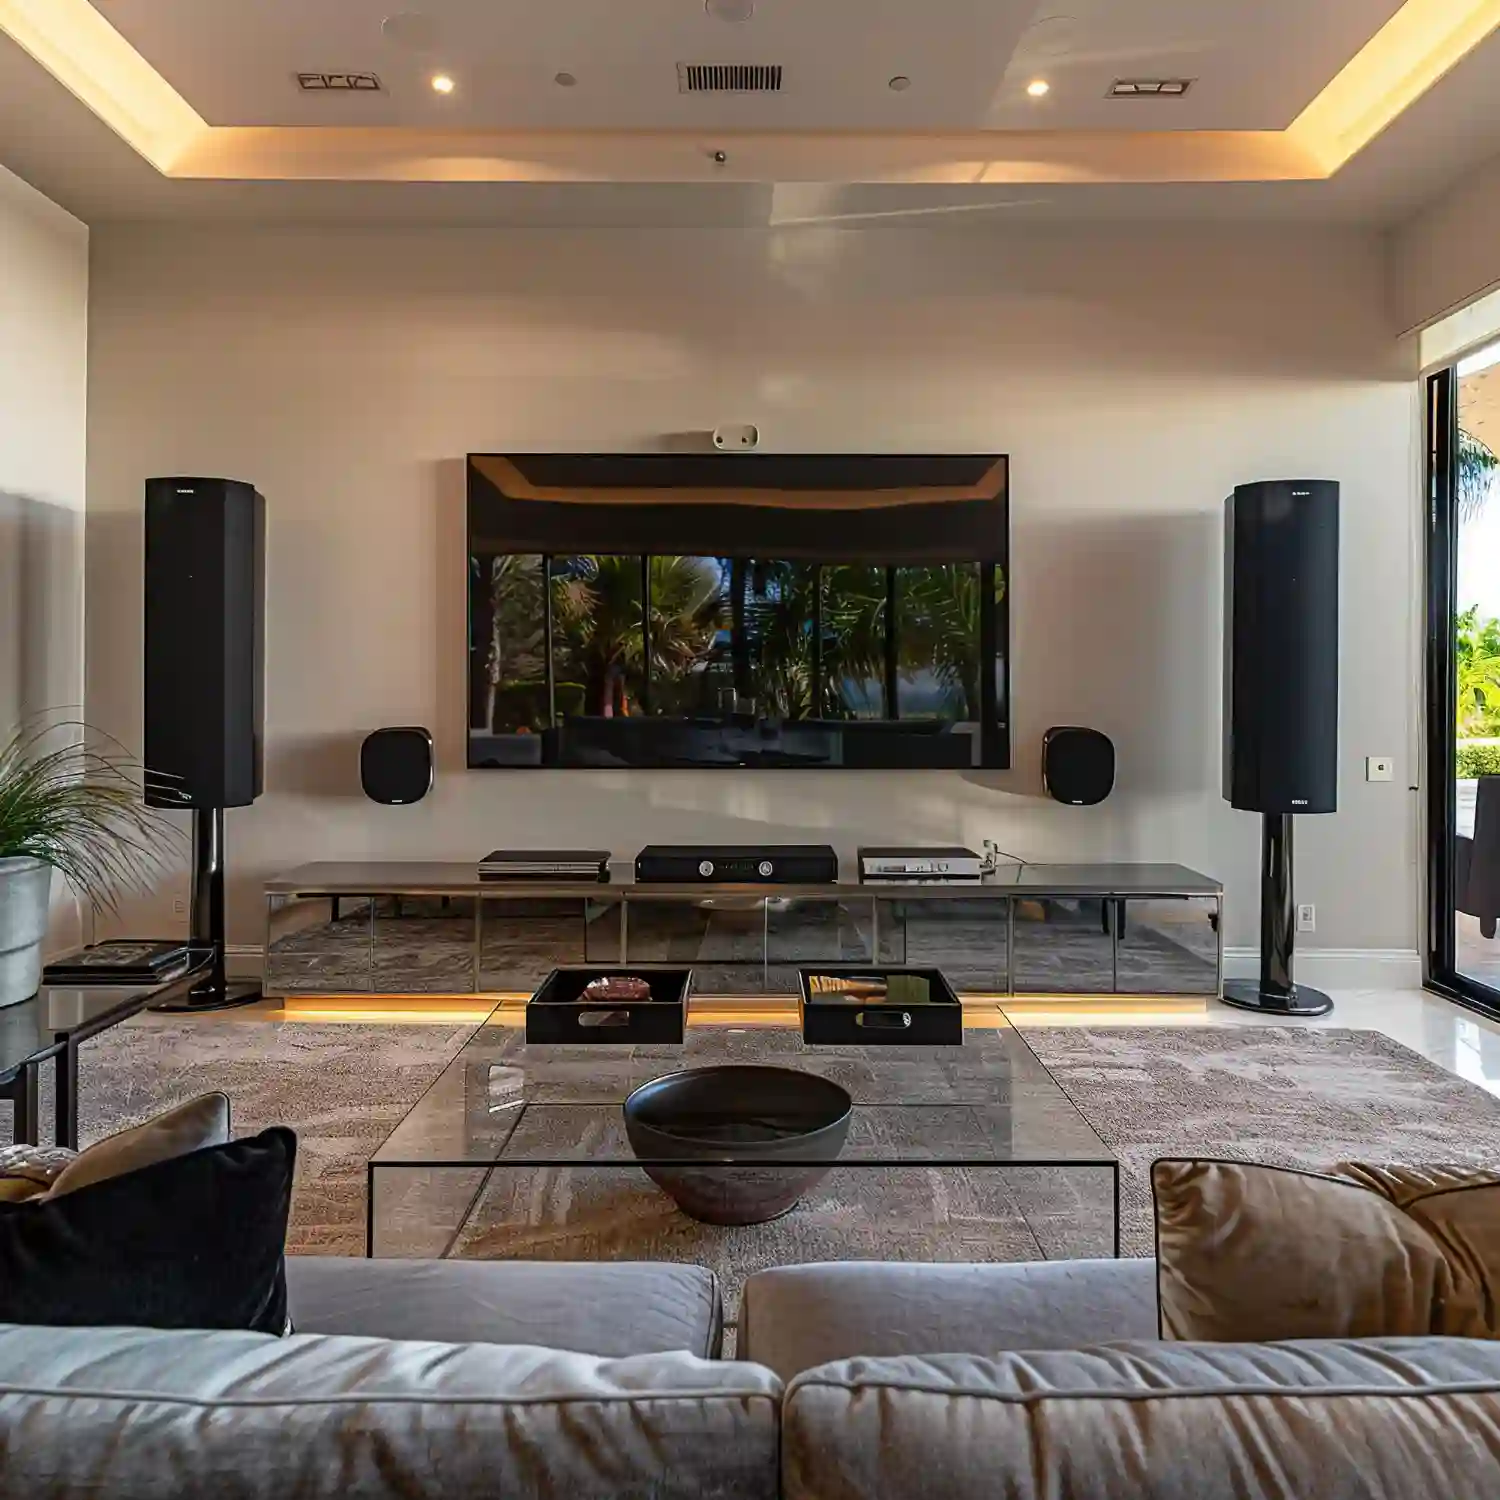
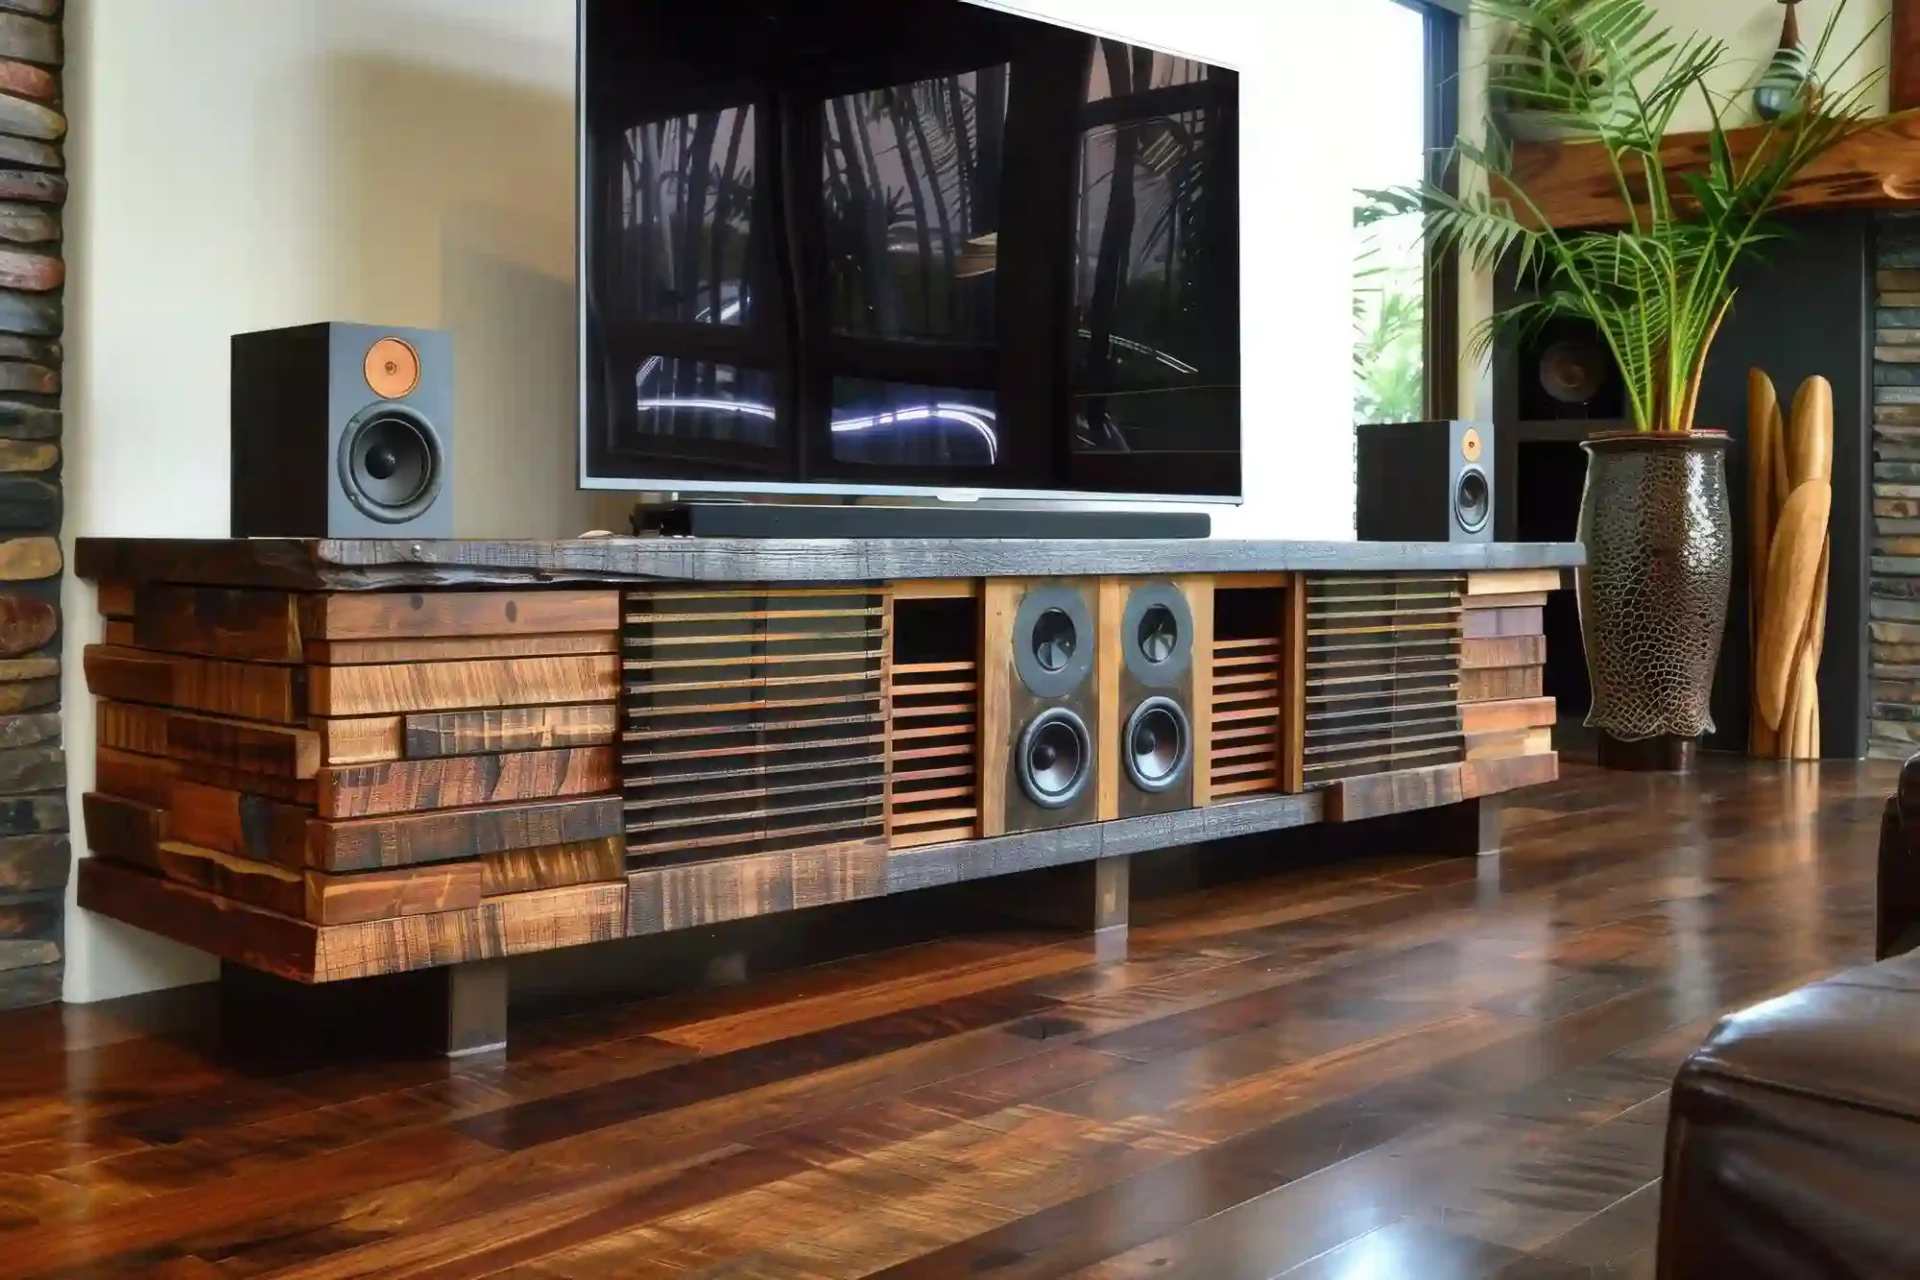
A sound corner ties the lounge zone back to the rest of the room. A small floating shelf near the seating area holds a Bluetooth speaker or a countertop radio, kept at least an arm’s length from any open finish or solvent that could damage the electronics. Run the speaker’s power cord along the same wall as the lounge lighting, so cords don’t cross the walking path between the bench and the door. A warm wood shelf and one small potted plant next to the speaker keep the corner feeling like a hangout instead of another storage spot.
Workshop Man Cave Setup Checklist
- Set the workbench height 2 to 4 inches above your elbow height, generally 34 to 38 inches for most builders.
- Measure the pegboard wall before buying hooks; standard holes sit on a 1-inch grid regardless of thickness.
- Reserve at least 36 inches of clear walkway in front of the bench and storage wall.
- Layer three light sources: ambient overhead, task lighting at the bench, and one warm accent fixture.
- Choose an anti-fatigue mat rated for oil and chemical resistance for the floor right in front of the bench.
- Pick one accent color for signage and lighting, and repeat it in at least two other spots.
- Add one small seating corner — two chairs and a low shelf — away from the dustiest zone.
- Budget storage and lighting before personality touches like signage or a sound system.
KEY TAKEAWAY: A workshop man cave works when the bench, storage wall, and lounge corner each get their own footprint instead of competing for the same twelve feet of wall.
How Do You Lay Out a Workshop Man Cave for Maximum Function?
A workshop man cave works best when the loudest, dustiest task sits farthest from the lounge corner, and the workbench stays closest to a window or garage door for light and ventilation. Walk the room’s traffic path with painter’s tape before any cart or cabinet gets bolted down, since a taped outline is far easier to adjust than a mounted French cleat. A converted garage man cave suits this layout especially well, since garages already have the door clearance, floor drainage, and ceiling height a workshop needs.
Space is the biggest constraint in most homes, and a small workshop man cave can still fit a full bench, storage wall, and lounge corner if the furniture pulls double duty — a rolling cart that also serves as a side table, or a fold-down bench that tucks flat when not in use. Browse the small man cave hub for more space-saving layouts if square footage is tight.
A finished basement man cave can work for lighter workshop tasks, though ventilation and moisture matter more below grade than in a garage. For a larger footprint with real ceiling height, these pole barn man cave designs show how much easier it is to separate a bench, a lounge, and a full storage wall when the room already has square footage to spare. For more whole-room planning, browse the Rooms collection.
Investment Levels for a Workshop Man Cave Setup

A workshop man cave rarely comes together in one weekend. Most rooms start with the pegboard, a basic lighting upgrade, and the flooring closest to the bench, then build toward a full storage wall and a proper lounge corner.
| Project | Estimated Cost | Impact Level |
|---|---|---|
| Pegboard wall with hooks and bins | $60-$180 | High |
| Layered LED shop lighting (ambient + task + accent) | $150-$450 | Very High |
| Rolling tool cart or fold-down staging table | $150-$500 | Medium |
| Full storage wall, flooring, and lounge corner combo | $700-$2,200 | Very High |
A basic refresh — pegboard, a light upgrade, and one anti-fatigue mat — lands around $250 to $500 in most garages. A mid-range setup that adds a French cleat wall, a rolling cart, and full lighting runs closer to $1,000 to $1,800. A full workshop man cave build, with finished flooring, a complete storage wall, and a furnished lounge corner, often reaches $2,500 to $4,000 depending on flooring choice and how much electrical work the room needs.
Safety Note: If a workbench, shop lighting, and power tools will share one outlet, ask a licensed electrician whether the panel has room for a dedicated circuit before adding a compressor or a larger stationary tool.
Best First Upgrade: Set up the pegboard wall, one lighting upgrade, and an anti-fatigue mat before anything else.
Skip for Now: Delay the full lounge furniture set or a premium epoxy floor until the storage and lighting basics already work.
Setup Mistakes That Undercut a Workshop Man Cave
Instead of mounting a pegboard at a random height, Try centering it so the most-used row sits between 48 and 60 inches off the floor, right at arm’s reach from the bench.
Instead of running every cord across the walking path, Try a surge-protected power strip mounted under the bench, so cords stay off the floor near the chair and the cart.
Instead of relying on one overhead shop light for the whole room, Try the three-layer approach — ambient, task, and one warm accent — since a single fixture cannot do all three jobs well.
Instead of skipping the lounge corner because “it’s just a workshop,”, Try adding two chairs and a shelf anyway; a room with nowhere to sit rarely gets used for anything but quick errands.
Frequently Asked Questions
Conclusion
The strongest workshop man cave ideas separate the bench, the storage wall, and the lounge corner, then tie the three together with layered lighting and one consistent accent color. Editorial field note: a workshop that swaps one overhead bulb for ambient, task, and accent lighting almost always feels like a finished room by the next project, even before any new furniture arrives. Start with the man cave archive for more room-by-room ideas, or return to 101 Home Decor to keep planning the rest of the house.
Next Steps
- Measure your own elbow height and set the workbench 2 to 4 inches above it before buying storage.
- Map the pegboard or French cleat layout on paper, then confirm the wall has at least 36 inches of clear walkway in front of it.
- Add one warm accent light and a small seating corner before spending on a personality wall or sound system.
- Budget the pegboard, lighting, and flooring first, and save the lounge furniture or epoxy floor for a second phase.