TL;DR
There are three pumpkin decorating methods, and each one has a different lifespan you should pick before any design. Carving opens the skin and gives you days. Painting leaves the skin closed and gives you weeks. Foam and resin craft pumpkins give you years. Most porches want painted pumpkins holding the arrangement from early September, with one or two carved ones added in the last week of October — our outdoor Halloween decorations guide covers where they sit in the yard.
Looking for more ideas? Explore our full guide to Halloween Ideas.
The Knife Starts a Clock That Paint Never Does
A carved pumpkin begins breaking down the moment the knife goes in. An uncarved one, kept cool and dark, holds for three to six months. That gap is the most useful thing to know before you touch a single pumpkin this year.
Most pumpkin decorating ideas get sorted by how they look — cute or spooky, simple or elaborate, orange or matte black. Sorting them by how long they have to last works better. Carving buys you days. Painting a real pumpkin buys you weeks. Decorating a craft pumpkin buys you years. Choose the number your season needs, then choose the design. If you are making rather than buying, our DIY Halloween decorations guide covers the supplies.
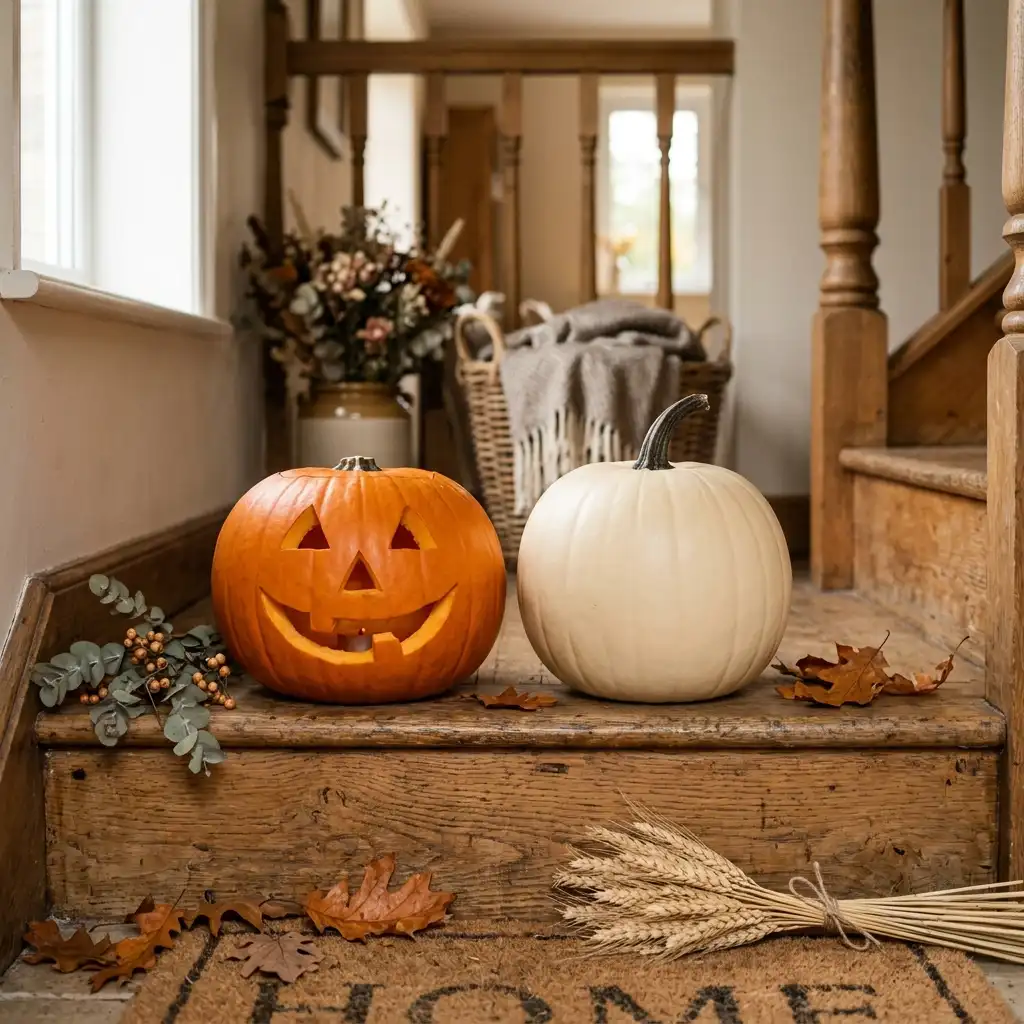
That order matters more than it used to, because the season got longer. Pumpkins now go out in mid-September and stay until Thanksgiving. A carved face cannot cover that stretch, and it was never built to. Halloween also sits on top of autumn rather than replacing it, so the pumpkins on your step are usually working alongside the creative fall and autumn decor ideas that went out weeks earlier.
Editorial field note: A doorstep holding four carved faces in late September looks striking for a weekend. By the second week the shoulders sink, the cut edges darken, and the group reads as neglected rather than seasonal. Swap two of the four for painted pumpkins with the skin left whole, and the display holds its shape for a month while the carved pair gets replaced once, close to the 31st. Nothing about the styling changed. Only the mix of methods did.
This guide covers the decision one level above the designs: which method fits your calendar, what each one produces, whether to buy real or craft pumpkins, and what the season costs. It sits alongside the rest of our home decor inspiration for people who want the porch to look maintained rather than assembled once.
How Long Does a Carved Pumpkin Last?
A decorated pumpkin lasts as long as its skin stays closed. The skin is the pumpkin’s own barrier against moisture loss and bacteria, so any method that cuts through it starts a clock. Carving opens the skin everywhere. Painting leaves it fully intact. That single difference explains nearly every complaint people have about pumpkins collapsing early.
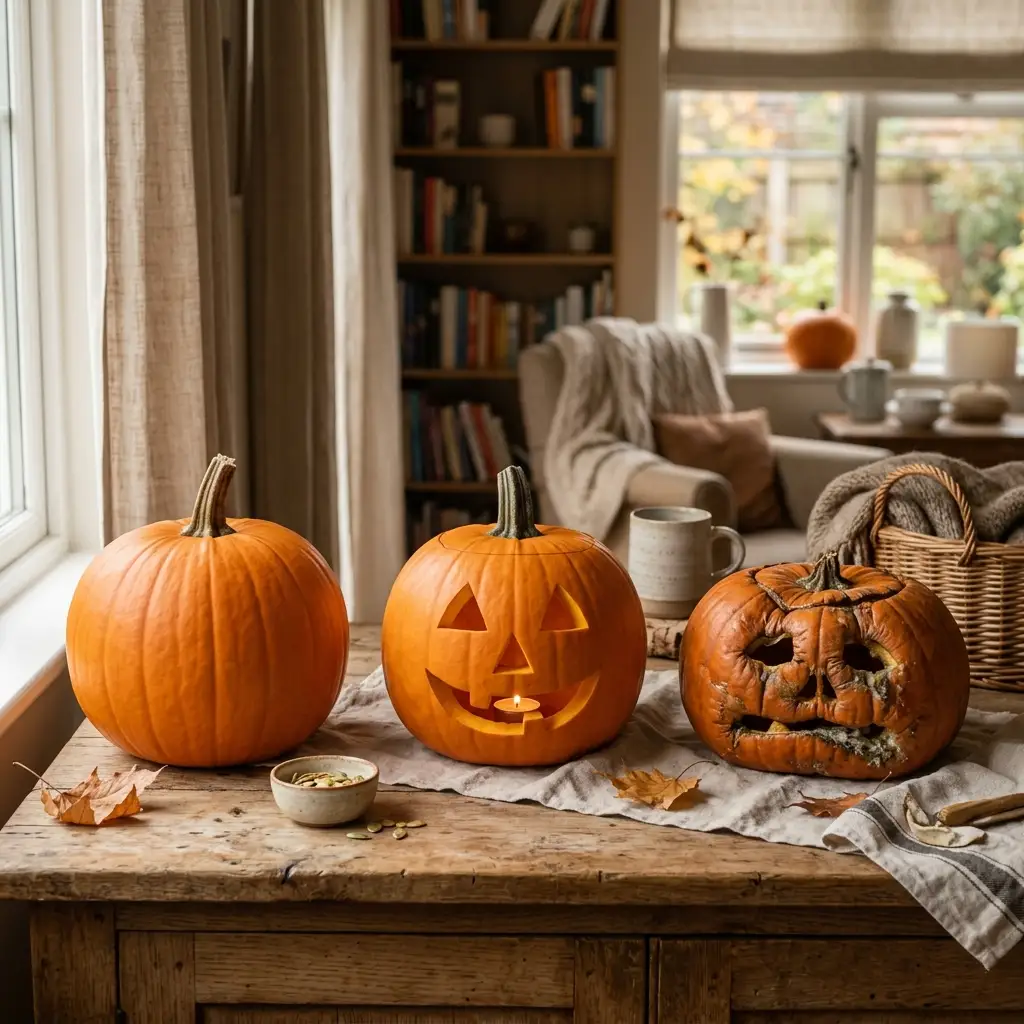
Illinois Extension sets the outer limit clearly: stored in a cool, dark place, a whole pumpkin keeps for three to six months, while a jack-o’-lantern starts breaking down as soon as it is cut. A porch in September is warmer and brighter than any storage room, so treat those months as a ceiling rather than a promise.
Designer Rule of Thumb: on a covered porch in mild weather, plan on under a week from a carved pumpkin, three to five weeks from a painted one, and several seasons from a foam or resin craft pumpkin.
The Season Outgrew the Knife
Carving stopped being the default because the decorating window got longer than a jack-o’-lantern can survive. When Halloween was a single evening, a pumpkin that lasted four days was fine. Now the pumpkins go out six weeks early, get photographed, and have to sit through rain, warm afternoons and squirrels. Carving is the one method that cannot do that.
Signs This Is Catching On:
Paint sets, vinyl kits and stencils now sit beside the carving saws in the seasonal aisle rather than behind them, and the packaging leads with “no carve” as the selling point.
Reusable foam and resin pumpkins have moved from a craft-store novelty to a standard seasonal line, sold in graduated sizes meant to be stored and brought back out.
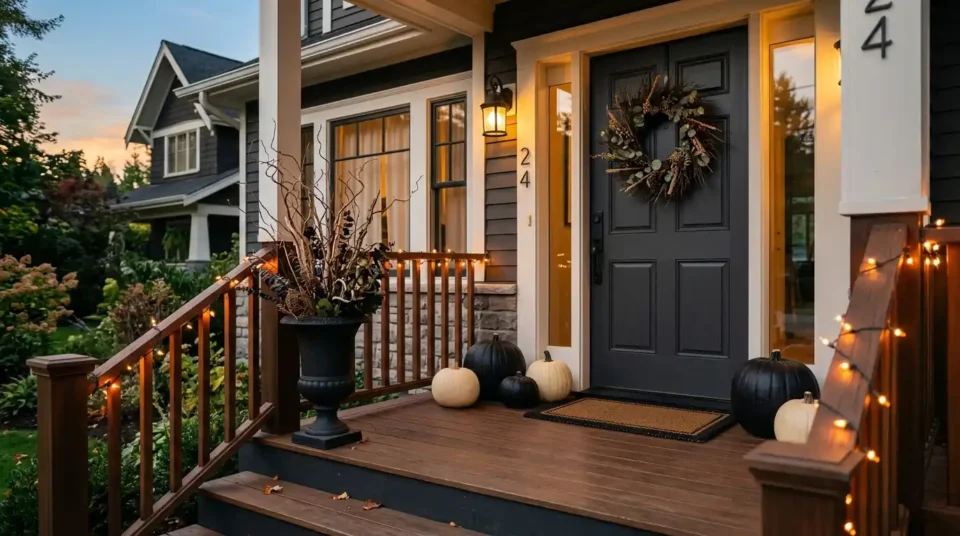
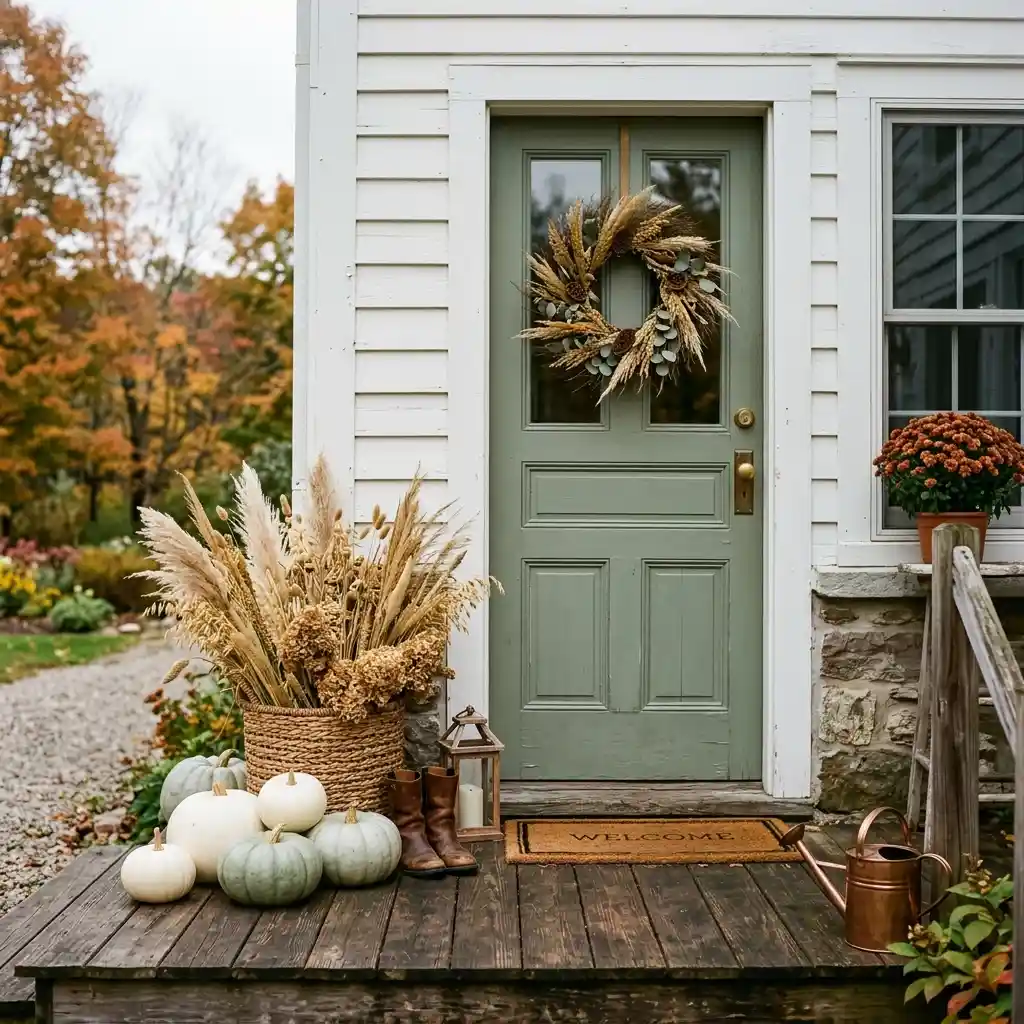
Painted white and matte black pumpkins read as normal on a September porch, where the same porch a decade ago would have been entirely orange.
The practical reason sits underneath the aesthetic one. A painted pumpkin can go out the first week of September and still look right on November 1, which covers the whole Halloween-into-harvest stretch. Carving is not in decline because it looks dated. It is in decline as a *default*, because most people want six weeks of display and the knife only buys one. That same stretch is reshaping the rest of our Halloween decorating ideas, from the porch inward.
What Do the Three Methods Each Give You?
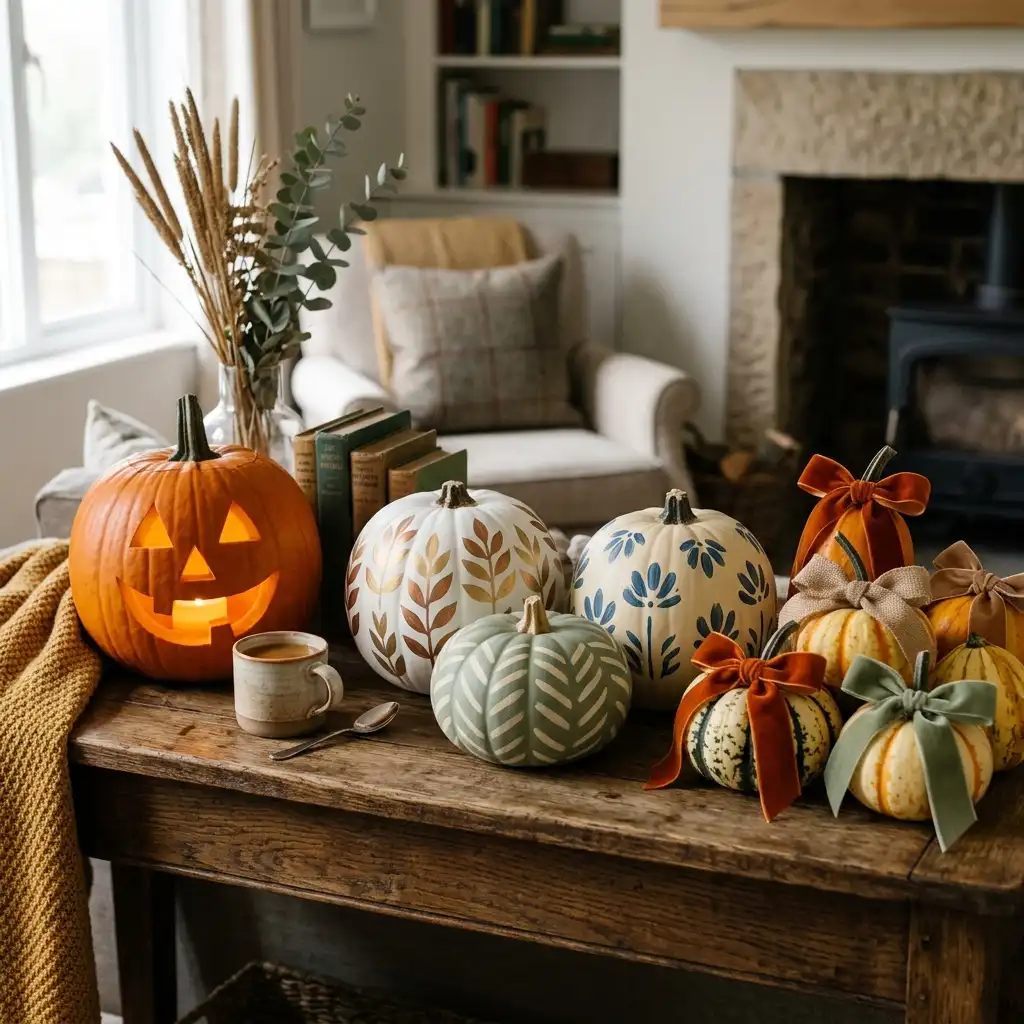
The three methods produce genuinely different objects, not three versions of the same one. Carving makes light. Painting makes color and pattern. No-carve makes texture. Working out which of those three your porch is short on is faster than scrolling designs, and it is the level this guide stays at. If the front step is the part you are planning, these front porch decor ideas cover the arrangement the pumpkins sit inside.
Carving Trades the Whole Month for One Night
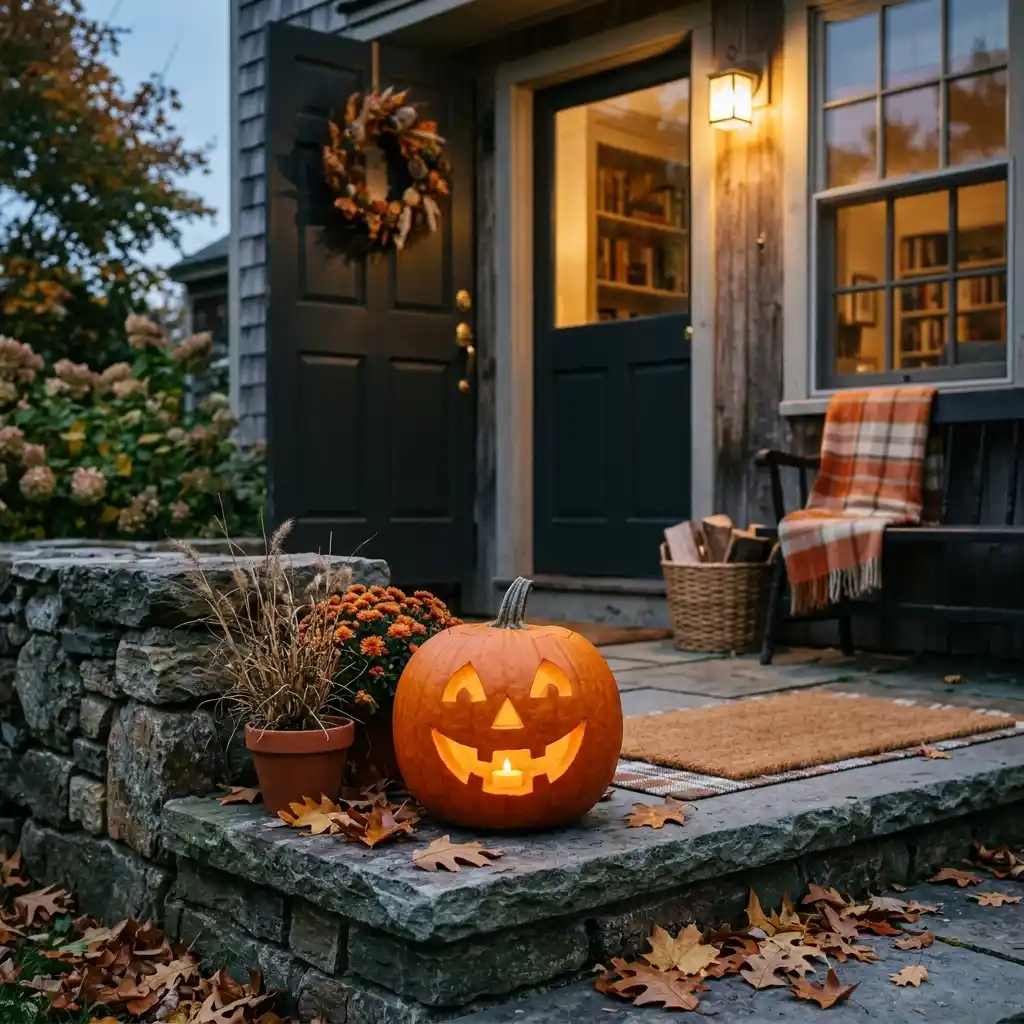
Carving is the only method that turns a pumpkin into a light source, and nothing else replaces that. A lit face at dusk carries across a front yard in a way paint never will. The cost is time — the cut edges dry and curl within a day or two, and the shell softens from the inside out.
Treat carving as an event decoration rather than a season one. Carve in the last week of October and light it with a battery tea light. Clemson’s Home and Garden Information Center notes that an open flame warms the lantern and shortens its life, so the light you choose changes how many nights you get out of the design.
Safety Note: Keep open flames away from dried cornstalks, paper and fabric on the porch, and use battery lights anywhere children can reach.
Painting Carries Most of the Season
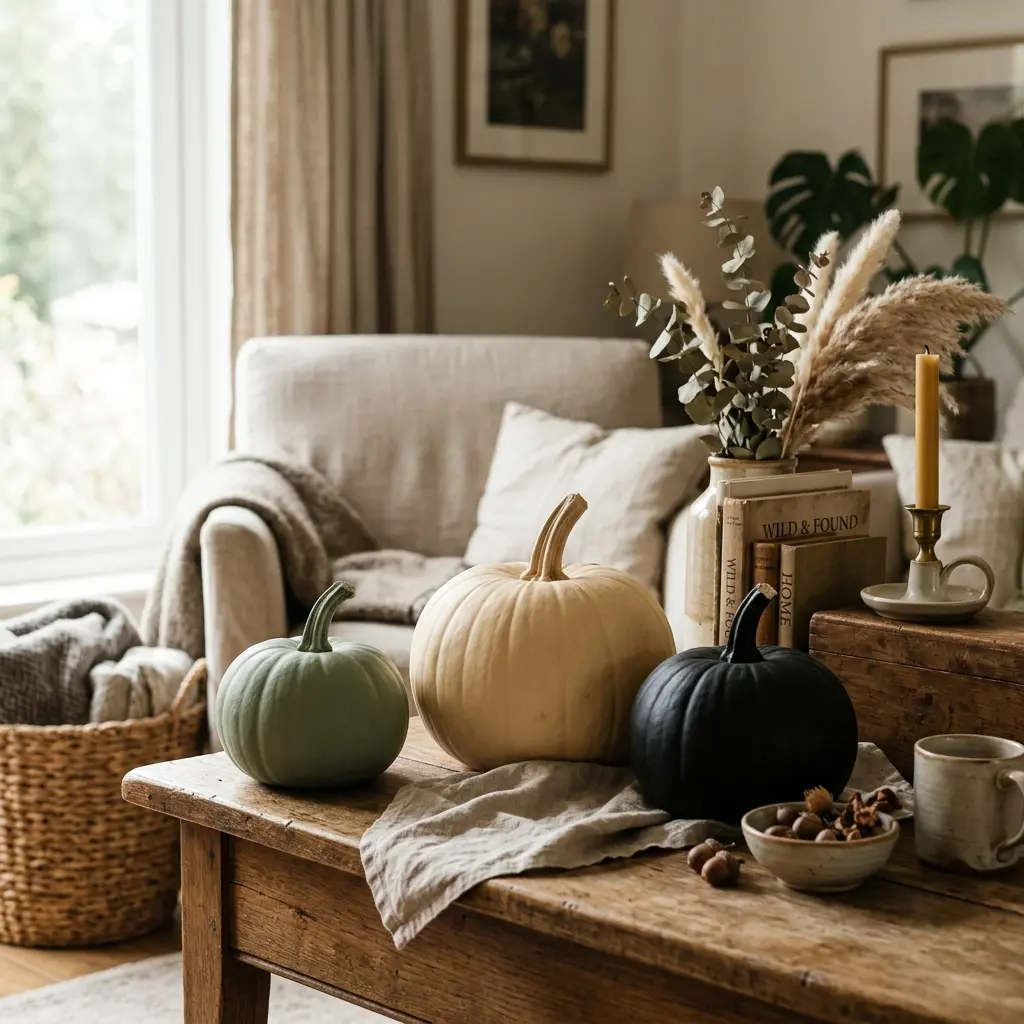
Painting keeps the skin closed, which is why a painted pumpkin outlasts a carved one by weeks. Acrylic paint grips the waxy rind well once the surface is wiped clean and dry, and a matte sealer coat protects it from dew. Skip the sealer and heavy rain will lift the edges within days.
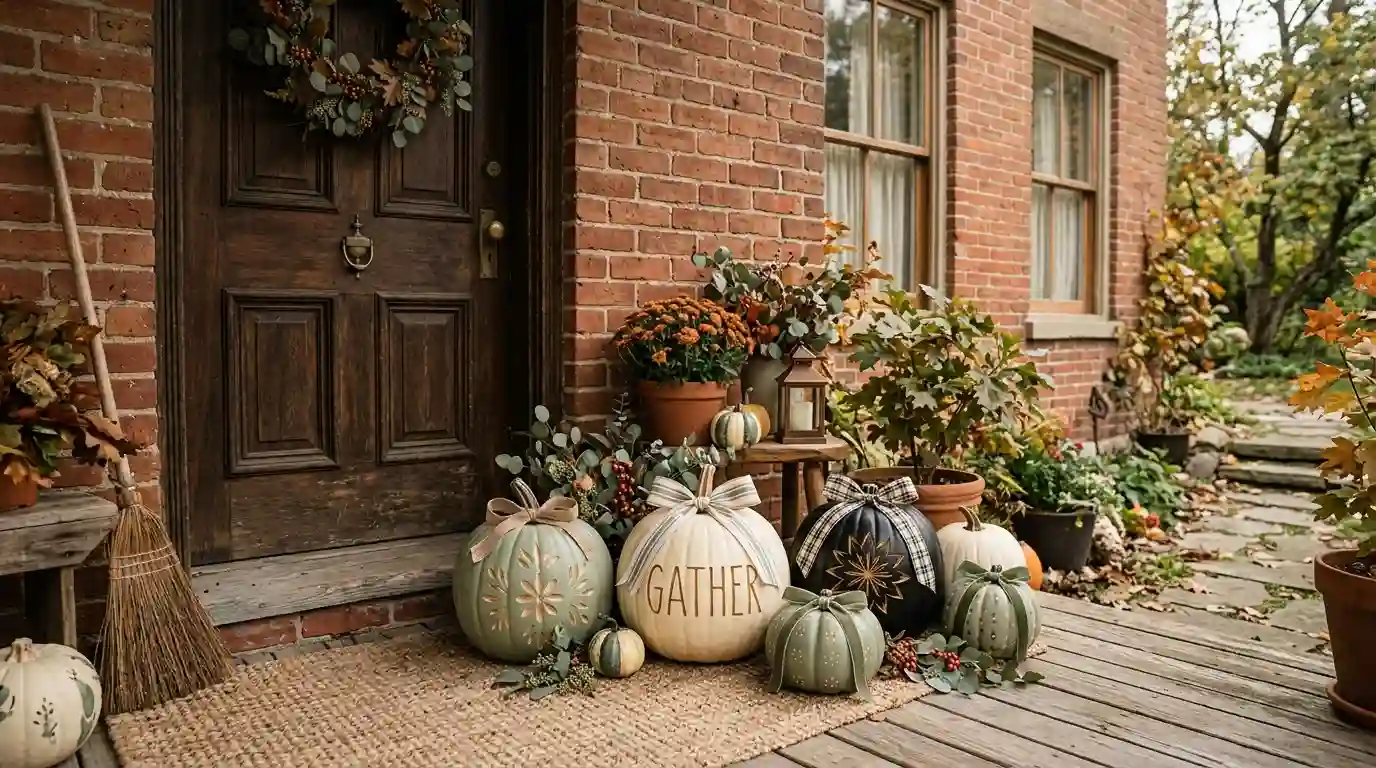
Color is where painting earns its place. Warm cream, sage green, muted clay and matte black all look considered against a real porch, and they sit far more comfortably beside autumn ochre than bright costume orange does. A matte black group works the same way the palette does in modern black Christmas decor — dark, quiet, and much less busy than the seasonal default it replaces.
DESIGNER TIP: Paint the stem in the same shade as the body. An unpainted stem is the detail that gives away a rushed job from ten feet away.
No-Carve Holds Up Where Paint and Knives Fail
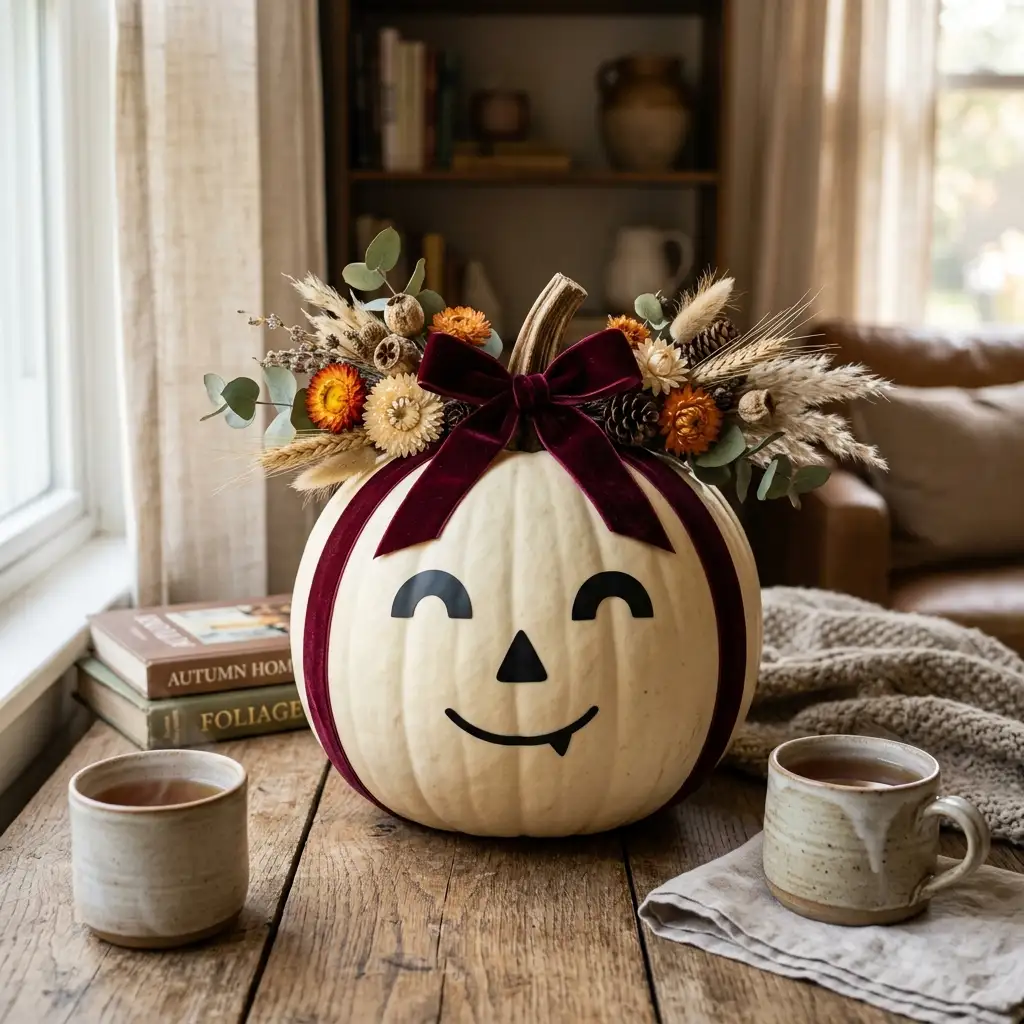
No-carve covers everything that adds surface without cutting or coating: vinyl cutouts, velvet ribbon, dried florals wired to the stem, pressed leaves, brass tacks pushed into the rind. It is the method most people underestimate, and the easiest one to do alongside children — and the vinyl-face version of it is the pumpkin that belongs in a cute Halloween scheme.
It also solves a problem the other two cannot. A vinyl face peels off cleanly, so one pumpkin can be a grinning face for a school party and a plain sage-green one the following week. If you already work with a cutting machine, the technique carries straight over from projects like Christmas Cricut decor — same vinyl, same weeding, different surface.
The Seven Checks That Save a Display
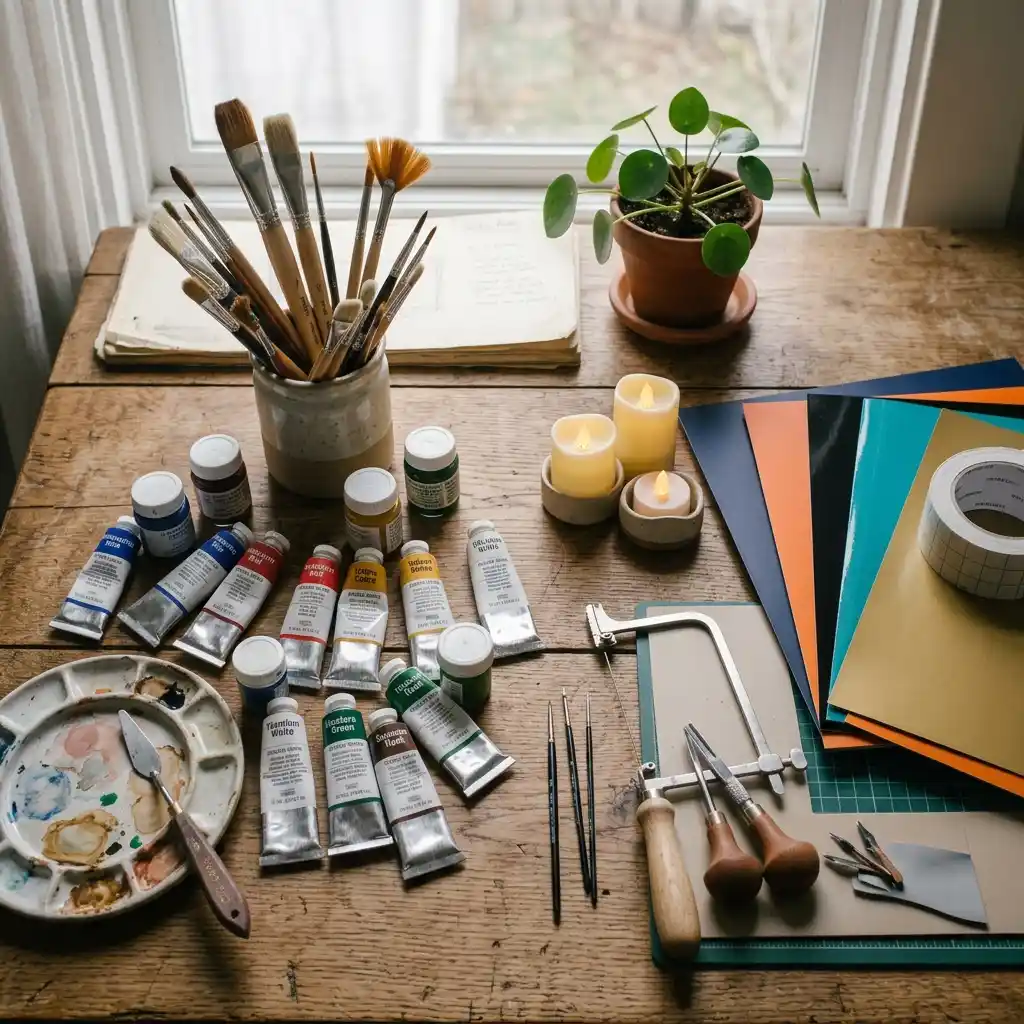
Run through these before you buy anything, not after.
- Count the weeks between your start date and November 1, then match the method to that number.
- Choose pumpkins with the stem attached and no soft spots, because a snapped stem is an open wound.
- Wipe each pumpkin with a dry cloth and let it reach room temperature before paint touches it.
- Set your palette to three colors across the whole group, and repeat each one at least twice.
- Buy battery tea lights before carving tools, since the light does more work than the design.
- Hold the carving until the last week of October, and buy those pumpkins on a separate trip.
- Give craft pumpkins a flat storage box now, or they will not survive to next year.
KEY TAKEAWAY: The number of weeks your display has to cover decides the method, and the method decides everything else.
Should You Buy Real Pumpkins or Craft Ones?
Buy real pumpkins for the ones you will carve, and craft pumpkins for the ones you will decorate carefully. That split follows the lifespan logic exactly. A carved pumpkin is disposable by design, so paying more for it makes little sense. A painted or ribboned one holds a design worth keeping, and foam or resin lets you keep it.
Craft pumpkins have two real advantages. They do not rot, so a display can go up in early September with no countdown running. They also hold detail, because a fine brushstroke or a straight vinyl edge stays straight when the surface underneath is not shrinking. The trade-off is texture — a foam pumpkin at close range looks like foam, so put craft pumpkins in the groupings people see from six feet away and keep real ones on the doorstep. That placement rule holds across most exterior decor, where distance decides how much detail is worth paying for.
Material Note: Foam and resin pumpkins hold paint indefinitely indoors, but sun on an uncovered porch will fade the color over several seasons.
Cost works the same way. Real pumpkins are cheap and gone by November, while craft pumpkins cost several times as much once and then cost nothing, in the way that handmade felt Christmas decorations pay for themselves across seasons rather than in a single one. Storing them well is the whole return, because the object only counts as cheap if it comes back out intact.
Working Backward From Your Start Date
Five moves, in order:
Set the start date first. If the pumpkins go out before October 15, painting or no-carve has to carry the display. Carving becomes a second act rather than the opening one.
Split the group. Most porches want two to four painted or craft pumpkins holding the arrangement, plus one or two carved ones added late. That mix is what makes a display look maintained instead of abandoned.
Pick three colors and stop. Warm cream, matte black and one accent — sage, clay or antique gold — covers almost every porch. Past three, the group stops reading as one thing.
Match the method to who is doing it. No-carve is the version children can genuinely finish alone. Painting suits an evening indoors. Carving needs adult hands and a bin nearby.
Adapt if you have no porch. Renters and apartment dwellers should skip carving entirely, since a cut pumpkin indoors becomes a smell problem within days. Small painted or craft pumpkins work on a windowsill or console, and behave much like the winter centerpieces you would set out for any other season.
Rental Note: Keep pumpkins off carpet and painted sills — set them on a tray or slate tile, because a leaking pumpkin stains.
Can You Make a Carved Pumpkin Last Longer?
Yes, though only by days rather than weeks. Keep the pumpkin out of direct sun and off warm concrete, because heat softens the shell fastest. Bring it indoors overnight when the forecast is warm. Use a battery light rather than a flame. And carve from the back or the base instead of cutting a wide lid, since a smaller opening loses less moisture.
One thing worth knowing, and rarely mentioned: a carved pumpkin is no longer food. Michigan State University Extension is direct about it — once a pumpkin is cut and left at room temperature, bacteria can double every 20 minutes inside it, and anything sitting out beyond two hours should not be eaten. Roast seeds from a freshly cut pumpkin, and compost the lantern once it collapses.
The Habits That Cost You Three Weeks
❌ Carving every pumpkin on the same afternoon in early October → ✅ Carve one or two in the final week and let painted pumpkins hold the arrangement until then.
❌ Painting a cold, damp pumpkin straight off the porch → ✅ Bring it indoors, wipe it dry, and let it reach room temperature before the first coat.
❌ Stacking craft pumpkins loose in a bin at the end of the season → ✅ Store them in a single flat layer, stems up, so foam does not dent and resin does not chip.
The Spend, Method by Method
Pumpkin decorating is one of the few seasonal projects where the cheap version and the expensive version look almost identical from the sidewalk. The money buys longevity, not appearance.
| Project | Estimated Cost | Impact Level |
|---|---|---|
| Real carving pumpkin plus a battery tea light | $6-$18 | Medium |
| Vinyl sheets and transfer tape for no-carve designs | $8-$20 | Medium |
| Acrylic paint, brushes and matte sealer for 4-6 pumpkins | $18-$40 | High |
| Carving kit with saws, scoops and a set of LED lights | $25-$55 | Medium |
| Reusable foam or resin craft pumpkins, set of three | $45-$110 | Very High |
Best First Upgrade: A basic acrylic paint set, because it turns cheap real pumpkins into a display that survives six weeks instead of one.
Skip for Now: Premium carving kits with dozens of specialty blades. Two saws and a scoop handle almost every design, and the pumpkin is compost by November either way. There are more DIY decorating projects worth that money in the same season.
Which Method Should Most People Choose?
Designer’s Verdict: Painting wins for most homes, because it is the only method that covers the whole season on a real pumpkin at almost no cost. Carving stays worth doing, but as a two-pumpkin event in the last week of October rather than the plan for the entire display. Craft pumpkins are the upgrade to make once you know which arrangement you repeat every year.
Frequently Asked Questions
Conclusion
Carving was never the wrong idea — it was just doing a job the calendar stopped asking for. Sort your pumpkin decorating ideas by the number of weeks each one has to survive, and the porch stays looking maintained from September through Halloween instead of peaking early and sagging. There is more of this thinking across our seasonal decorating ideas when you plan the rest of the front of the house.