TL;DR
Here is the short version of how to decorate a bedroom in order:
- Measure the room and plan the layout before you buy anything.
- Anchor the bed as the focal point, with 30-36 inches of clearance where you can.
- Choose a calm color palette of two to three tones.
- Layer lighting at three levels using warm 2700K bulbs.
- Add textiles, then storage, then wall decor.
- Style surfaces last and stop before the room feels crowded.
This is a 9-step process. Work through it top to bottom and the room comes together without guesswork.
Where Do You Start When Decorating a Bedroom?
Most people start a bedroom by buying things. A new duvet, a cute lamp, a rug that was on sale. Then the pieces don’t talk to each other, and the room feels off without an obvious reason. If you have ever stood in your bedroom thinking “I have stuff, but it still looks unfinished” — you are not alone. That gap is almost always order, not budget.
Knowing how to decorate a bedroom means following a sequence: plan first, anchor the bed, set the palette, then layer light, texture, storage, and decor. Do it in that order and each choice supports the next. Skip ahead and you end up returning things. If you want the full overview of every direction a bedroom can take, start with this complete guide to bedroom decorating ideas, then come back here for the build order.
This guide is the build order itself. Editorial field note: a bedroom with a great bed and no plan usually still reads as cluttered, because nothing has a defined spot. The same room, mapped on paper first, feels calm before a single new item arrives. We will work through nine steps, with real measurements, costs, and the handoffs to go deeper. Bookmark this guide for quick reference.
KEY TAKEAWAY: Decorating a bedroom is a sequence — plan, anchor, color, light, layer — not a shopping list.
| Quick Takeaways | |
|---|---|
| Plan First | Measure the room and sketch the layout before buying anything. |
| The Bed | Make the bed the focal point with 30-36 inches of side clearance. |
| Color | Pick two to three calm tones and repeat them around the room. |
| Lighting | Layer ambient, task, and accent light in warm 2700K bulbs. |
| Texture | Mix linen, cotton, knit wool, and one soft pile rug for depth. |
| Finish | Style surfaces last and stop before the room feels full. |
Bedroom Decorating Checklist
Use this fast checklist before and during the project. It keeps every step honest.
- Measure the room and all doorways, then sketch the bed wall first.
- Keep 30-36 inches of walking clearance on each side of the bed where the room allows.
- Limit the palette to two or three repeating tones plus one accent.
- Plan three light sources: one ambient, one task, one accent, all 2700K.
- Buy a rug big enough to extend 18-24 inches past the bed sides and foot.
- Give every item a home so surfaces stay quiet, not crowded.
- Hang wall decor with the center near 57-60 inches from the floor.
KEY TAKEAWAY: A short checklist keeps the build order on track and stops impulse buys that don’t fit.
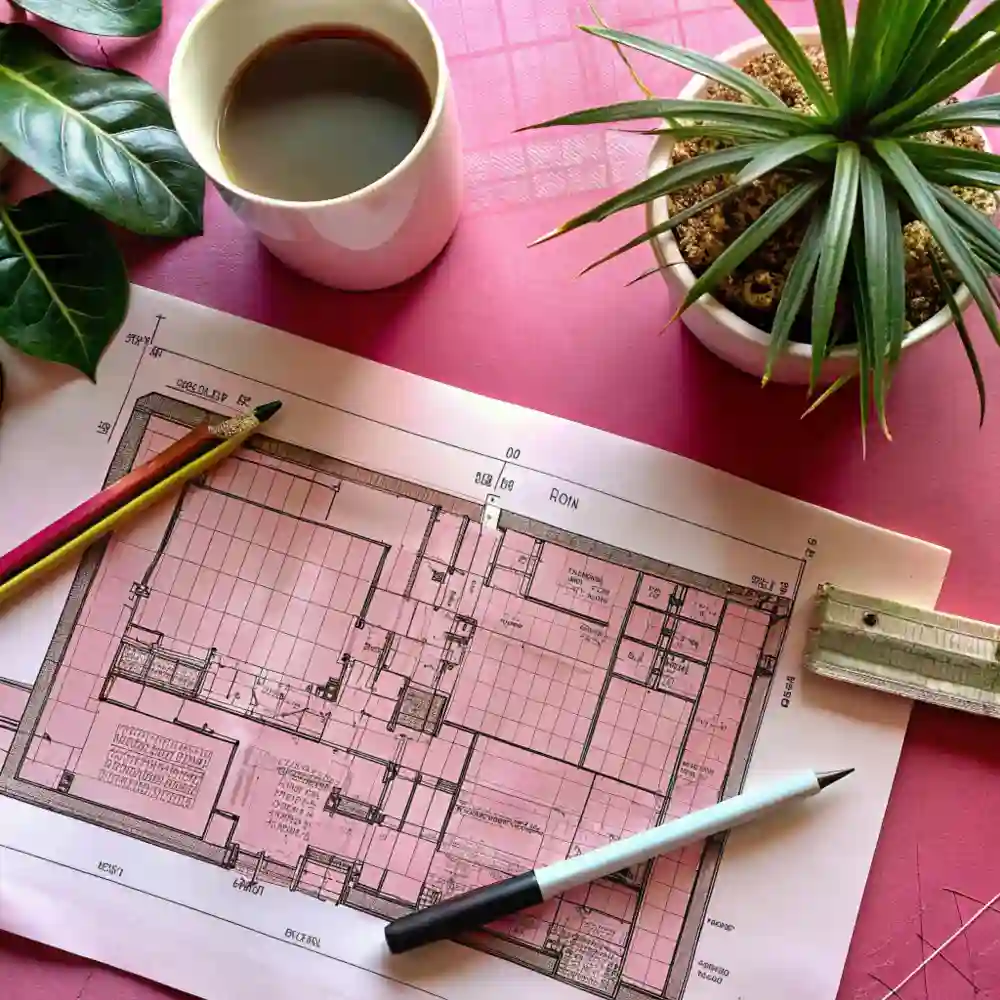
Step 1 — How Do You Measure and Plan a Bedroom Layout?
Start with a tape measure, not a cart. Measure the room’s length and width, then mark every door swing, window, radiator, and outlet on a simple sketch. These fixed points decide where the bed can and can’t go. A plan on paper costs nothing and saves the most common mistake — a bed that blocks a door or a dresser you can’t open.
Place the bed first, usually on the longest unbroken wall, centered so both sides stay reachable. Designers leave 30 to 36 inches of clearance on each side of the bed and at the foot where the room allows, with a main walkway of at least 36 inches, according to this expert guide to bedroom clearances from Homes & Gardens. In a tight room, 24 inches on one side can work, but never wall both sides in.
A bedroom layout works when you can walk to the window, open the closet, and round the foot of the bed without turning sideways. The most common mistake is buying the biggest bed that fits and losing all the floor around it. For a tricky room with one window, this walkthrough on how to arrange a bedroom with one window covers the awkward cases in depth.
DESIGNER TIP: Tape the bed’s footprint on the floor with painter’s tape and live with it for a day before committing. Walking the path tells you more than any sketch.
KEY TAKEAWAY: Measure the room, mark fixed points, and place the bed on paper before you buy anything.
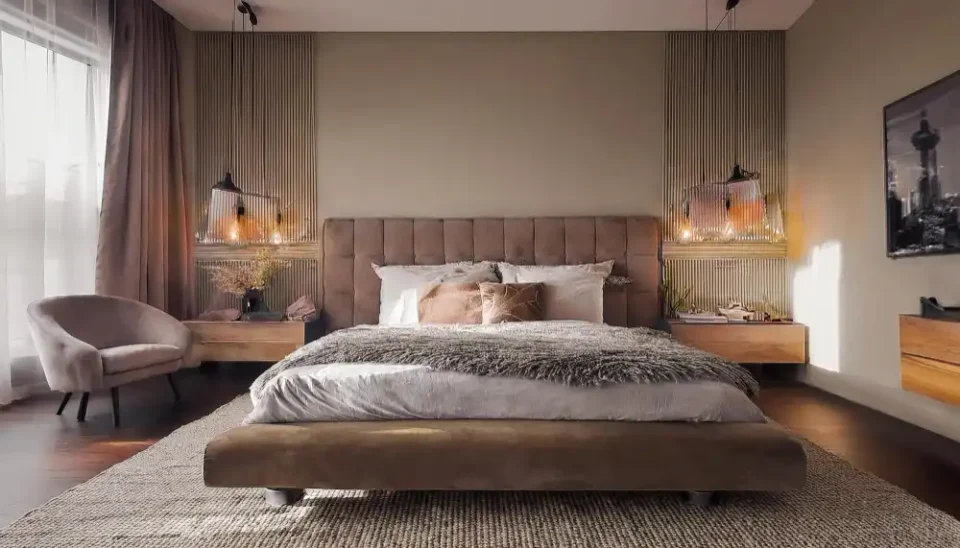
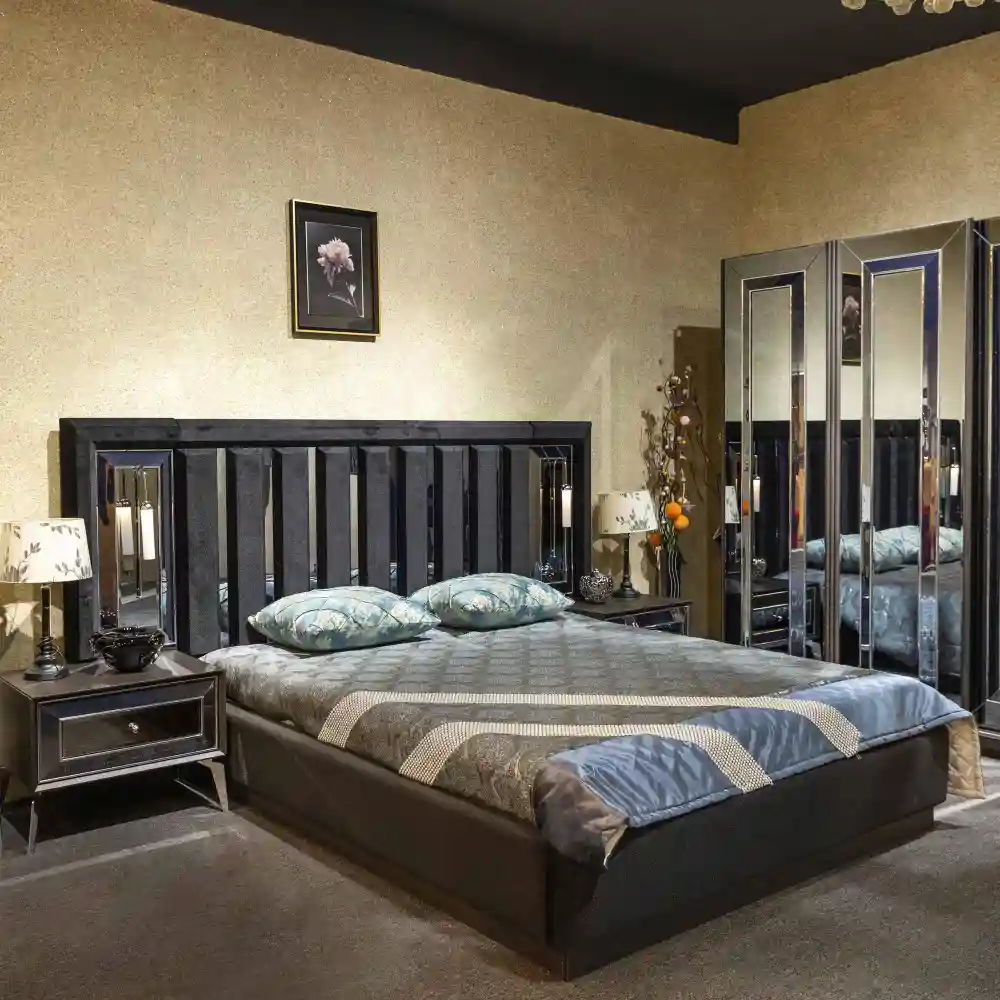
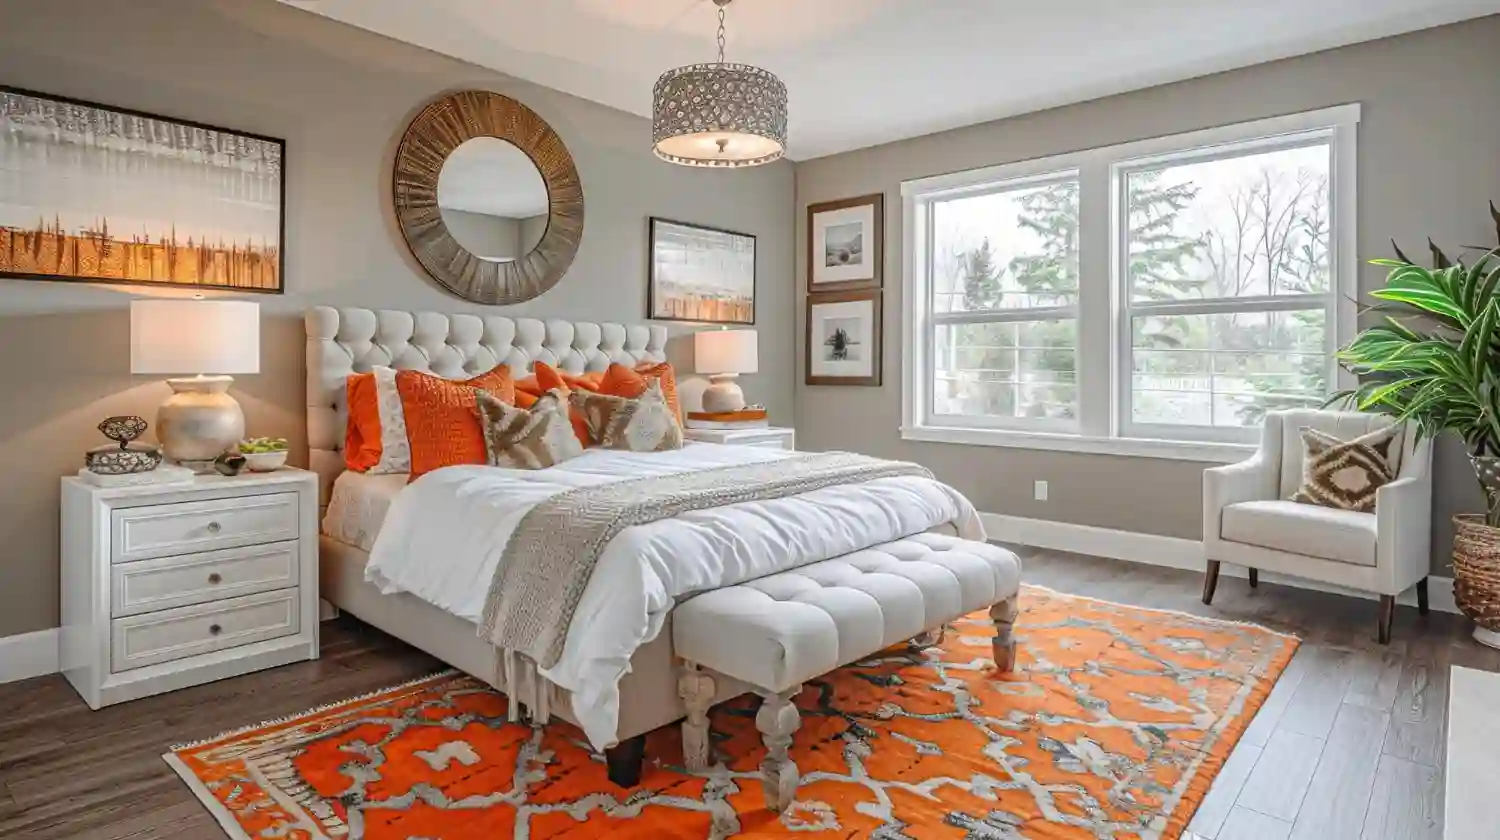
Step 2 — How Do You Anchor the Bed as the Focal Point?
Make the bed the clear focal point. The bed is the largest piece in the room, so it sets the visual weight of everything else. Give it a headboard — upholstered linen, oak, rattan, or a tall fabric panel — to draw the eye and frame the wall behind it. A bed without a headboard often looks unfinished, even when the bedding is nice.
Center the bed on its wall and balance it with two nightstands of equal height, roughly level with the top of the mattress. Matching nightstands read as calm; mismatched-on-purpose ones read as collected. Either works, as long as the heights are close. Add a runner or bench at the foot only if you have the 36 inches of clearance to spare.
A centered, framed bed makes the rest of the room easier to decorate, because every other piece relates back to it. For the styling layer — pillow counts, duvet fold, throw placement — this guide on how to style a bed like a designer takes the look further than we go here. A headboard choice can also change the whole mood, so these headboard ideas for a luxurious bedroom are worth a look before you buy.
KEY TAKEAWAY: A centered bed with a headboard and balanced nightstands becomes the focal point the whole room builds around.
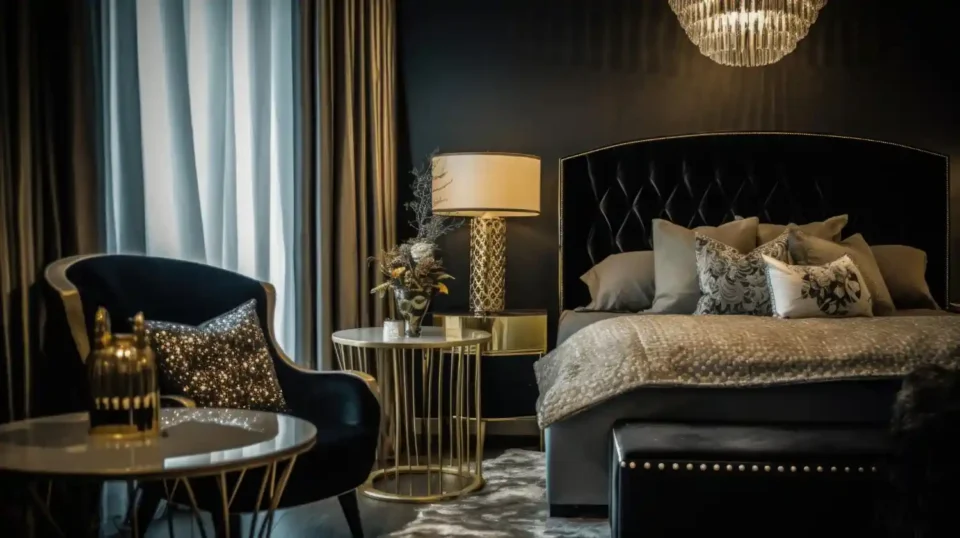
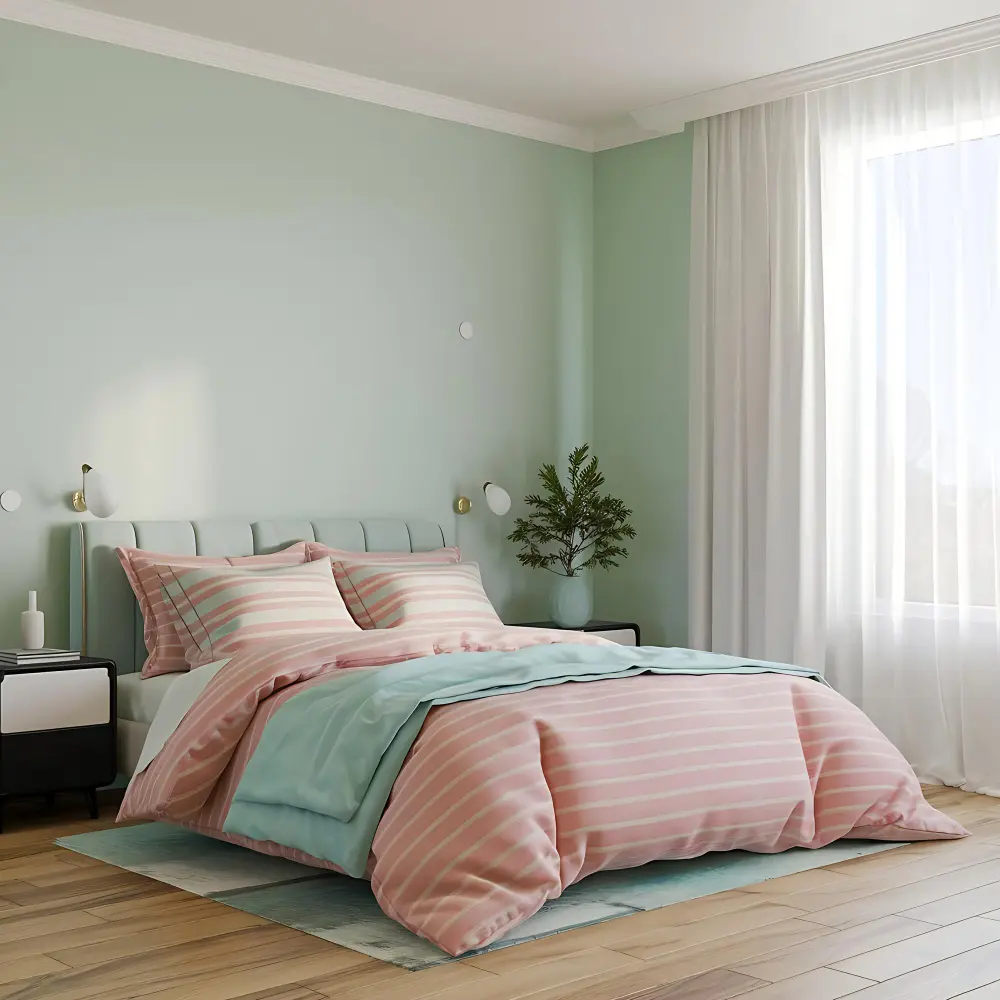
Step 3 — How Do You Choose a Bedroom Color Palette?
Pick a calm palette of two or three tones, then add one accent. A bedroom is a room for rest, so most palettes start with quiet bases: warm white, warm greige, soft oat, muted clay, sage green, or deep navy. Choose one main wall color, one secondary tone for textiles, and one accent for pillows or art. Three colors, repeated around the room, read as planned.
Color temperature is measured in Kelvin, and so is paint warmth in a looser way — warm undertones make a small or north-facing bedroom feel cozier, while cool greys can feel flat in low light. Test paint on the actual wall and look at it in morning and evening light before committing. A sample square the size of this page tells you very little; a two-foot patch tells you the truth.
A bedroom palette works when the same two or three tones appear in at least three places each — wall, bedding, and one accent. The most common mistake is adding a new color with every purchase until nothing connects. For full schemes, room-by-room combinations, and color psychology, hand off to this hub on bedroom color ideas, palettes and schemes.
DESIGNER TIP: Pull your three colors from one object you already love — a rug, a piece of art, a favorite throw. Borrowed palettes almost always feel more natural than ones built from scratch.
KEY TAKEAWAY: Choose two to three calm tones plus one accent, and repeat each color in at least three spots.
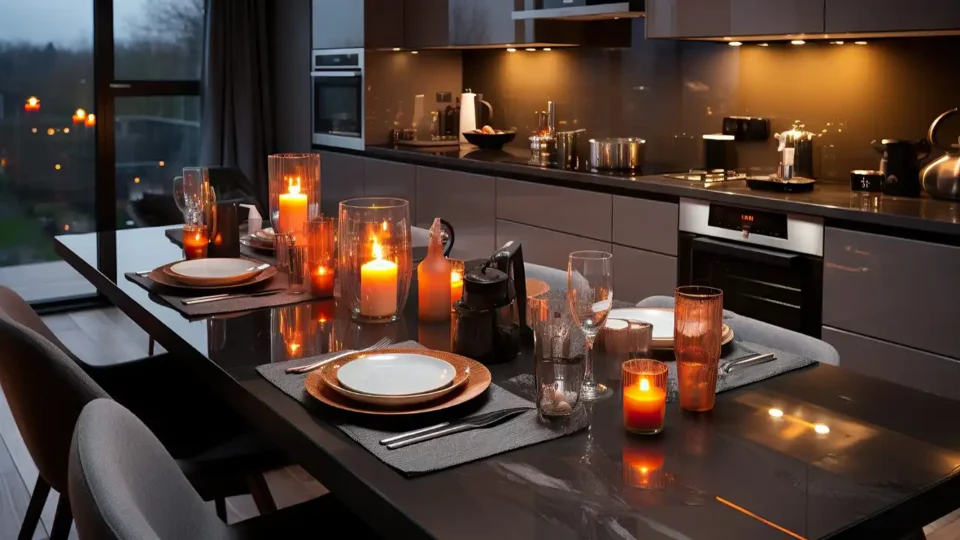
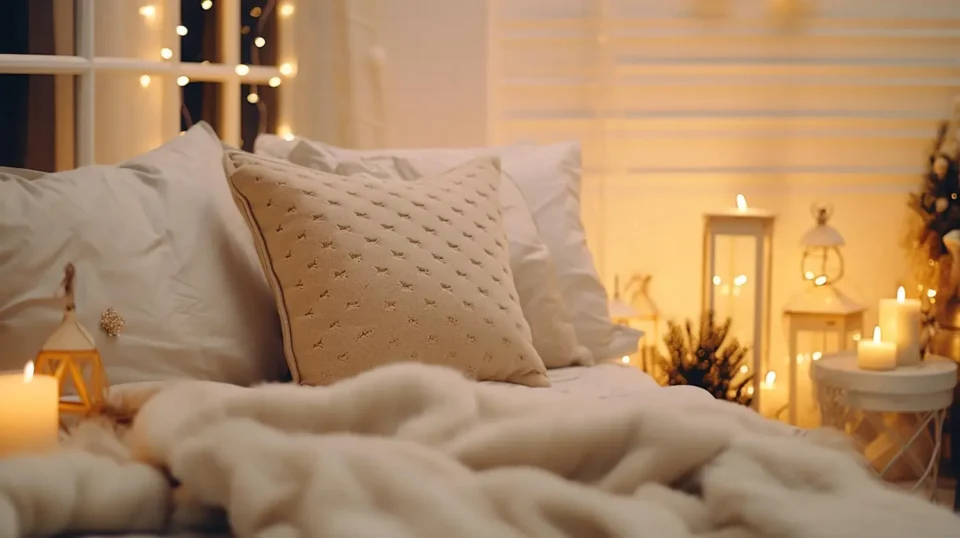
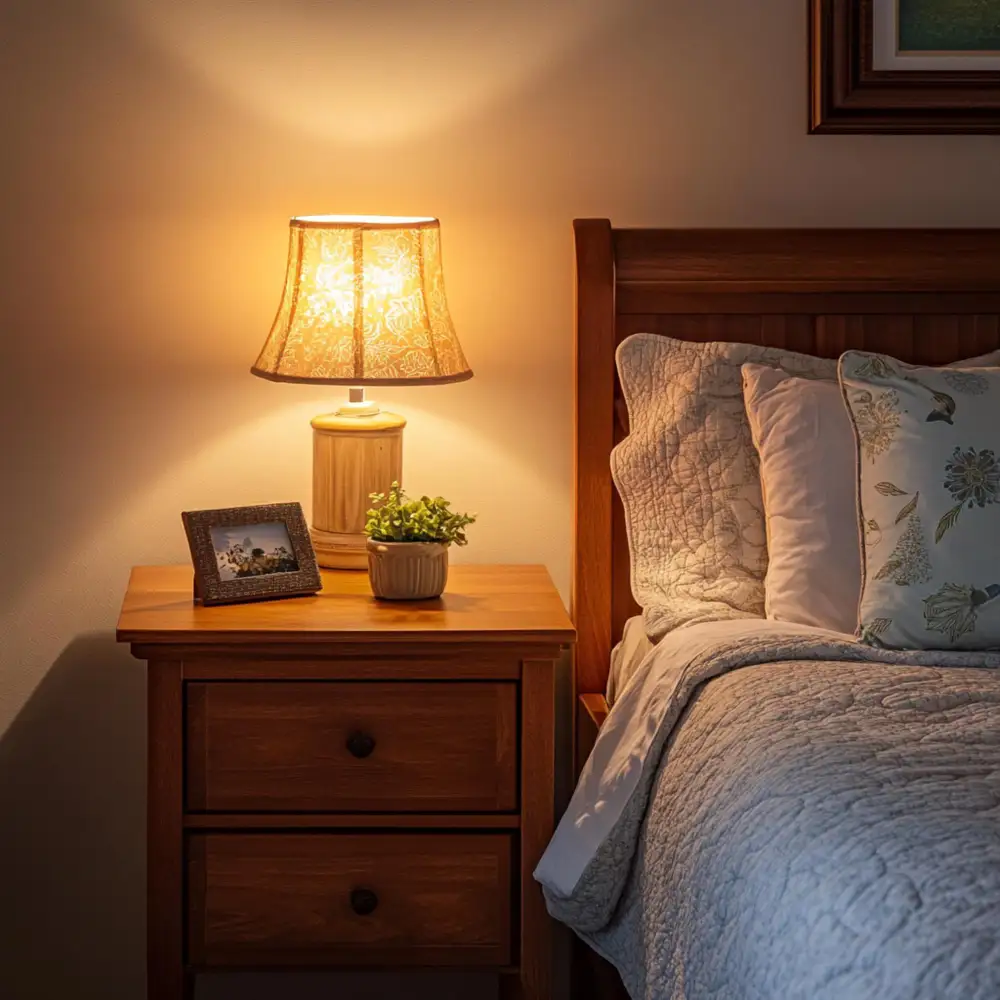
Step 4 — How Do You Layer Bedroom Lighting?
Layer light at three levels: ambient, task, and accent. One ceiling fixture alone flattens a room and casts hard shadows. Instead, combine an ambient source (ceiling light or a pair of lamps), a task source (a swing-arm or bedside lamp for reading), and an accent source (a small lamp, sconce, or string of warm light) for evening glow. Three levels let you shift the room from bright to restful.
Use warm bulbs everywhere in the bedroom. A 2700K warm-white bulb gives a soft golden light that helps the room feel calm and supports winding down at night, which is why lighting guides like Lumens recommend it for bedrooms over cooler daylight tones. Put the main lights on a dimmer if you can. Dimmable warm light is the single biggest upgrade most bedrooms are missing.
Bedroom lighting works best when no corner stays dark and every bulb is the same warm tone. The most common mistake is one cool overhead light doing all the work. For placement, fixture types, and a full layered glow, this guide on cozy bedroom lighting ideas goes deeper than this step.
DESIGNER TIP: Match the color temperature of every bulb in the room. One stray cool bulb among warm ones makes the whole space look uneven, even if you can’t name why.
KEY TAKEAWAY: Combine ambient, task, and accent light in warm 2700K bulbs, and put the main source on a dimmer.
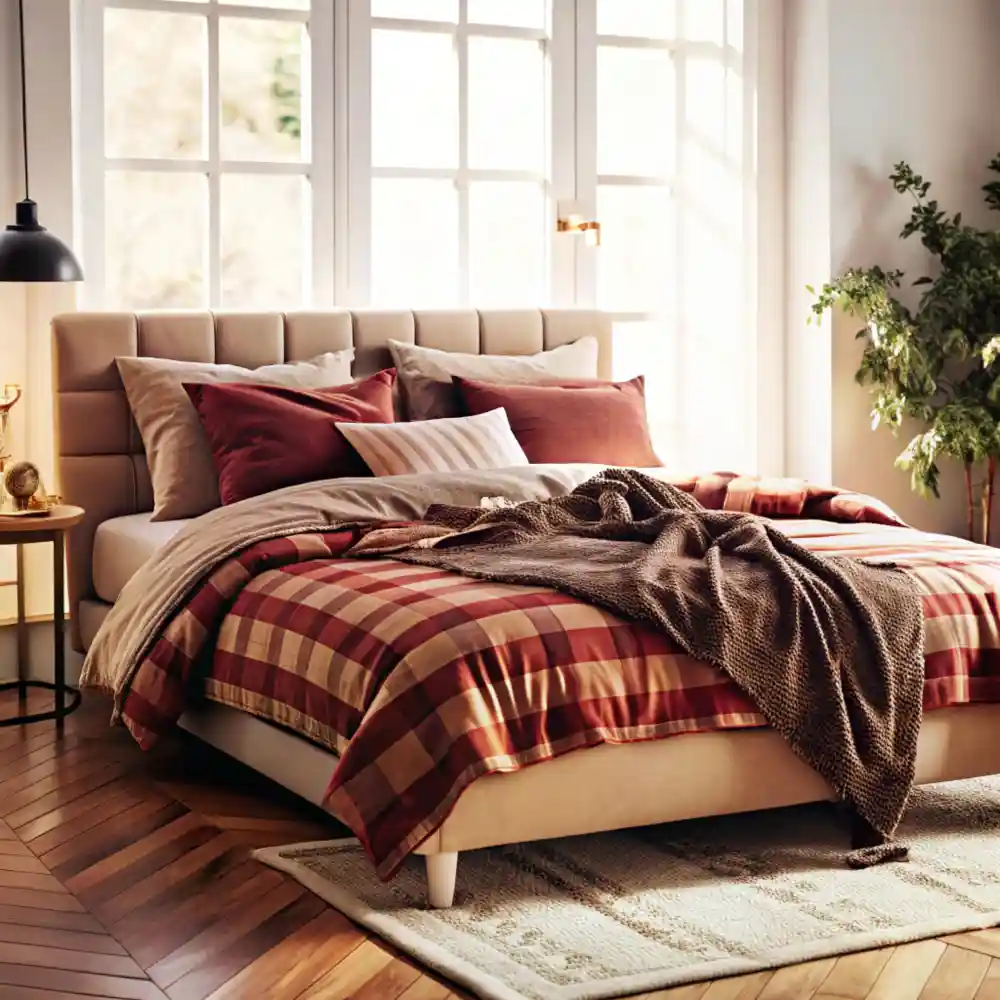
Step 5 — How Do You Layer Bedroom Textiles and Bedding?
Build texture with layers of cloth. Bedding is where a bedroom gains warmth, so mix materials rather than matching everything. Start with cotton or linen sheets, add a duvet or quilt, then a folded blanket and two to four pillows. Finish with a knit wool or chunky throw across one corner. Different textures in similar tones make the bed look full without looking busy.

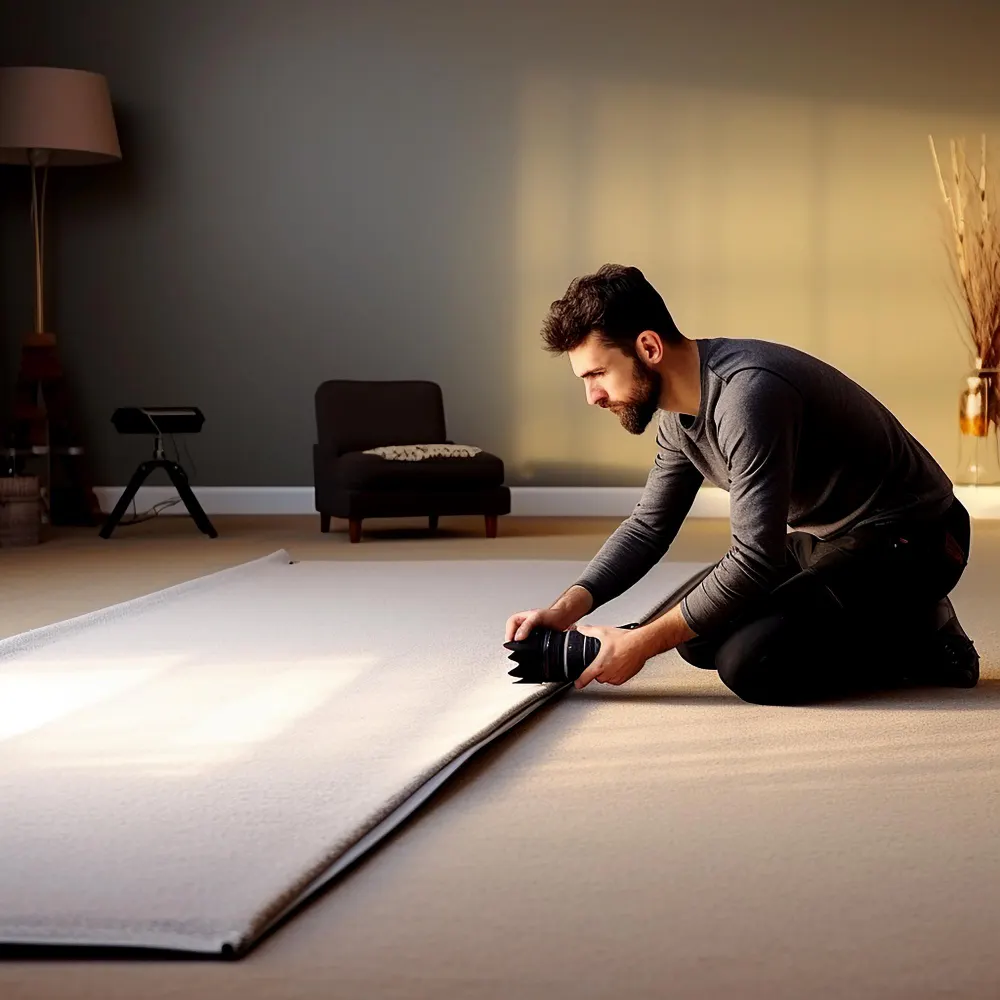
Add a soft rug to ground the bed and warm the floor underfoot. Designer Rule of Thumb: the rug should extend 18 to 24 inches past the sides and foot of the bed, which usually means an 8-by-10-foot rug for a queen and a 9-by-12-foot rug for a king. A rug that is too small is the most common bedroom slip — it floats and makes the bed look stranded.
Layered textiles work when you can count at least three materials on the bed, like linen, cotton, and wool. The most common mistake is a matching bed-in-a-bag set with no contrast, which looks flat. Curtains belong here too: hang them high and wide — rod 3 to 5 inches below the ceiling and 6 to 12 inches past the frame on each side — to make the window and the whole room feel taller.
KEY TAKEAWAY: Layer at least three materials on the bed and add a rug that overhangs 18-24 inches on the sides and foot.
Step 6 — How Do You Add Bedroom Storage Without Clutter?
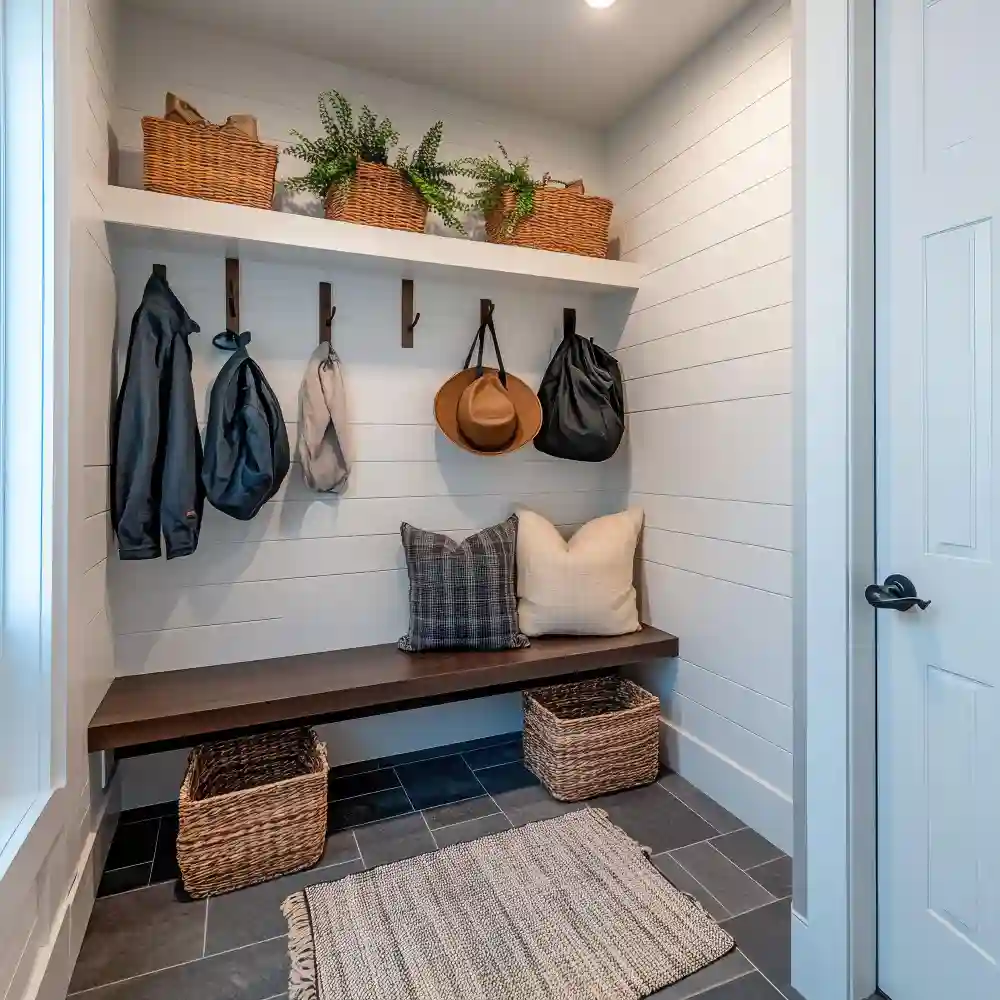
Plan storage so the room stays quiet. Clutter is what makes a bedroom feel unfinished faster than anything else, so every item needs a home before styling begins. Use the dresser, nightstand drawers, under-bed bins, and the closet first. Add a bench with hidden storage or a pair of baskets only if you still need more. The goal is closed storage for the everyday and open shelves for a few chosen pieces.
Keep nightstand surfaces mostly clear — a lamp, a small tray, a book, maybe one plant. Cords, chargers, and clutter break the calm a bedroom is supposed to give. A drawer or a small box hides the daily mess in seconds. Stylish storage is storage you don’t notice.
Bedroom storage works when the floor is clear and surfaces hold only a few things. The most common mistake is leaving everything on display, which reads as busy no matter how nice each item is. For pieces that hide the mess and still look good, these stylish bedroom storage ideas show how to do it without bulky furniture.
DESIGNER TIP: Follow a one-in, one-out habit on open surfaces. If you add a new object to the dresser top, remove one. Surfaces stay calm and curated on their own.
KEY TAKEAWAY: Give every item a home in closed storage first, and keep surfaces clear so the room stays calm.
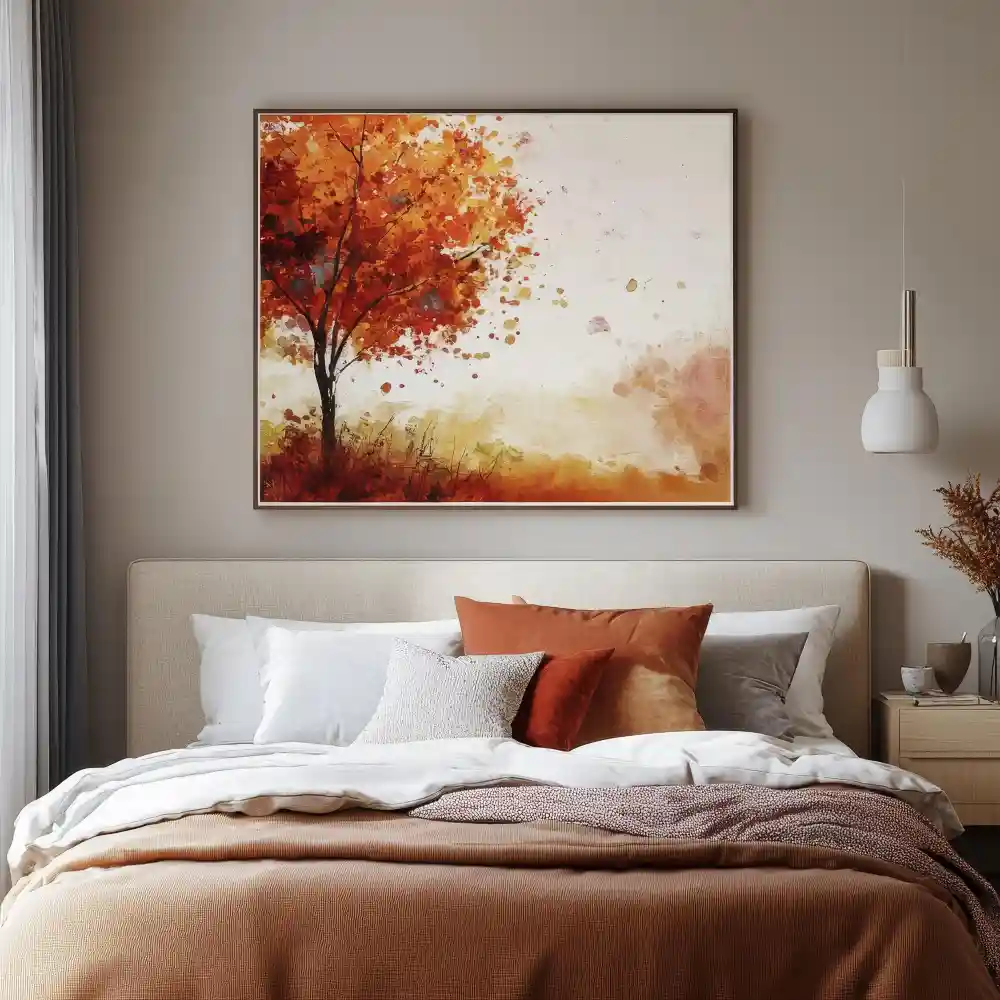
Step 7 — How Do You Hang Bedroom Wall Decor and Art?
Add wall decor to finish the vertical space. Empty walls make a bedroom feel temporary, while the right art ties the palette together. Above the bed is the main spot: one large piece, a pair, or a tidy grid works better than many small frames scattered around. Pull the art’s colors from your palette so the wall connects to the bed below it.
Hang art at the right height. Center a single piece or a grouping around 57 to 60 inches from the floor, the standard gallery eye level. Above a bed, the bottom of the frame should sit about 8 to 12 inches above the headboard so the art relates to the bed instead of floating. Keep gallery-wall frames spaced 2 to 3 inches apart and treat the whole group as one shape.
Wall decor works when the art repeats a color already in the room and hangs at eye level. The most common mistake is hanging pieces too high and too small. For the space over the headboard specifically, these wall decor ideas for above the bed cover scale, arrangement, and what to hang.
KEY TAKEAWAY: Hang art centered near 57-60 inches, or 8-12 inches above the headboard, and repeat a palette color.
Step 8 — How Do You Style Surfaces and Add the Finishing Touches?
Style the surfaces last, once the big pieces are set. This is the layer that makes a bedroom feel lived-in and personal: a tray on the dresser, a stack of two or three books, a small plant, a candle, a piece of ceramic. Group small objects in odd numbers and vary their heights so each vignette has a tall, a medium, and a low piece.
Bring in one or two living elements. A trailing plant, fresh stems, or dried grasses add life that no object can fake. Greenery also softens hard furniture lines and connects an indoor room to something natural. Keep it simple — one healthy plant beats five struggling ones.
Styled surfaces work when each grouping has three items at different heights and nothing feels random. The most common mistake is over-styling until surfaces look like a store display. Stop while the room still feels like yours. For the nightstand specifically, these nightstand decor ideas show how to style the smallest surface that gets seen the most.
DESIGNER TIP: Style a surface, then remove one object. Nine times out of ten the edited version looks better. Empty space is part of the design.
KEY TAKEAWAY: Style surfaces last in odd-numbered groups at varied heights, then remove one piece to keep it calm.
Step 9 — How Do You Pull the Whole Bedroom Together?
Step back and edit. Once every layer is in, walk into the room as if for the first time and look for what fights — a stray color, a too-small rug, a dark corner, a crowded surface. The final step of decorating a bedroom is removing or adjusting, not adding. A finished room feels settled, not full.
Check the room against your earlier plan. Are the palette tones repeating? Is the bed still the focal point? Does the lighting shift from bright to soft? Small fixes at this stage — moving a lamp, swapping a pillow, clearing a surface — do more than any new purchase. The room you planned in Step 1 should now be visible in front of you.
A bedroom is done when it feels calm the moment you walk in and nothing pulls your eye for the wrong reason. The most common mistake is to keep buying past the finish line. If you want to avoid the slips that quietly cheapen a room, this list of bedroom mistakes to avoid for a more luxurious space is the perfect final read.
KEY TAKEAWAY: Finish by editing, not adding — adjust the layers you have until the room feels calm and settled.
Where Do Beginners Go Wrong Decorating a Bedroom?
A few mistakes show up in almost every first bedroom. Each one is easy to fix once you know to look for it.
❌ Buying furniture before measuring → ✅ Sketch the layout and measure clearances first.
❌ One cool overhead light for the whole room → ✅ Add three warm 2700K light sources at different levels.
❌ A rug too small that floats under the bed → ✅ Size up so it overhangs 18-24 inches on the sides and foot.
❌ Adding a new color with every purchase → ✅ Lock a two-to-three-tone palette and repeat it.
KEY TAKEAWAY: Most beginner bedroom mistakes trace back to skipping the plan, the warm lighting, or the palette limit.
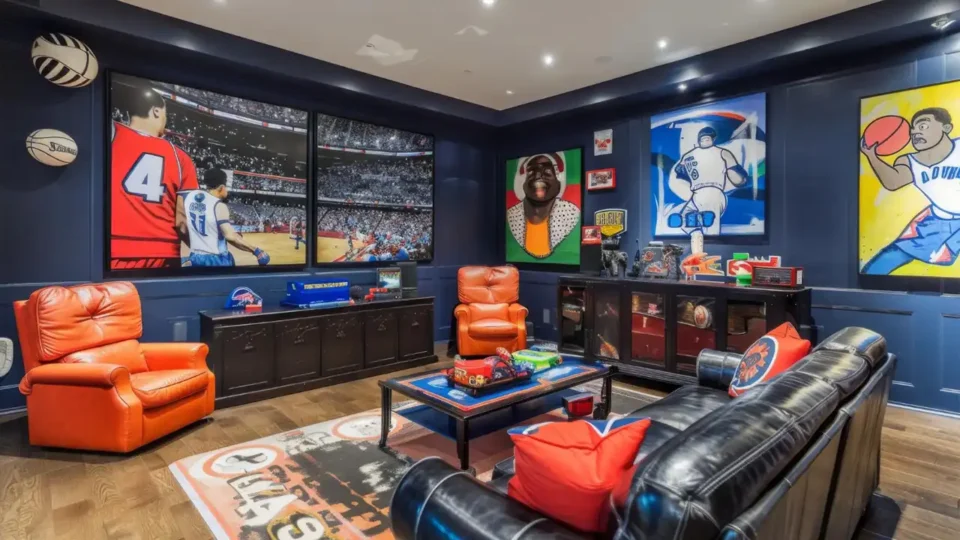
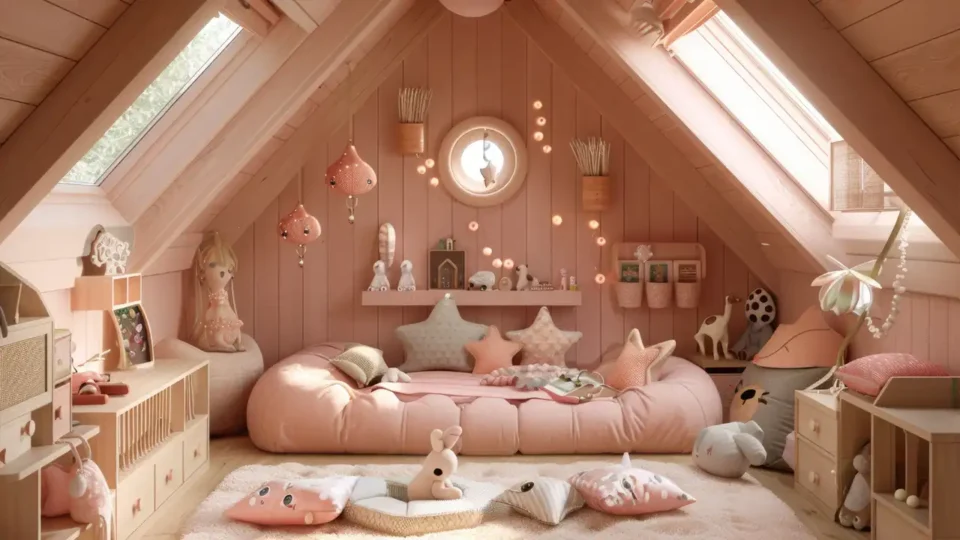
What If Your Bedroom Is Small or You Rent?
Small rooms and rentals need the same nine steps with a few smart edits. In a small bedroom, choose a lighter palette, lift the curtains to the ceiling to gain height, and pick a bed with built-in or under-bed storage so the floor stays clear. Wall-mounted lamps and a floating shelf free up the nightstand footprint. The plan matters even more when every inch counts, so this hub on small bedroom ideas with smart layouts and storage is the right next stop.
Renters can do almost all of this without drilling. Use removable adhesive hooks for art and string lights, freestanding lamps for the lighting layer, and peel-and-stick or leaning decor instead of permanent fixtures. Rental Note: choose removable hooks and tension rods over screws so you protect your deposit and can reverse everything on move-out.
The style direction is yours to choose at any size. If you want to decorate around a specific aesthetic, the bedroom aesthetic ideas hub covering every style and look helps you pick a lane, while the bedroom ideas by room and who they’re for guide tailors the steps to masters, teens, guests, and more.
KEY TAKEAWAY: The nine steps still apply in small or rented bedrooms — just lean on light colors, vertical space, and removable fixtures.
Budget at a Glance
Decorating a bedroom can cost a little or a lot, but the build order lets you spread it out and prioritize. You can refresh a room for under $200 with paint and textiles, or invest gradually in furniture over time. The table below shows realistic ranges for the pieces most rooms need.
| Project | Estimated Cost | Impact Level |
|---|---|---|
| Paint refresh (1 gallon covers ~350-400 sq ft) | $40-$90 | Very High |
| Textiles: bedding, throw, and pillows | $120-$350 | High |
| Layered lighting: two lamps plus a dimmer | $80-$250 | High |
| Headboard or upholstered bed frame | $300-$900 | Medium |
A single gallon of interior paint covers roughly 350 to 400 square feet, enough for a standard 10-by-10 bedroom, according to Sherwin-Williams. That makes paint the cheapest high-impact change in the whole project.
Best First Upgrade: Repaint the walls in a warm, calm tone — it resets the entire room for under $90.
Skip for Now: A pricey upholstered bed frame can wait until the palette and layout are locked.
KEY TAKEAWAY: Paint and textiles deliver the most visible change per dollar, so start there and add furniture over time.
Frequently Asked Questions
Conclusion
Learning how to decorate a bedroom is really about working in the right order. Plan the layout, anchor the bed, set a calm palette, layer warm light, then add textiles, storage, wall decor, and a light styling pass. Each step makes the next one easier, and the room comes together without the guesswork that leads to returns and regret.
Editorial field note: a bedroom with good furniture and no plan usually feels busy, while the same pieces, placed in this order, feel settled the moment you walk in. That shift comes from sequence, not spending. Take the steps one at a time, lean on the linked hubs when you want to go deeper on color, lighting, or styling, and browse more home decor inspiration whenever you need a fresh idea for the next room.