TL;DR
- Materials: Use mason jars, wine bottles, and wood slices for a rustic base.
- Florals: Stick to 1–2 flower types and plenty of greenery for a cohesive look.
- Lighting: Incorporate tea lights or fairy lights for an instant romantic glow.
- Budget: Many DIY centerpieces can be made for under $10 per table.
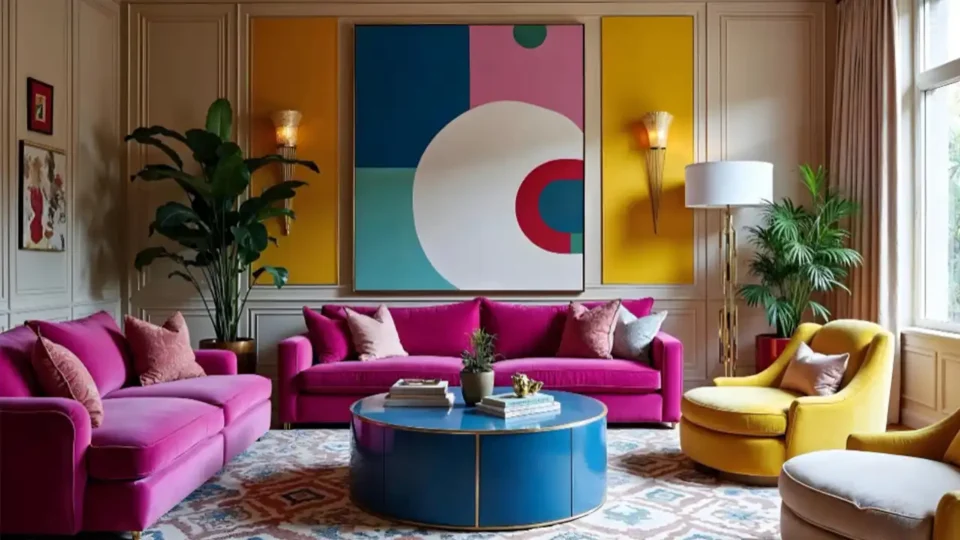
The reception table is where your guests spend the majority of their time, making the centerpiece the most viewed element of your wedding decor. While professional floral arrangements are beautiful, they can often be the most expensive part of a wedding budget. DIY centerpieces offer a creative alternative that feels intimate and thoughtful.
Designing for a large-scale event follows many of the same aesthetic principles as home styling. For instance, the layering techniques found in spring tablescape aesthetic ideas are perfectly applicable to a wedding breakfast. Whether you are aiming for the rugged charm of rustic diy wedding decor ideas or a sleek, contemporary look, these 12 ideas provide a professional blueprint for handmade success.
Bookmark this guide for quick reference.
Key Takeaway: DIY centerpieces allow for a high level of customization and cost-saving without sacrificing the elegance of your wedding reception.
12 Simple DIY Wedding Centerpiece Ideas
Beautiful centerpieces don’t need a florist’s budget. These twelve DIY ideas — from floating candles to submerged florals — are simple to assemble in bulk and easy to tailor to your colors and theme.
1. Cluster of Mismatched Glass Bottles
Collect glass bottles of varying heights and shapes. Spray paint them in a uniform metallic gold or leave them clear for a vintage feel. Placing a single stem—like a rose or eucalyptus—in each bottle creates a high-impact “cluster” effect that is easy to assemble.
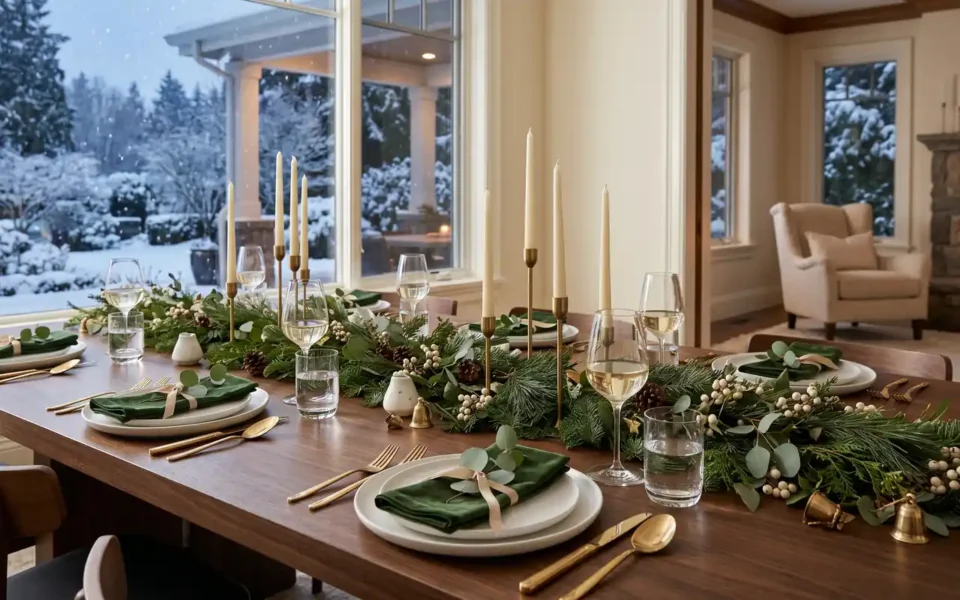
2. Floating Candle and Greenery Bowls
Fill a low glass bowl with water and place three floating candles in the center. Surround the base of the bowl with a wreath of fresh seeded eucalyptus. This is a low-maintenance option that provides a beautiful, shimmering light throughout the evening.
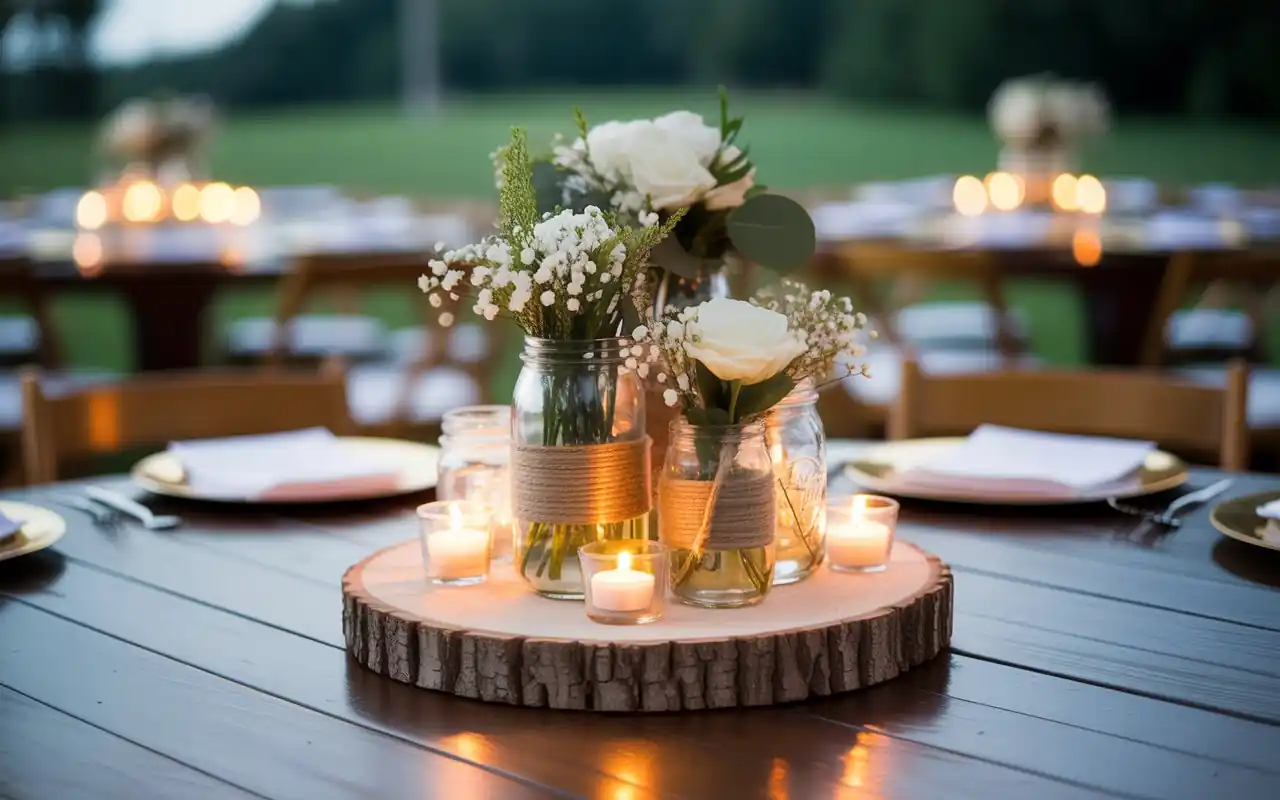
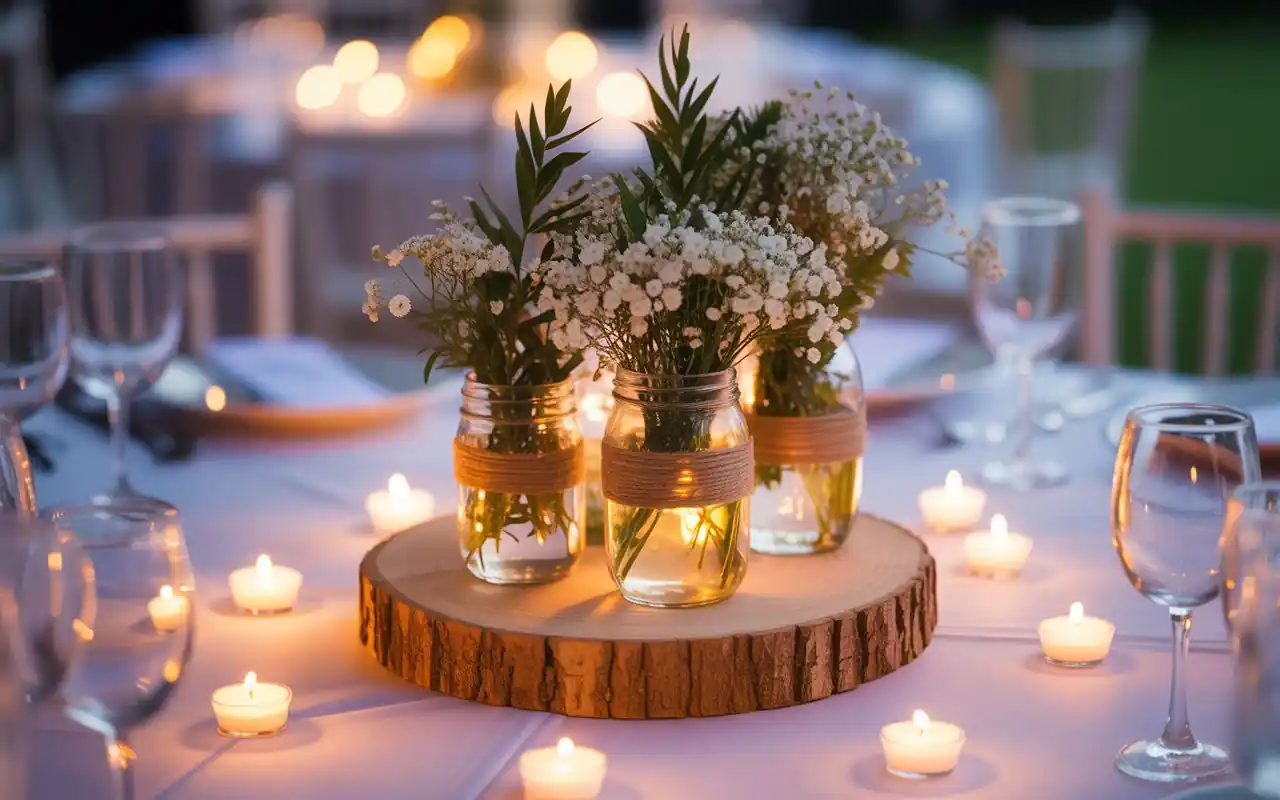
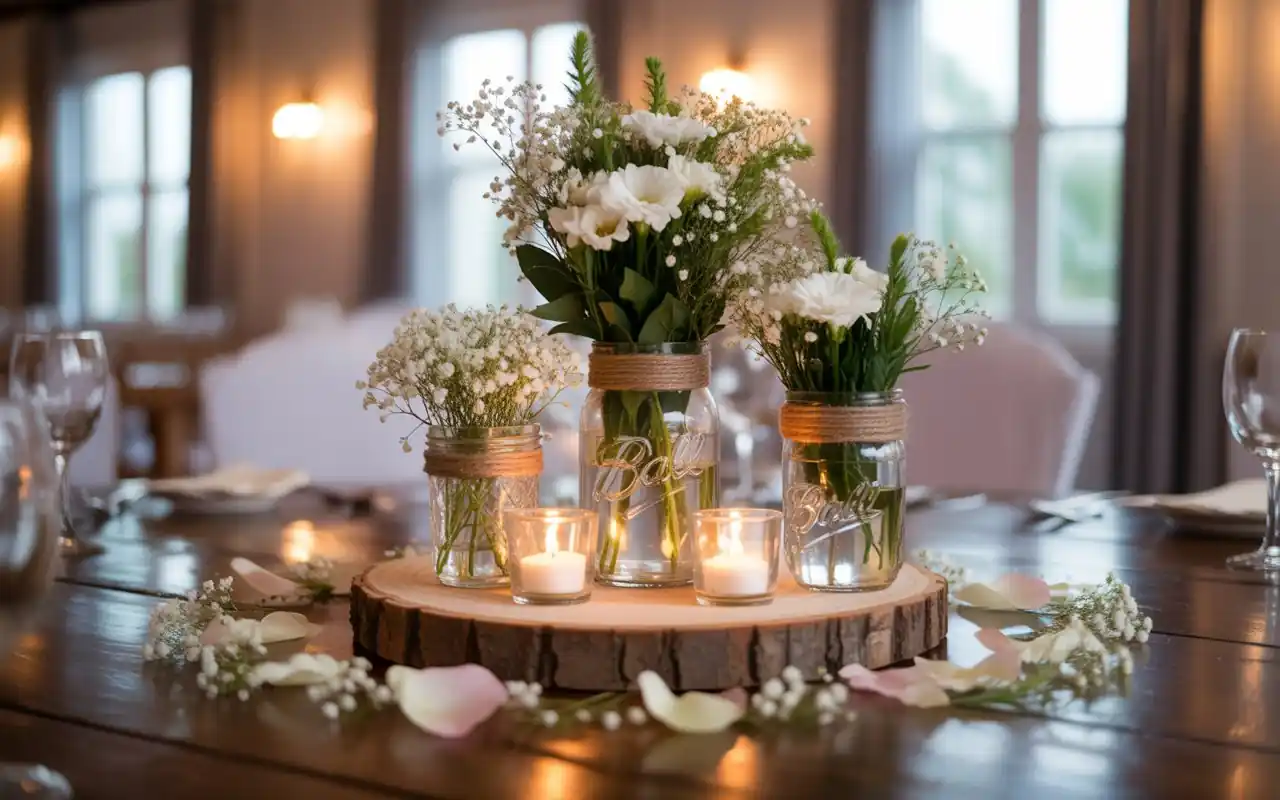
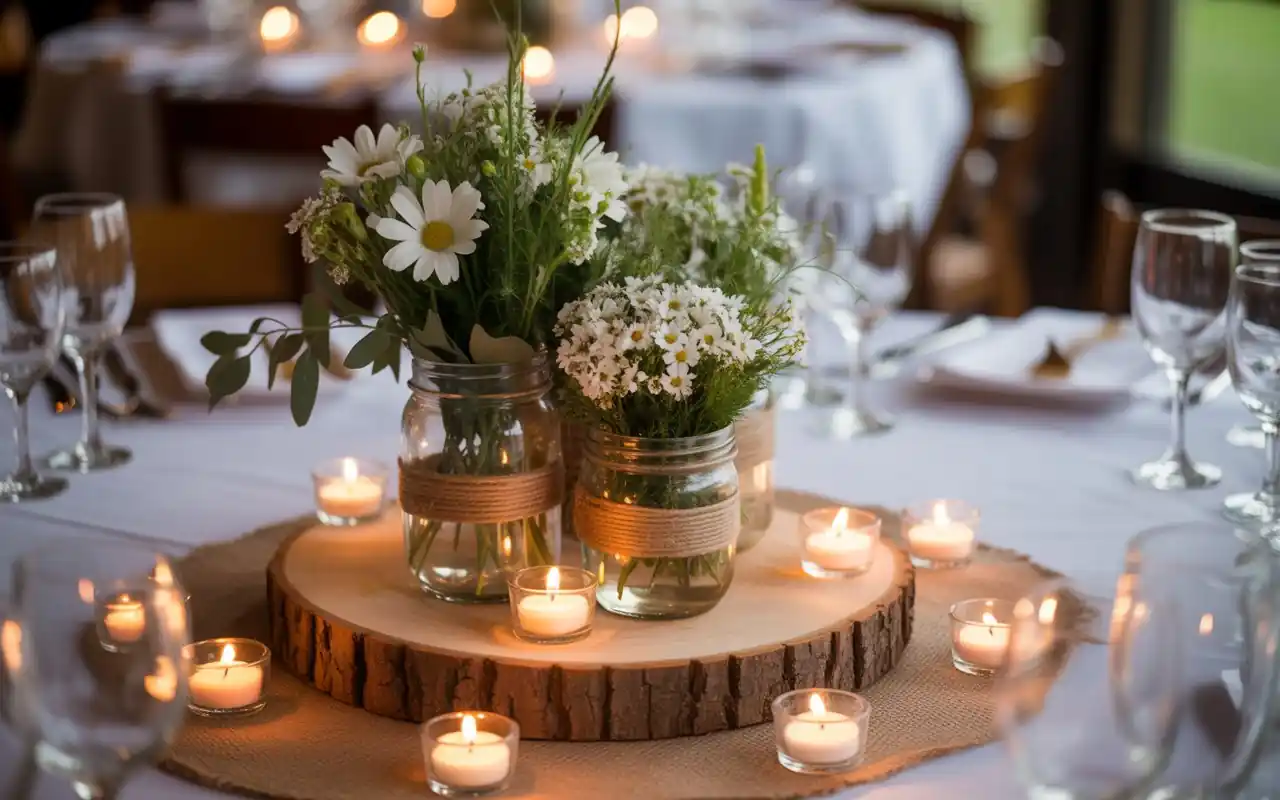
3. Rustic Wood Slice and Mason Jars
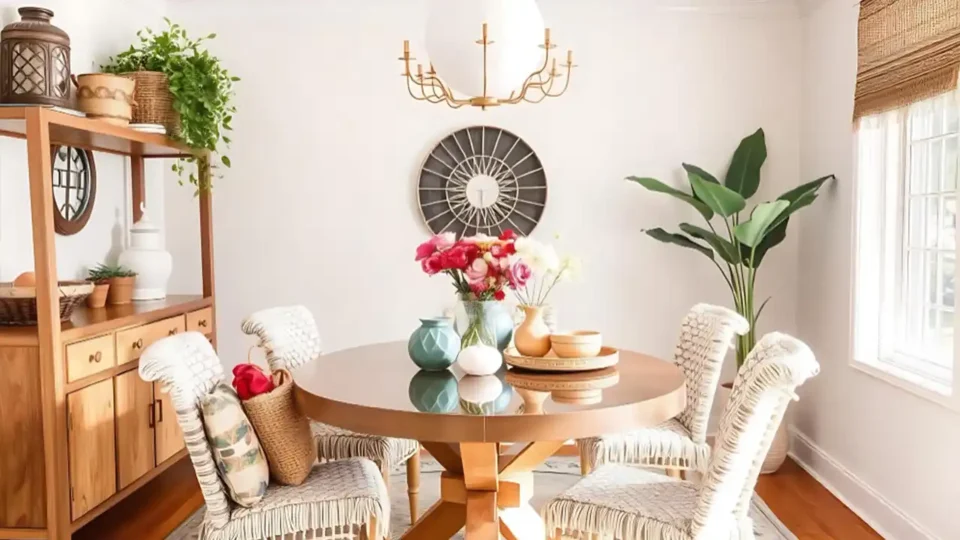
Use a thick wood slice as a base and place three twine-wrapped mason jars on top. Fill the jars with wildflowers or baby’s breath for a classic country aesthetic. This look pairs beautifully with the horizontal, grounded lines of ranch-style home updates.
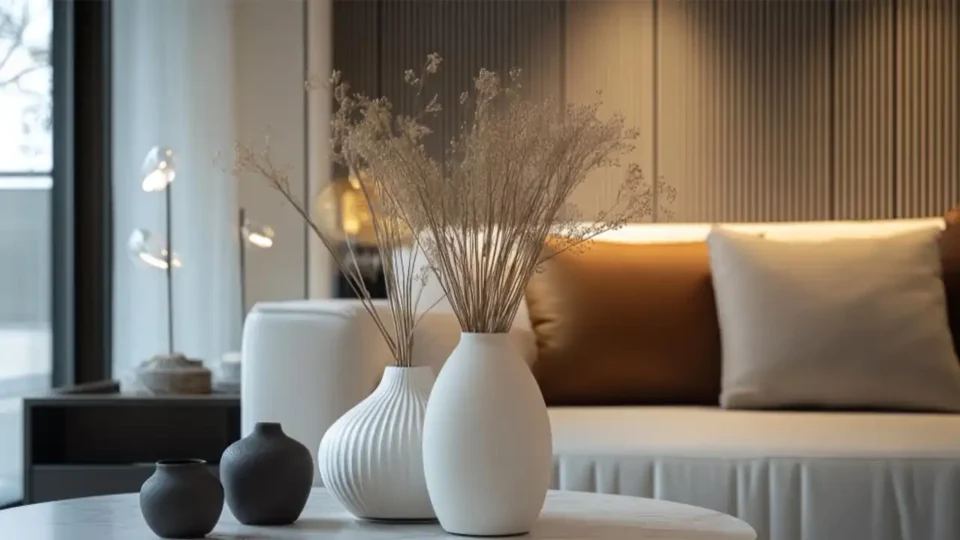
4. Submerged Floral Vases
Place a single long-stemmed flower, like an orchid or calla lily, inside a tall cylindrical vase and fill it completely with water. Top it with a floating candle. The water acts as a magnifying glass, highlighting the delicate details of the bloom.
Designer Tip: Use distilled water to ensure there are no bubbles on the glass or the petals, giving you a crystal-clear professional finish.
5. Terrarium Succulent Gardens
Use geometric glass terrariums and fill them with white sand and small succulents. These are perfect for a modern or desert-themed wedding and can double as gifts for your guests to take home, much like the “living” decor in smart urban garden balcony ideas.
6. Lanterns with Fresh Moss
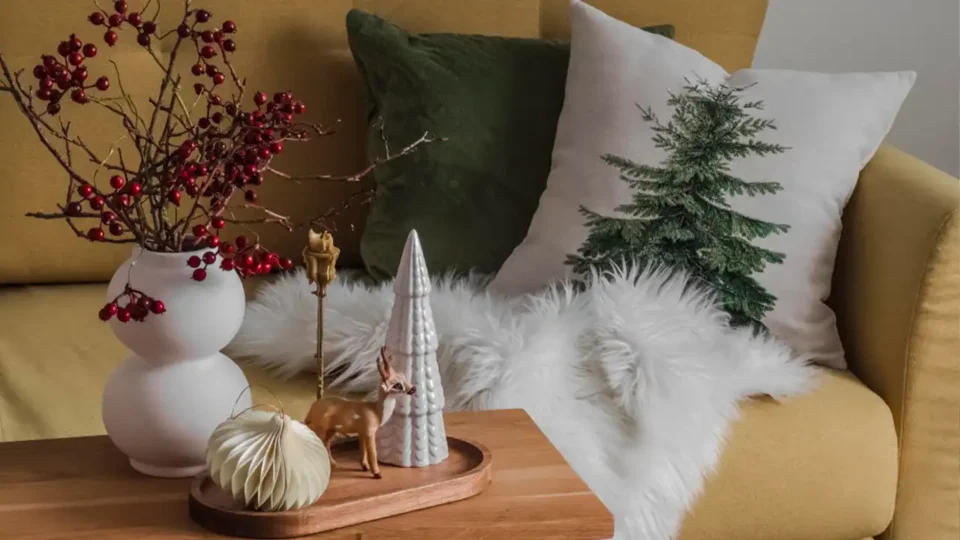
Instead of flowers, place a large white pillar candle inside a black metal lantern. Surround the base of the candle with lush green moss and a few small pinecones. This is a perfect choice for creative fall autumn decor ideas or winter weddings.
7. Book Stack and Vintage Teacups
For a “literary” or “vintage tea party” wedding, stack three antique books and place a small floral arrangement inside a teacup on top. This adds height and personality to the table without requiring a large number of expensive flowers.
8. Potted Herb Centerpieces
Place three different herbs—like rosemary, thyme, and mint—in small terracotta pots. Wrap the pots in a bit of lace or burlap. They smell wonderful and add a fresh, organic green to the table, similar to the kitchen hacks in what to put on top of kitchen cabinets.
Designer Tip: Use small chalkboard stakes to label the herbs; it adds to the rustic charm and acts as a functional conversation starter for guests.
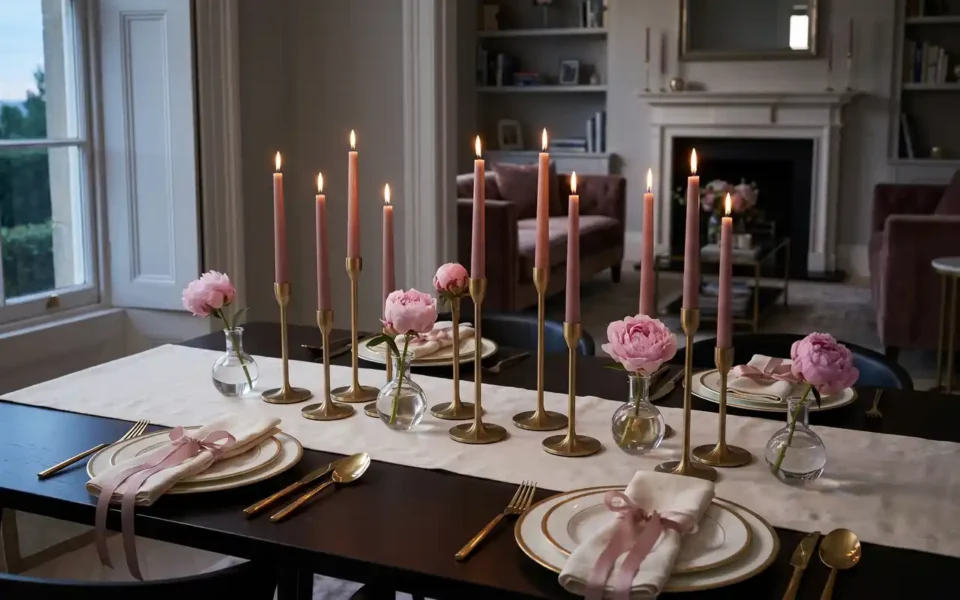
9. Painted Wine Bottle Tapers
Clean the labels off wine bottles and use them as holders for tall taper candles. Group three bottles in the center of the table. As the wax drips down the sides, it creates a romantic, “old world” aesthetic that feels incredibly intimate.
10. Geometric Copper Pipe Hangers
If you are handy with basic tools, use copper pipes to create small geometric pyramids. Hang a single glass globe with an air plant or a tea light in the center. This adds a modern, “jewelry-like” sparkle to your tablescape.
11. Driftwood and Air Plant Runners
For a coastal-themed wedding, place a long piece of weathered driftwood down the center of the table. Tuck air plants and small white shells into the crevices. This mirrors the light, breezy feel of coastal living room aesthetics.
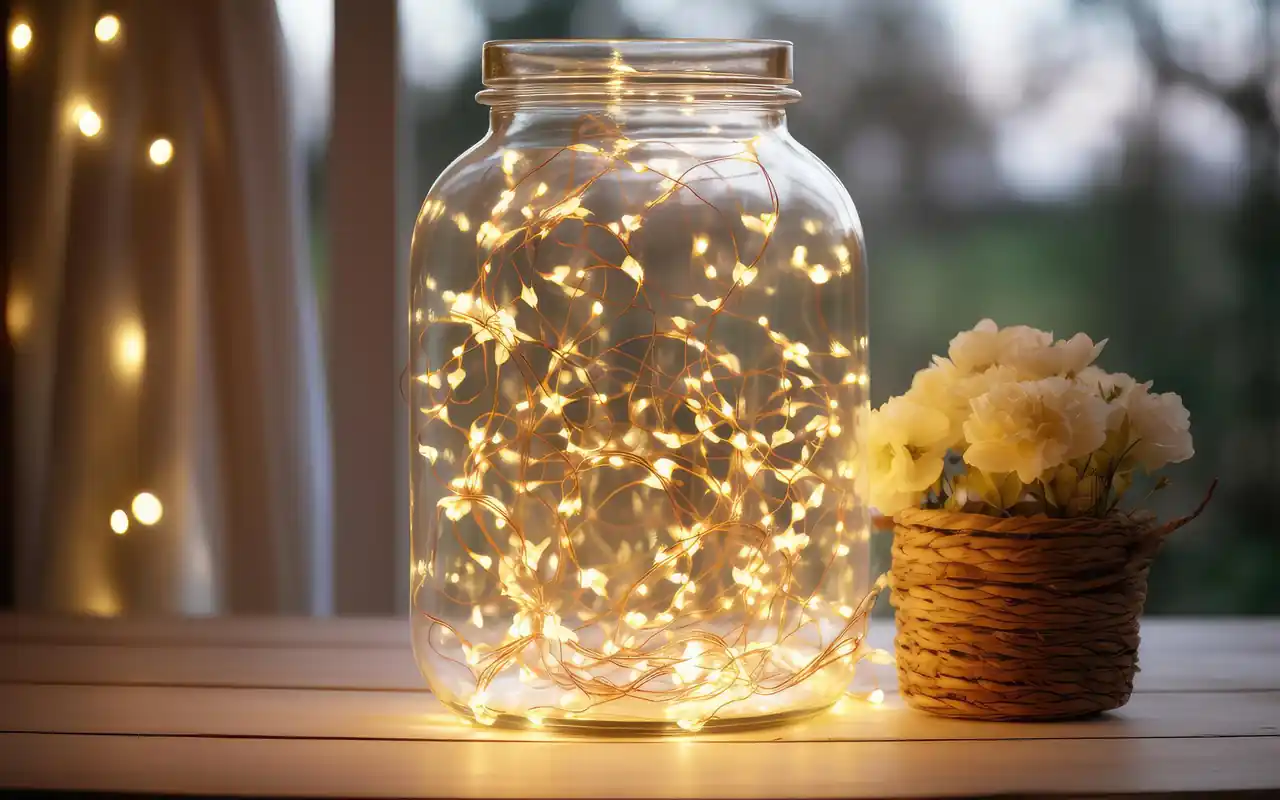
12. “Reasons We Love You” Photo Jars
Fill jars with fairy lights and clip small black-and-white photos of the couple to the outside using mini clothespins. This interactive centerpiece allows guests to walk around the table and share in your story.
Key Takeaway: Simple DIY centerpieces are most effective when they use varied heights and a mix of organic and metallic textures.
Coordinating Your Wedding Theme
Your centerpieces should feel like a cohesive part of your overall wedding “story.” If you are hosting a winter event, drawing inspiration from cozy winter decor ideas—such as using lots of candles and warm textures—can help ground your reception space. Consistency is key; try to use the same twine or ribbon on your centerpieces as you do on your invitations or bouquets.
Planning a wedding requires the same organizational discipline as any large home project. If you have experience with sewing room organization tips, you can apply those assembly-line techniques to your DIY decor. Setting up a “centerpiece station” where you can mass-produce your designs will save you time and ensure every table looks identical.
Key Takeaway: Use a consistent color palette and organizational “assembly lines” to ensure your DIY decor looks professional and polished.
Common DIY Centerpiece Mistakes to Avoid
- ❌ Centerpieces That are Too Tall → ✅ Keep arrangements either below 12 inches or above 24 inches so they don’t block the view between guests.
- ❌ Strongly Scented Flowers → ✅ Avoid lilies or heavy hyacinths on dining tables; the scent can interfere with the taste of the wedding meal.
- ❌ Forgetting the “Mock-Up” → ✅ Always create one full sample table months in advance to check the scale and lighting.
- ❌ Last Minute Assembly → ✅ Choose designs that can be pre-assembled or use hardy greenery that won’t wilt if set up the day before.
Key Takeaway: Prioritize guest comfort by keeping centerpieces at heights that allow for easy conversation across the table.
Budget & Cost
DIY centerpieces are a significant money-saver, often costing 70% less than professional florist versions.
| Project Type | Estimated Cost | Main Material |
|---|---|---|
| Mason Jar Cluster | $5 – $8 | Recycled Jars / Twine |
| Floating Candle Bowl | $10 – $15 | Glass Bowl / Candles |
| Potted Herbs | $12 – $18 | Live Plants / Terracotta |
| Wine Bottle Tapers | $3 – $6 | Recycled Glass / Wax |
Key Takeaway: You can achieve a high-end look for under $15 per table by focusing on recycled glass and hardy greenery like eucalyptus or moss.
Decisions & Layout Challenges
The size of your reception tables dictates your centerpiece scale. For long banquet tables, a “runner” style centerpiece (like driftwood or a greenery garland) works best. For round tables, a single central “island” of decor is more effective. If your venue is a large open hall, look at man cave basement ideas for tips on using lighting to define smaller, intimate zones.
Assembly Checklist
- Clean and dry all glass containers thoroughly.
- Measure the center of each table for consistent placement.
- Test battery-operated lights to ensure they last at least 8 hours.
- Have a “repair kit” (tape, scissors, extra wire) on-site for the big day.
Key Takeaway: Match your centerpiece shape to your table layout—runners for rectangles and clusters for rounds.
FAQ’s
Conclusion
Creating your own wedding table centerpieces is a rewarding way to add a personal touch to your celebration. By focusing on simple materials and thoughtful details, you can build a beautiful tablescape that your guests will remember long after the last dance.