The bathroom is often the smallest room in the house, but it offers the biggest opportunity for a style statement. A backsplash is more than just a waterproof barrier; it is the “jewelry” of the vanity area. Choosing the right design can instantly elevate a basic builder-grade bathroom into a spa-like retreat.
This guide helps homeowners and renters alike find inspiration for their next renovation. We cover everything from classic stone to creative DIY solutions that won’t break the bank. Whether you are looking for small bedroom furniture arrangement ideas or a full guest bath overhaul, these textures and patterns provide the perfect starting point.
Bookmark this guide for quick reference.
Key Takeaway: A well-chosen backsplash combines moisture protection with a high-end aesthetic that fits your specific financial plan.
14 Bathroom Backsplash Ideas
1. Classic White Subway Tile
Subway tile remains a top choice for its clean lines and versatility. Using a traditional offset pattern with white grout creates a seamless, bright look. For a slightly more modern twist, try using a dark charcoal grout to highlight the rectangular shape. This material is incredibly cost-effective and easy to find at any local hardware store.
2. Vertical Stacked Tile
Instead of the traditional horizontal layout, turn your tiles 90 degrees. Stacking slim, rectangular tiles vertically draws the eye upward, making low ceilings feel much taller. This works exceptionally well in modern minimalist bathrooms. Consider using cool slate finish tiles to add a sophisticated, architectural feel to the vanity wall.
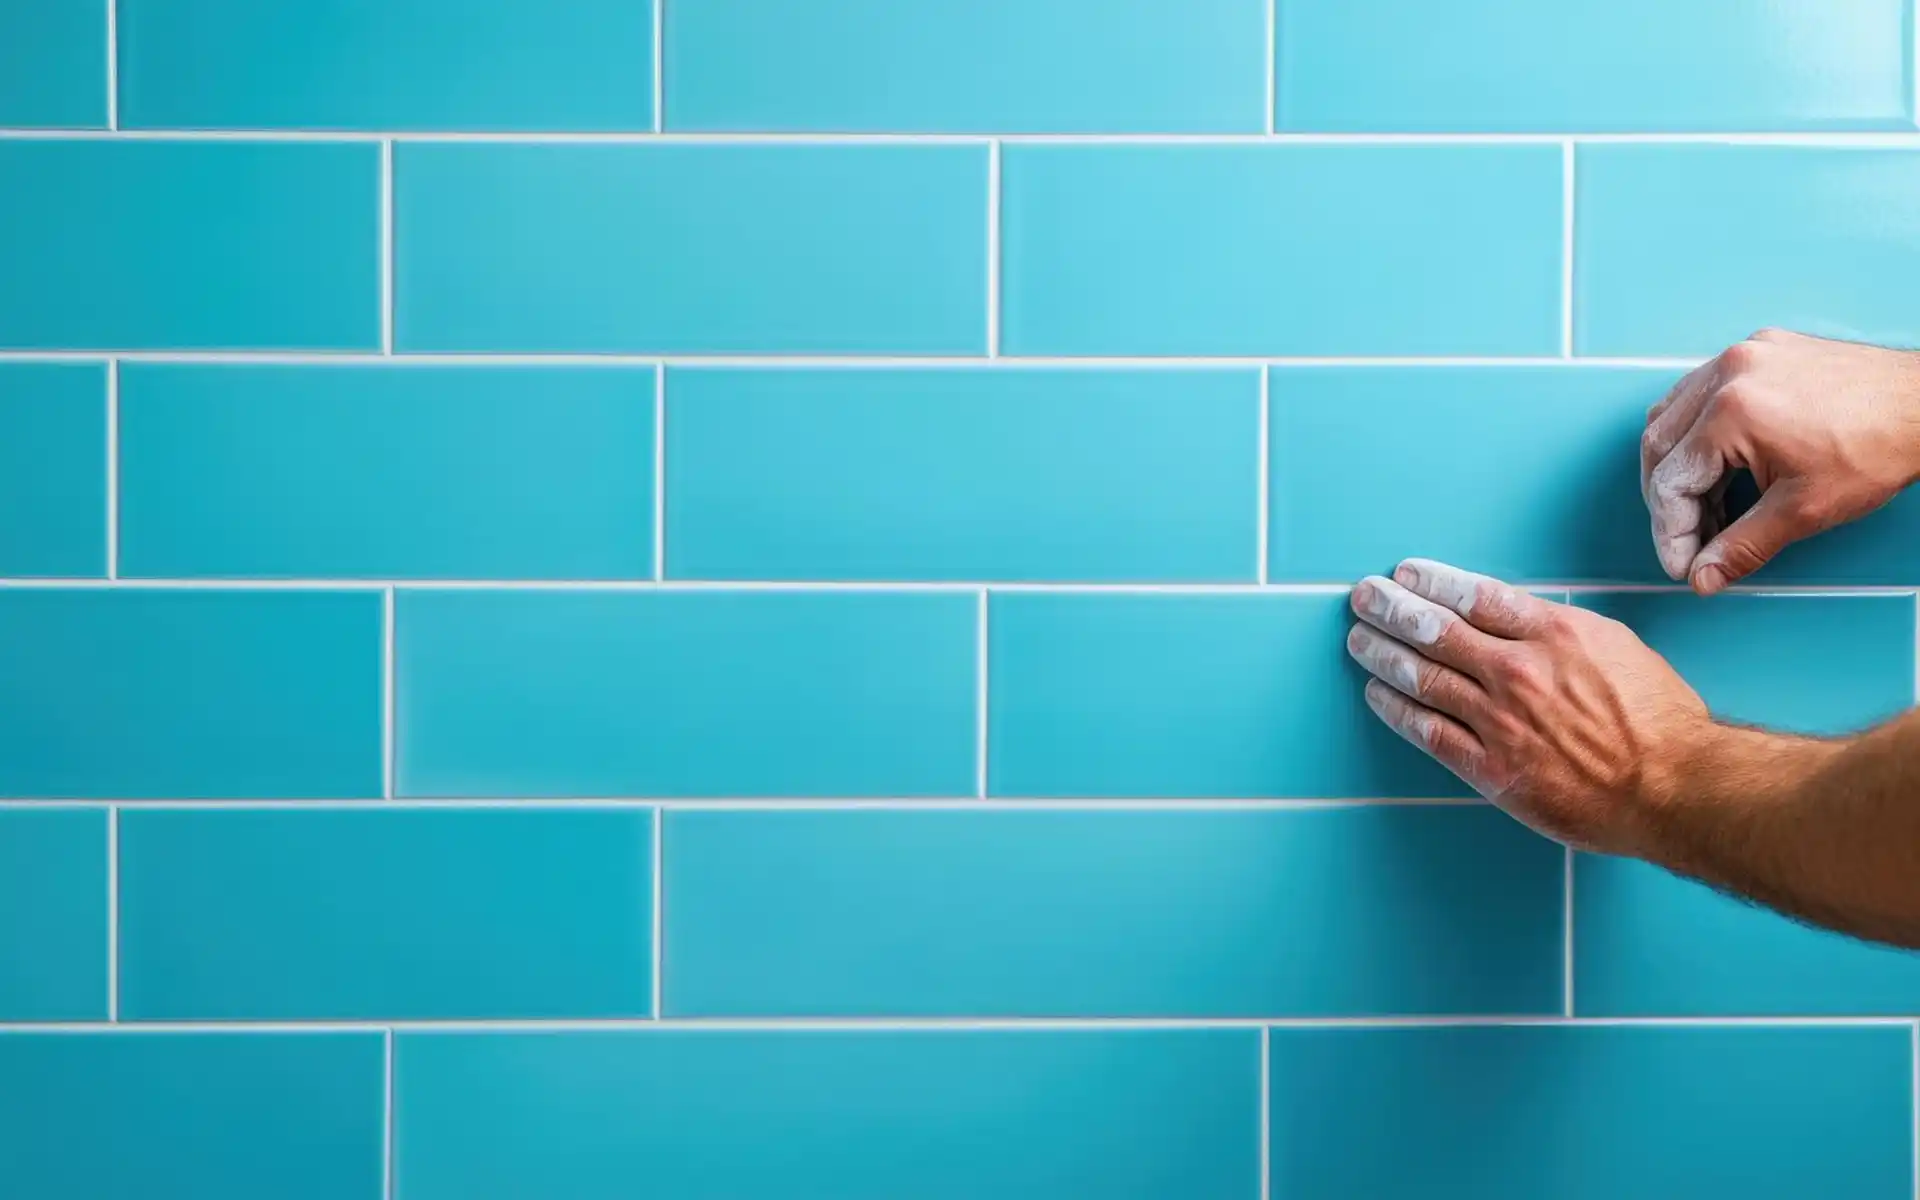
3. Moroccan Fish Scale
Also known as mermaid tiles, these scalloped shapes add movement and a whimsical touch. They are perfect for creating a focal point in a coastal-themed bathroom. Using varying shades of turquoise or deep sea blue can mimic the look of water.
Designer Tip: Use a matching grout color with busy patterns like fish scales to keep the look from feeling too cluttered in a small space.
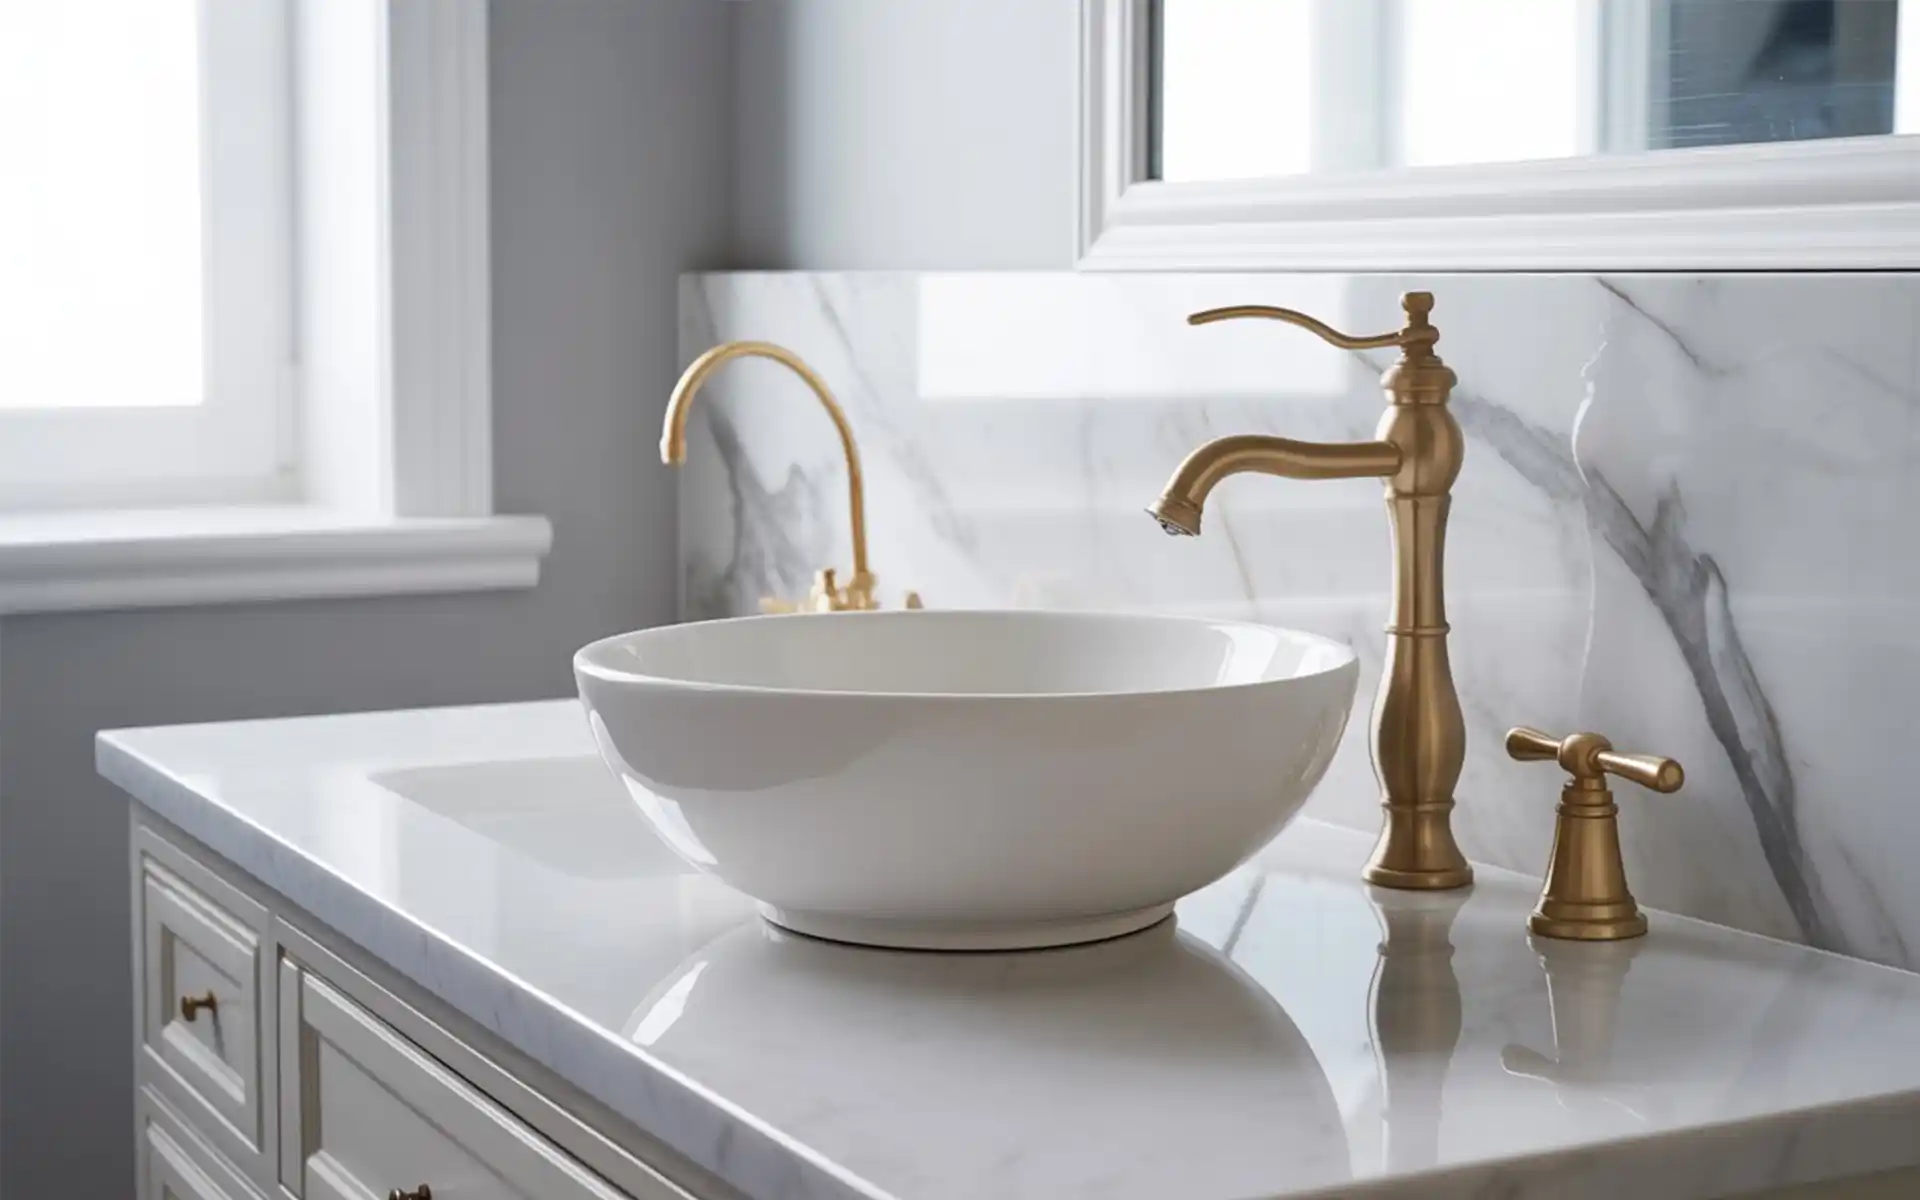
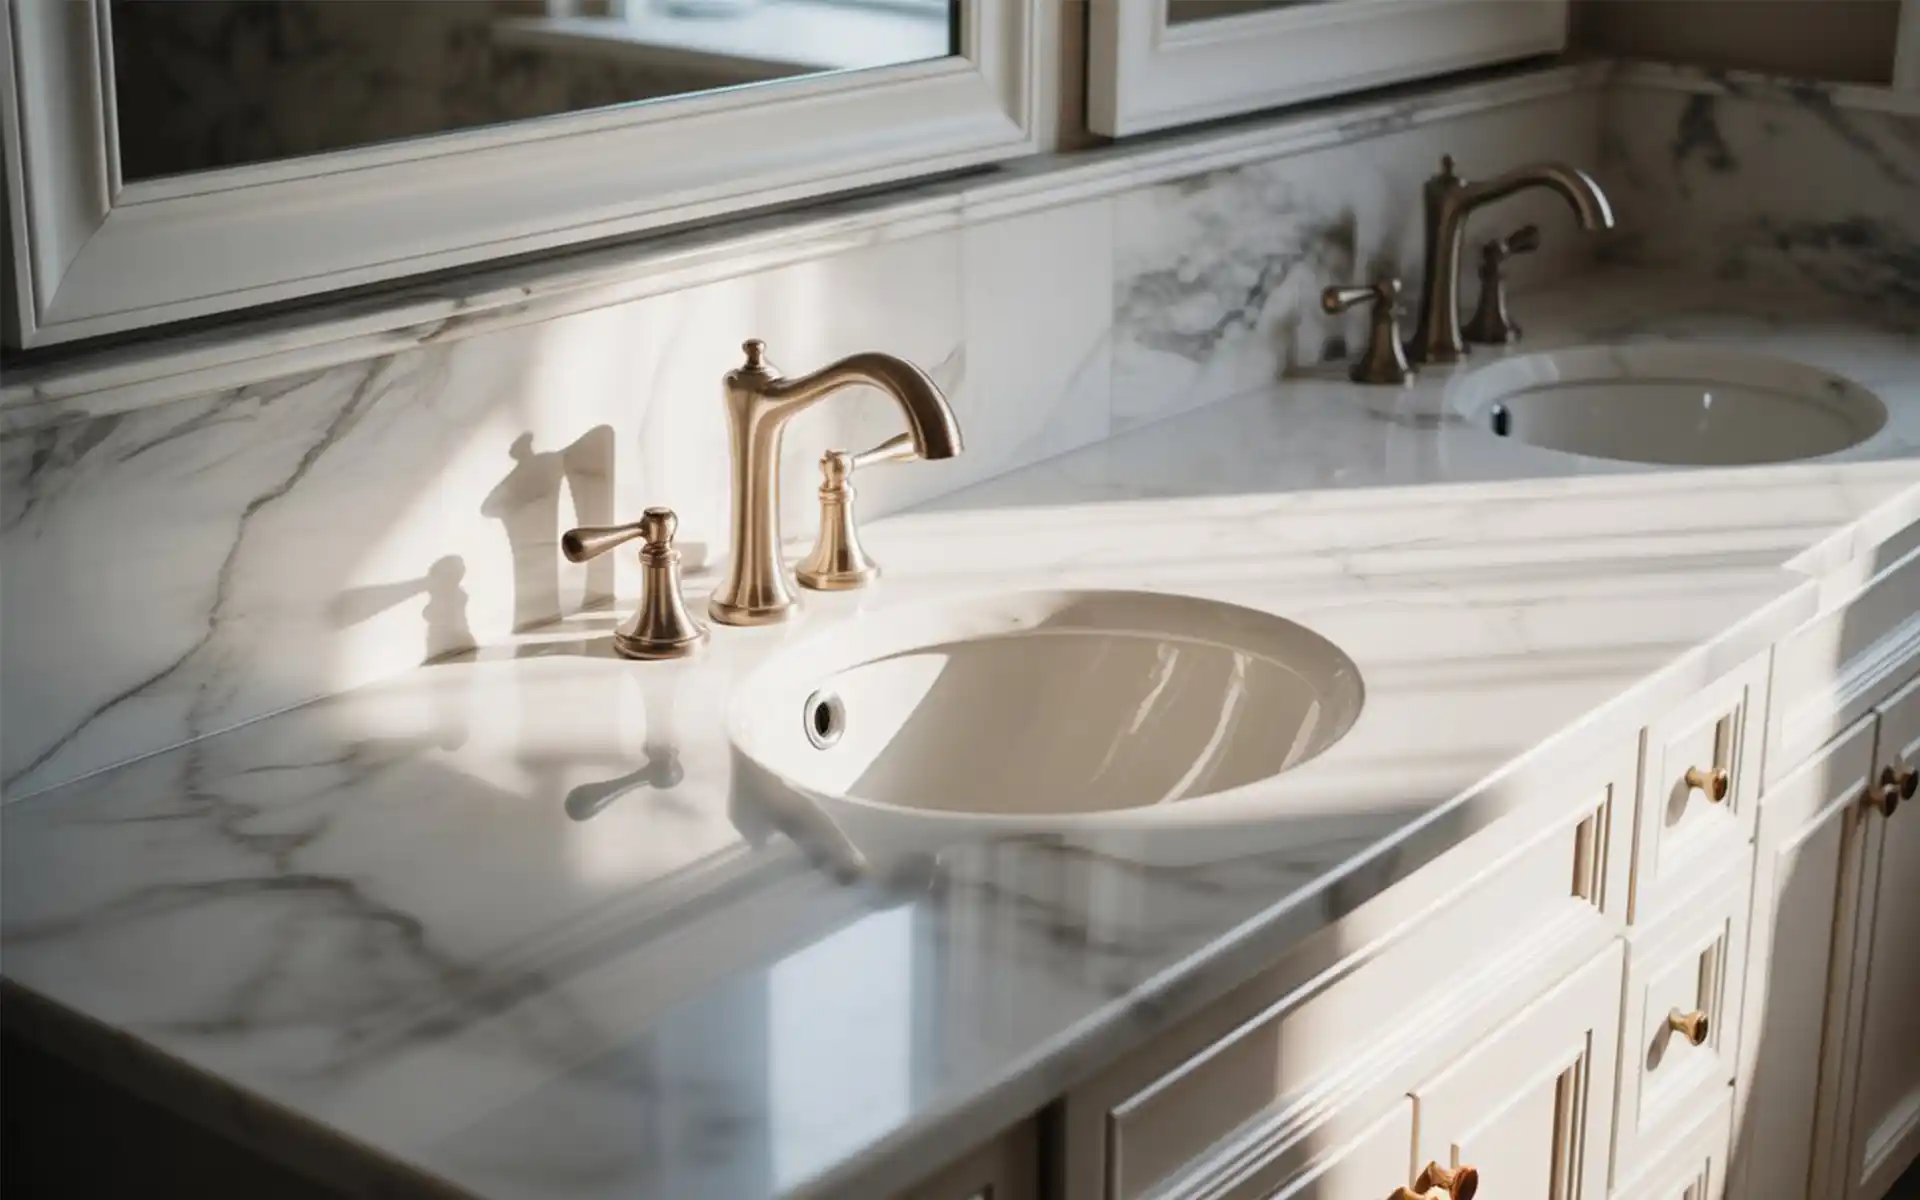
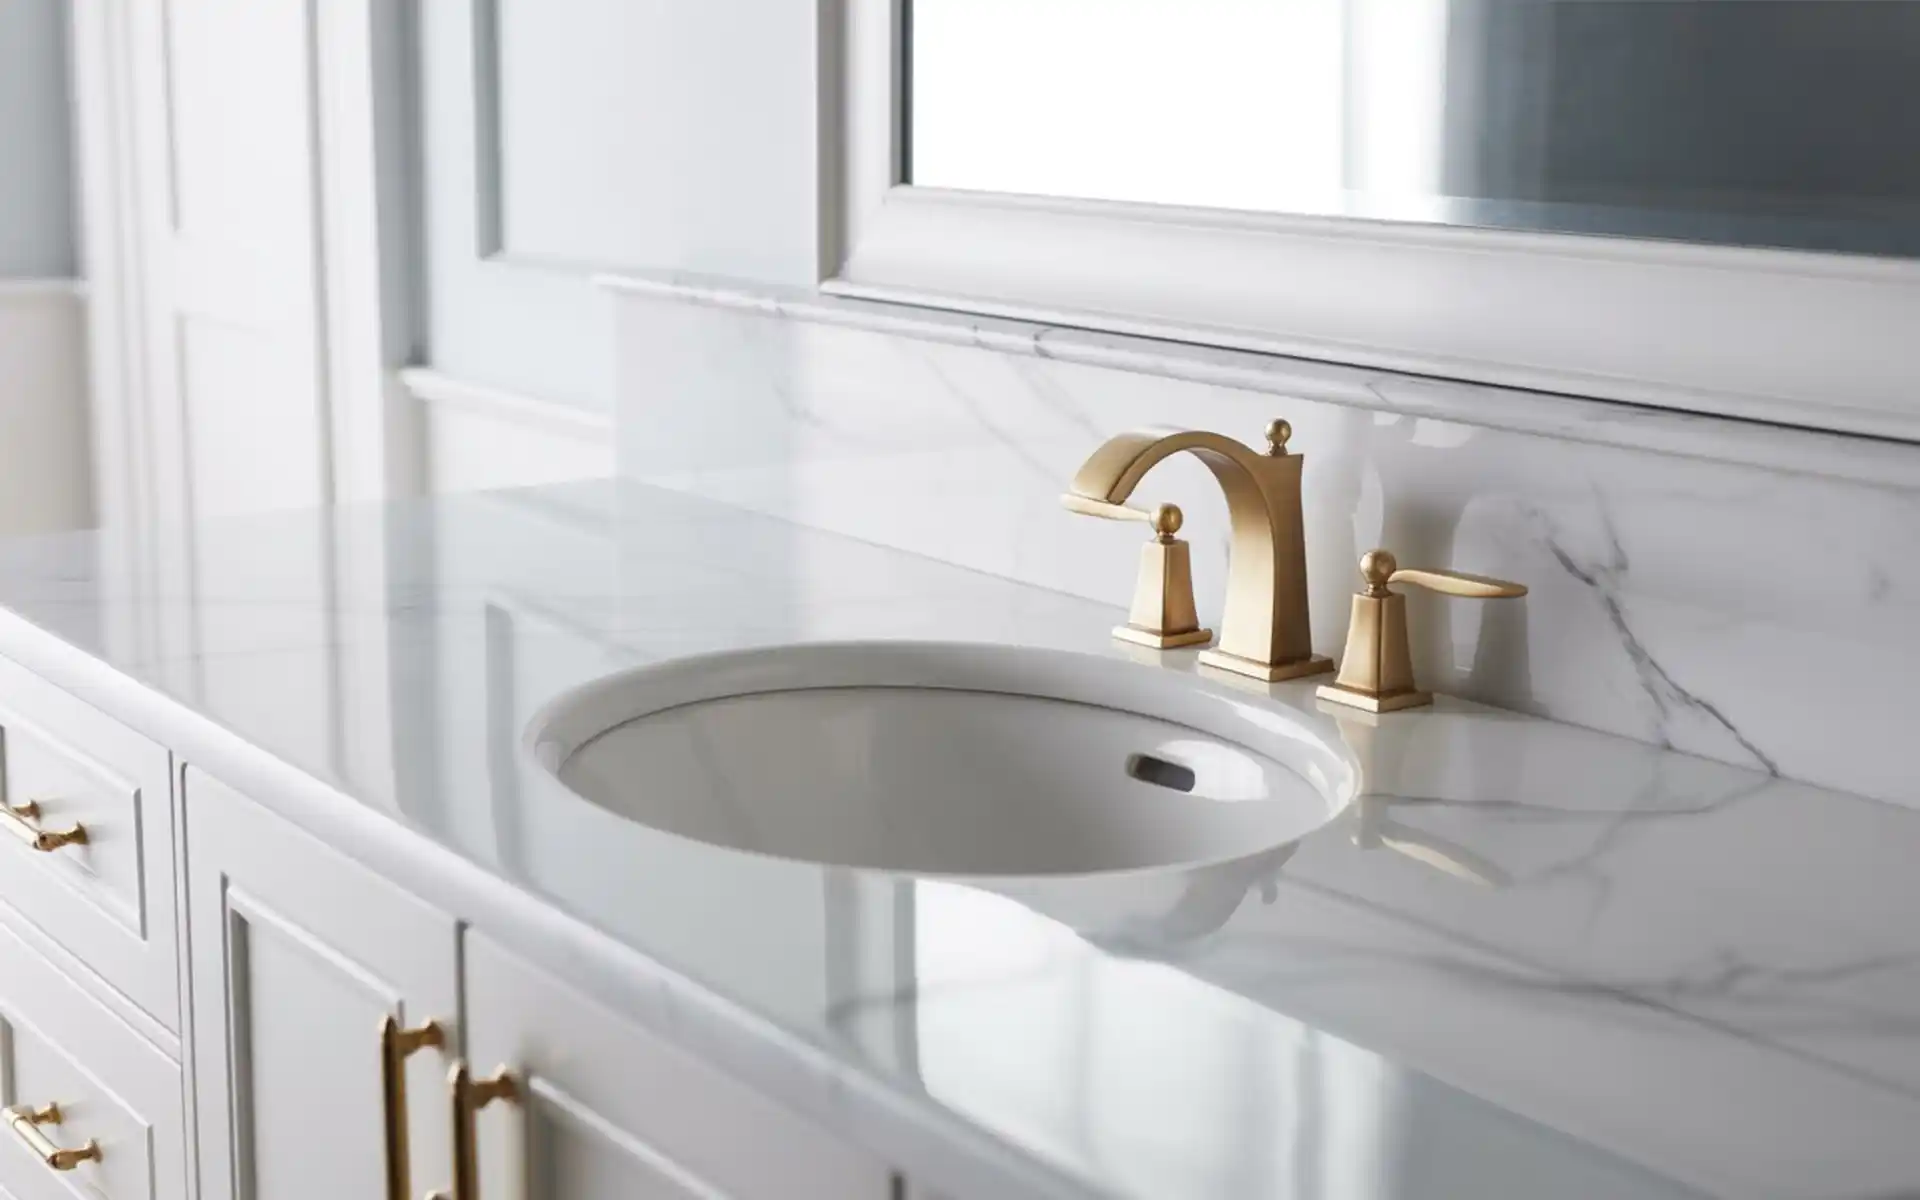
4. Carrara Marble Slabs
For a high-end, luxury feel, a solid slab of Carrara marble is unmatched. Since the area behind a bathroom sink is usually small, you can often find “remnants” at stone yards for a fraction of the cost of a full slab. The grey veining on a white background offers a timeless elegance.
5. Peel-and-Stick Vinyl
If you are a renter or on a tight budget, peel-and-stick tiles are a lifesaver. Modern versions feature 3D textures that look remarkably like real ceramic. They are water-resistant and can be installed in a single afternoon without any specialized power tools.
6. Herringbone Pattern
Using standard 2×6 tiles in a herringbone V-shape adds instant texture and “designer” flair. This pattern works beautifully with soft oak accents in the vanity or shelving. It requires a bit more cutting and planning than standard layouts, so take your time with the measurements.
Designer Tip: When installing complex patterns like herringbone, always start from the center of the faucet and work your way outward for perfect symmetry.
7. Hexagon Mosaic
Hexagon tiles, or “hex tiles,” offer a geometric look that fits both vintage and modern homes. Small 1-inch mosaics are classic for “farmhouse” styles, while larger 4-inch hexagons in matte black create a bold, contemporary vibe.
8. Mirrored Tiles
To make a tiny, windowless bathroom feel larger, consider a mirrored backsplash. Antique-finish mirrored tiles add a touch of glamour without the harshness of a standard flat mirror. They reflect light around the room, significantly brightening the vanity area.
9. Natural Pebble Tile
Pebble tiles bring an organic, earthy feel to the bathroom. These are often sold on mesh sheets for easy installation. They feel wonderful to the touch and pair perfectly with “spa” elements like bamboo mats and white fluffy towels.
10. Shiplap or Wood Plank
While wood requires extra sealing in a wet environment, a shiplap backsplash adds a cozy, rustic charm. You can achieve this look using moisture-resistant MDF or treated pine. Paint it in warm greige tones to create a soft, inviting atmosphere.
Designer Tip: If using wood near a sink, apply three coats of marine-grade polyurethane to prevent warping and water stains.
11. Bold Encaustic Cement
Encaustic tiles feature intricate, colorful patterns baked into the surface. They are perfect for a Mediterranean or Bohemian style. Because the patterns are so bold, you only need a small amount to make a massive impact.
12. Glass Mosaic Blends
Glass tiles reflect light beautifully and are non-porous, making them very easy to clean. A blend of frosted and clear glass in soft blues or greens can create a calming, watery effect that is ideal for a relaxation-focused bathroom.
13. Penny Round Tiles
Penny rounds are small, circular tiles that provide a unique texture. They are excellent for curved walls or backsplashes that need to wrap around corners. Using a contrasting grout color makes the circular shapes pop.
14. Painted Stencil “Tile”

For the ultimate budget-friendly hack, use a stencil and specialized tile paint. You can mimic the look of expensive cement tiles directly on your existing drywall or old tile. It is a great temporary fix while saving up for a full renovation.
Key Takeaway: From high-end marble slabs to DIY stencils, there is a backsplash solution for every skill level and price point.
Choosing the Right Material
When selecting your backsplash, consider both the moisture level of the room and the amount of maintenance you are willing to do. Porous materials like natural stone require regular sealing, whereas ceramic and glass are virtually maintenance-free.

If you are currently renovating multiple areas of your home, you might be looking for man cave basement ideas or ways to refresh a bedroom. Just like with 15 grey bedroom design ideas, the color palette of your bathroom should remain cohesive with the rest of your home’s aesthetic.
Step-by-Step Selection
- Measure the area: Calculate the total square footage (Width x Height / 144).
- Set a budget: Decide if you are spending $2 or $20 per square foot.
- Pick a Focal Point: Match the tile to your countertop or your faucet finish.
- Order Samples: Always look at tiles in your bathroom’s specific lighting.
Common Mistakes & Fixes
- Wrong Grout: Using white grout in high-splash areas can lead to staining. Fix: Use a light grey or epoxy-based grout for easier cleaning.
- Poor Spacing: Uneven gaps make the project look DIY in a bad way. Fix: Always use plastic tile spacers for a professional finish.
Key Takeaway: Success lies in the preparation—measure twice and always test your colors under your actual bathroom lights.
Common Bathroom Backsplash Mistakes to Avoid
- ❌ Ignoring the Countertop → ✅ Choose a backsplash that complements, rather than competes with, your vanity top patterns.
- ❌ Forgetting the Sealant → ✅ Always seal natural stone and grout lines to prevent mold and water penetration.
- ❌ Starting in a Corner → ✅ Center your pattern on the sink or faucet so the “cut” tiles end up hidden in the corners.
- ❌ Using Porous Wood → ✅ If using wood, ensure it is treated with a waterproof finish to avoid rot.
Key Takeaway: Avoid common pitfalls by centering your design and ensuring every surface is properly waterproofed.
Budget & Cost
Bathroom backsplashes are generally affordable because the square footage is so low. Most vanities only require 5 to 10 square feet of material.
| Material Type | Estimated Cost (per sq. ft.) | Difficulty Level |
|---|---|---|
| Peel & Stick | $2 – $7 | Beginner |
| Ceramic Subway | $1 – $5 | Intermediate |
| Glass Mosaic | $10 – $25 | Intermediate |
| Natural Stone | $15 – $50 | Advanced |
Under-$50 Refresh Plan
- Option A: One box of white subway tile + one bag of pre-mixed grout.
- Option B: Two packs of high-quality vinyl peel-and-stick tiles.
- Option C: A quart of specialized tile paint and a geometric stencil.
Key Takeaway: Small spaces mean you can often afford “splurge” materials without breaking your total renovation budget.
Decisions & Edge Cases
If you have an uneven wall or a pedestal sink with no vanity cabinet, your backsplash needs may change. For pedestal sinks, a “pendant” style backsplash that covers a small square directly behind the faucet is a great solution.
Example Scenarios
For a modern industrial look, consider a stainless steel sheet. It is heat resistant, waterproof, and wipes clean instantly. For a traditional cottage, a beadboard backsplash painted in a semi-gloss finish provides a classic texture that handles humidity well.
Key Takeaway: Adapt your material choice to the specific architecture of your bathroom, especially in older homes with uneven walls.
FAQ’s
Conclusion
Updating your bathroom backsplash is one of the fastest ways to refresh your home. Whether you choose the elegance of marble or the ease of peel-and-stick, the result will be a cleaner, more stylish space.
Next Steps:
- Measure the width of your vanity.
- Browse tile samples at a local showroom.
- Check if your wall needs any repairs or sanding before installation.
- Gather your tools or book a contractor for a weekend install.